Up-cycled materials make for fantastic projects. Trash can be treasure.


Up-cycled materials make for fantastic projects. Trash can be treasure.
Soon after drawing begins to become stagnant painting comes in as the next obvious step. It’s drawing with color. Its the next leap into the world of creating imagery that will take you places out of the monochromatic realm (mostly). It is beautiful. I DO NOT claim to be any type of master nor do I lay claim to be one of the best. I simply enjoy what I do and will always do it. This will be my personal painting post. I will be listing paintings that I have done in categories of medium used. I feel it necessary to warn you that some of this is completely absurd and some of these pieces may be found to be inappropriate by some viewers as well as advocates and what-nots-or-the-others. These pieces do not always reflect my true personality, however this stuff did enter my head at some point so I’ll leave you to be the judge. I, simply stated, have a ridiculously twisted sense of humor. So please check them out . I hope you enjoy looking at them as much as I enjoyed painting them.
First I will start with Water colors. This is a medium that I have yet to explore all the possibilities with. I have studied and understand them and want to go for the gusto with it eventually. Here are a few that I have utilized the medium with.
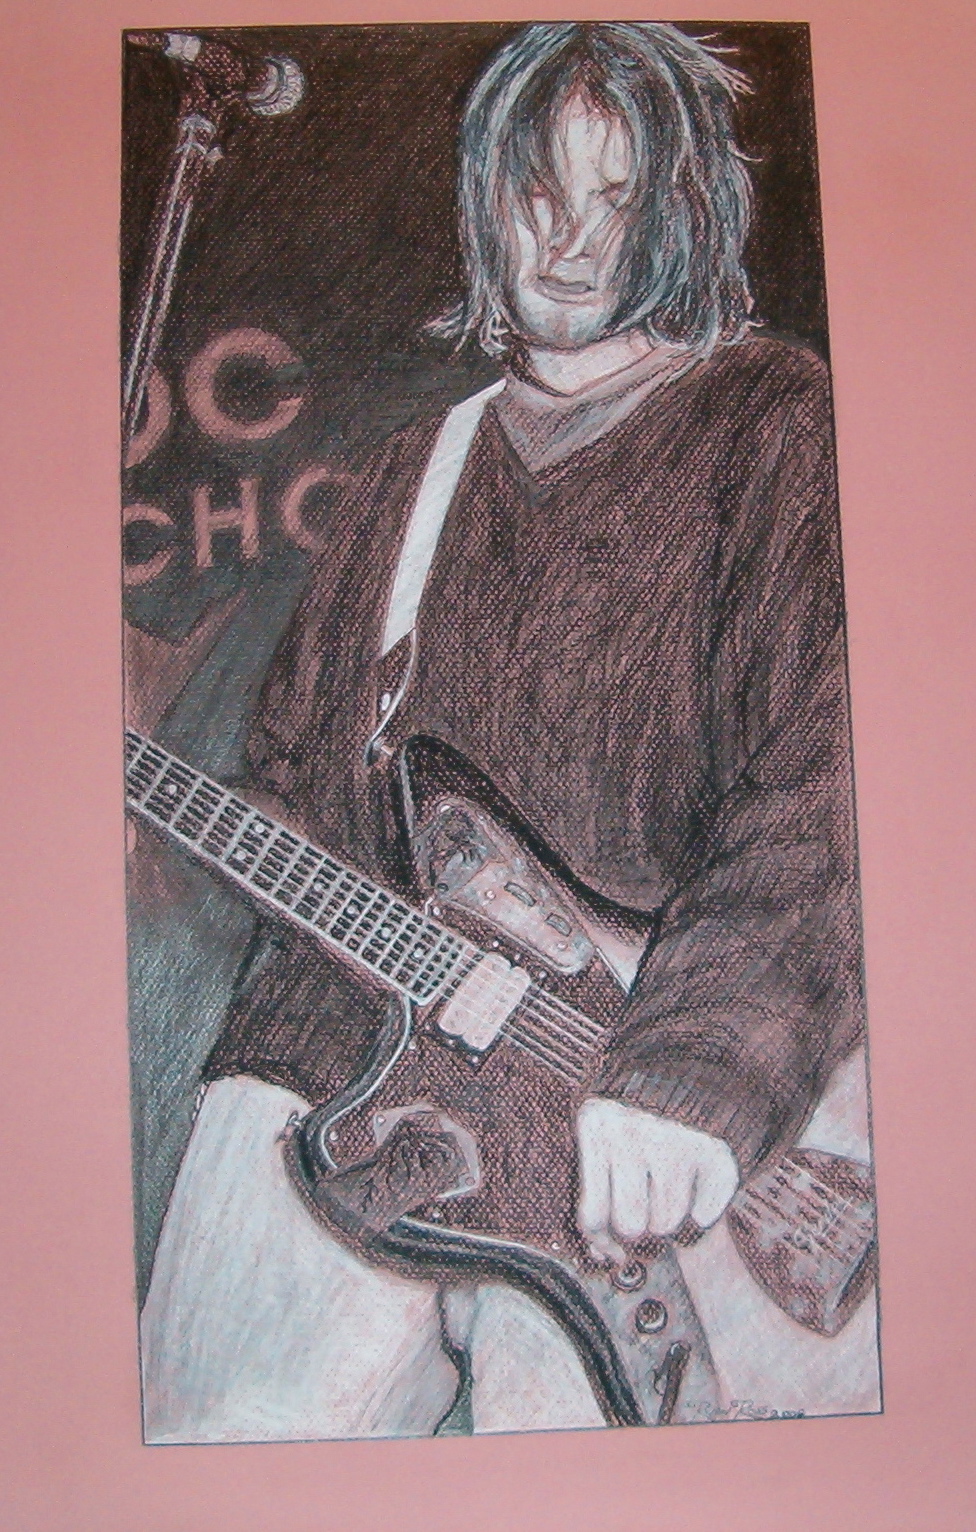
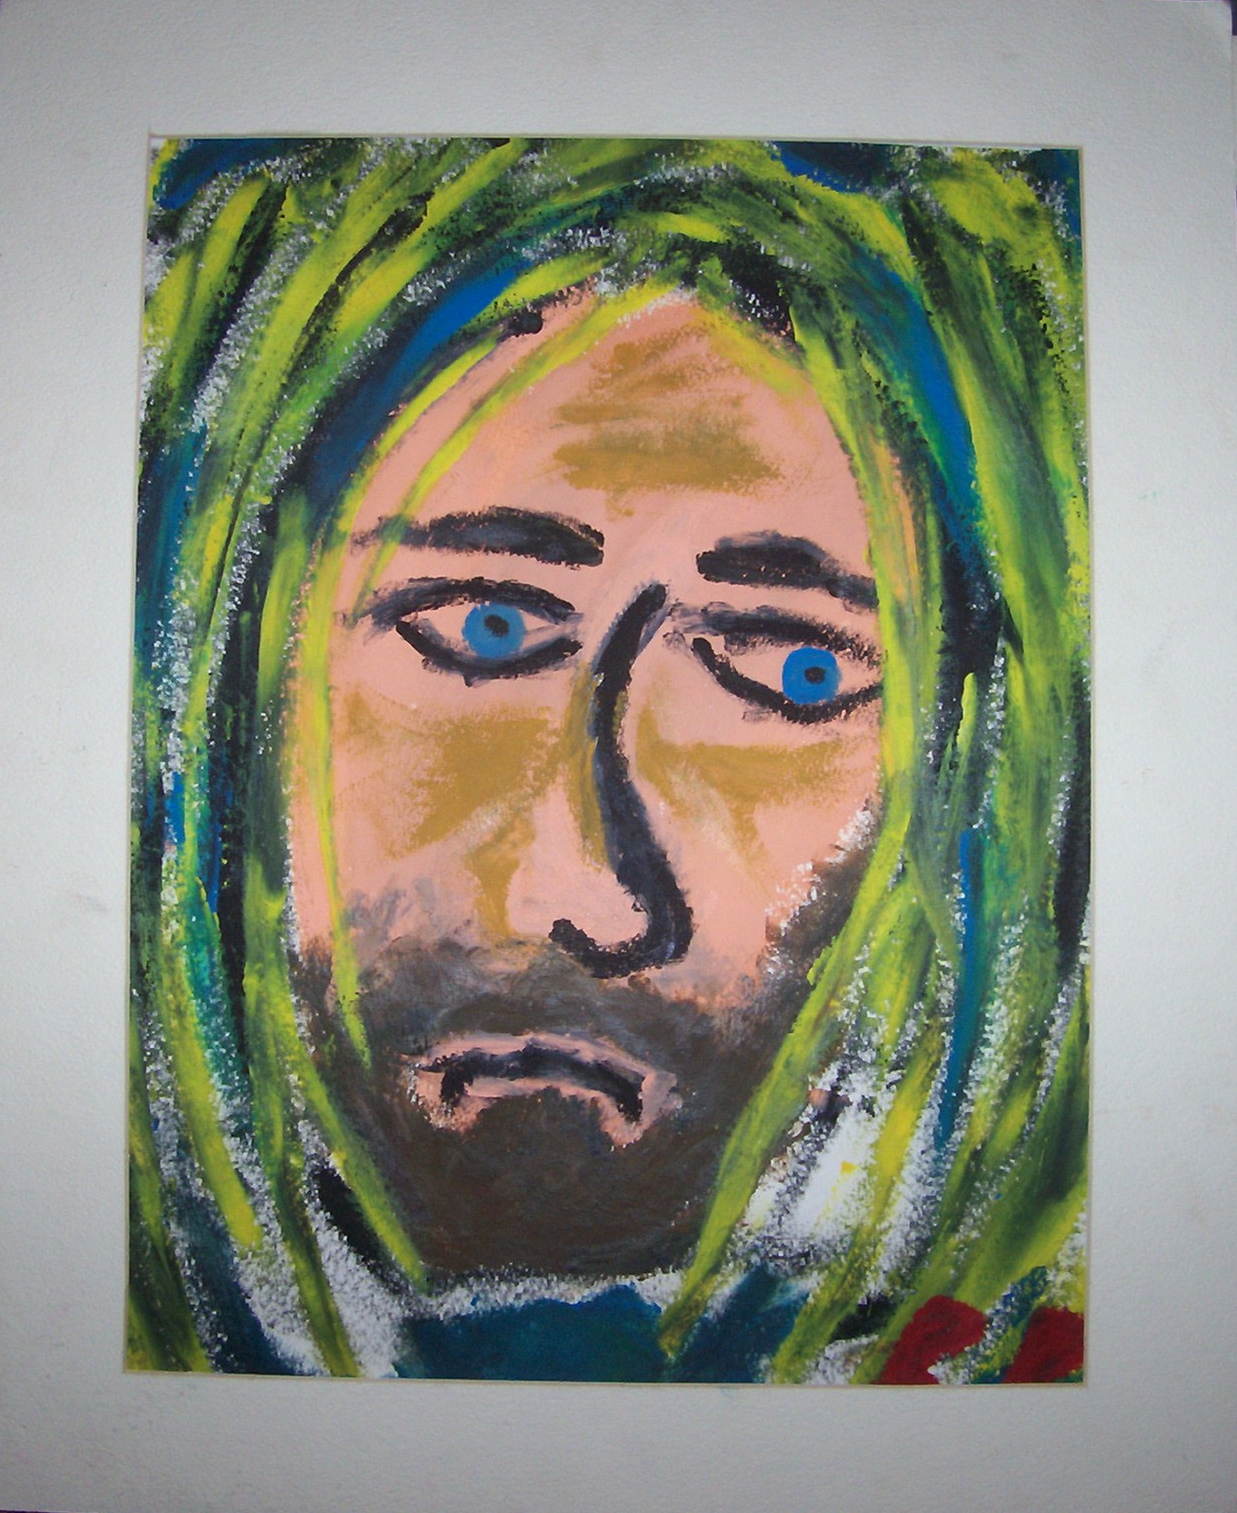 Kurt Cobain finger painting 11×14 circa 1994
 untitled finger painting 11×14 circa 1994
 “Artist’s block” aka “headache” 18×24 This piece has a great personal story for me and came out on a whim completely at random.
Acrylic paintings.
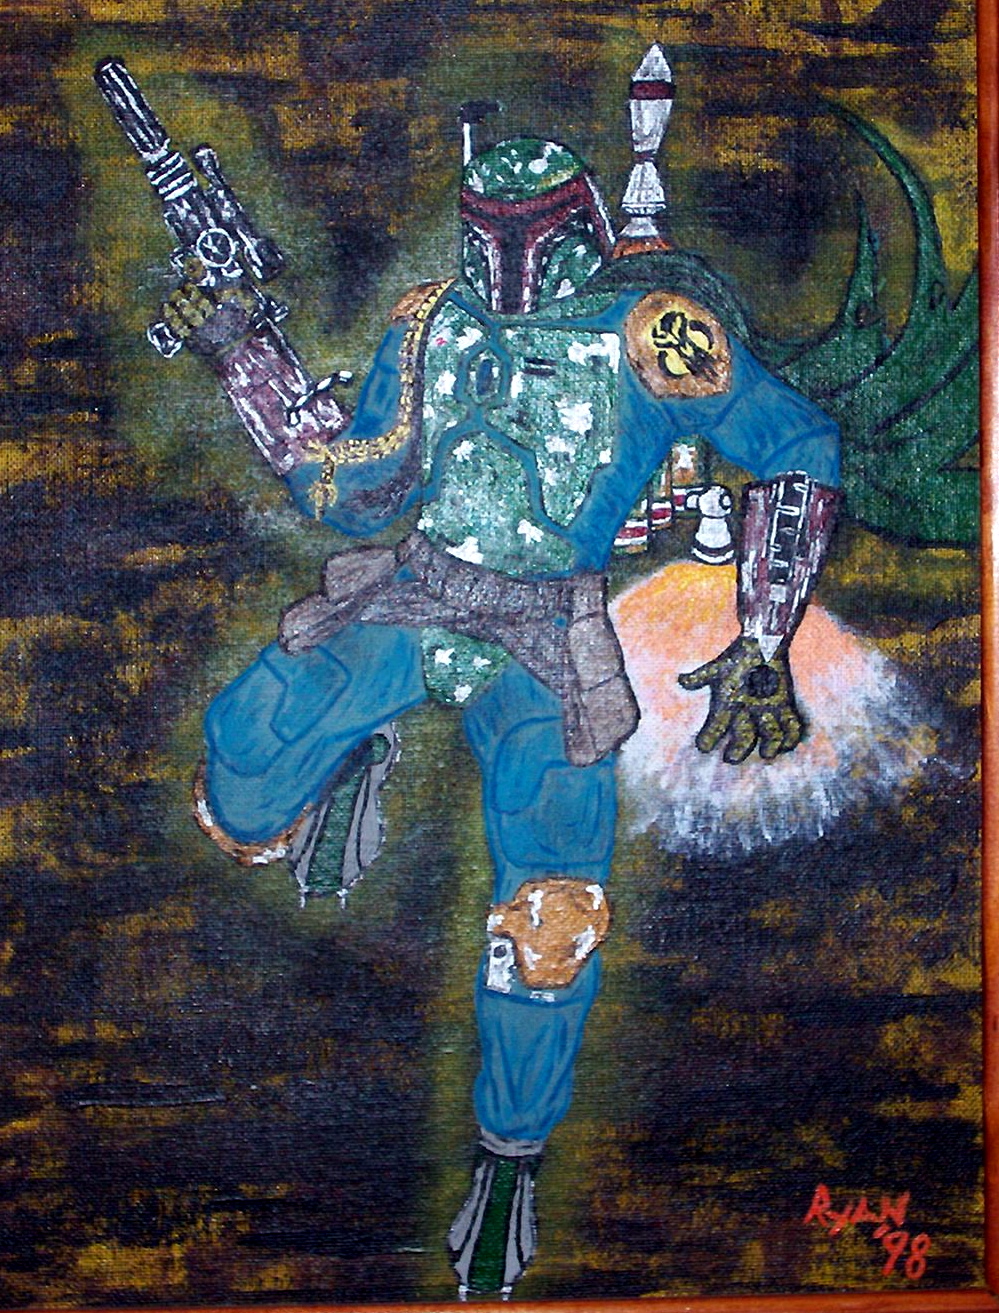 boba fett 11×14 1998
 “the struggle” 11×14 circa ’98 or ’99
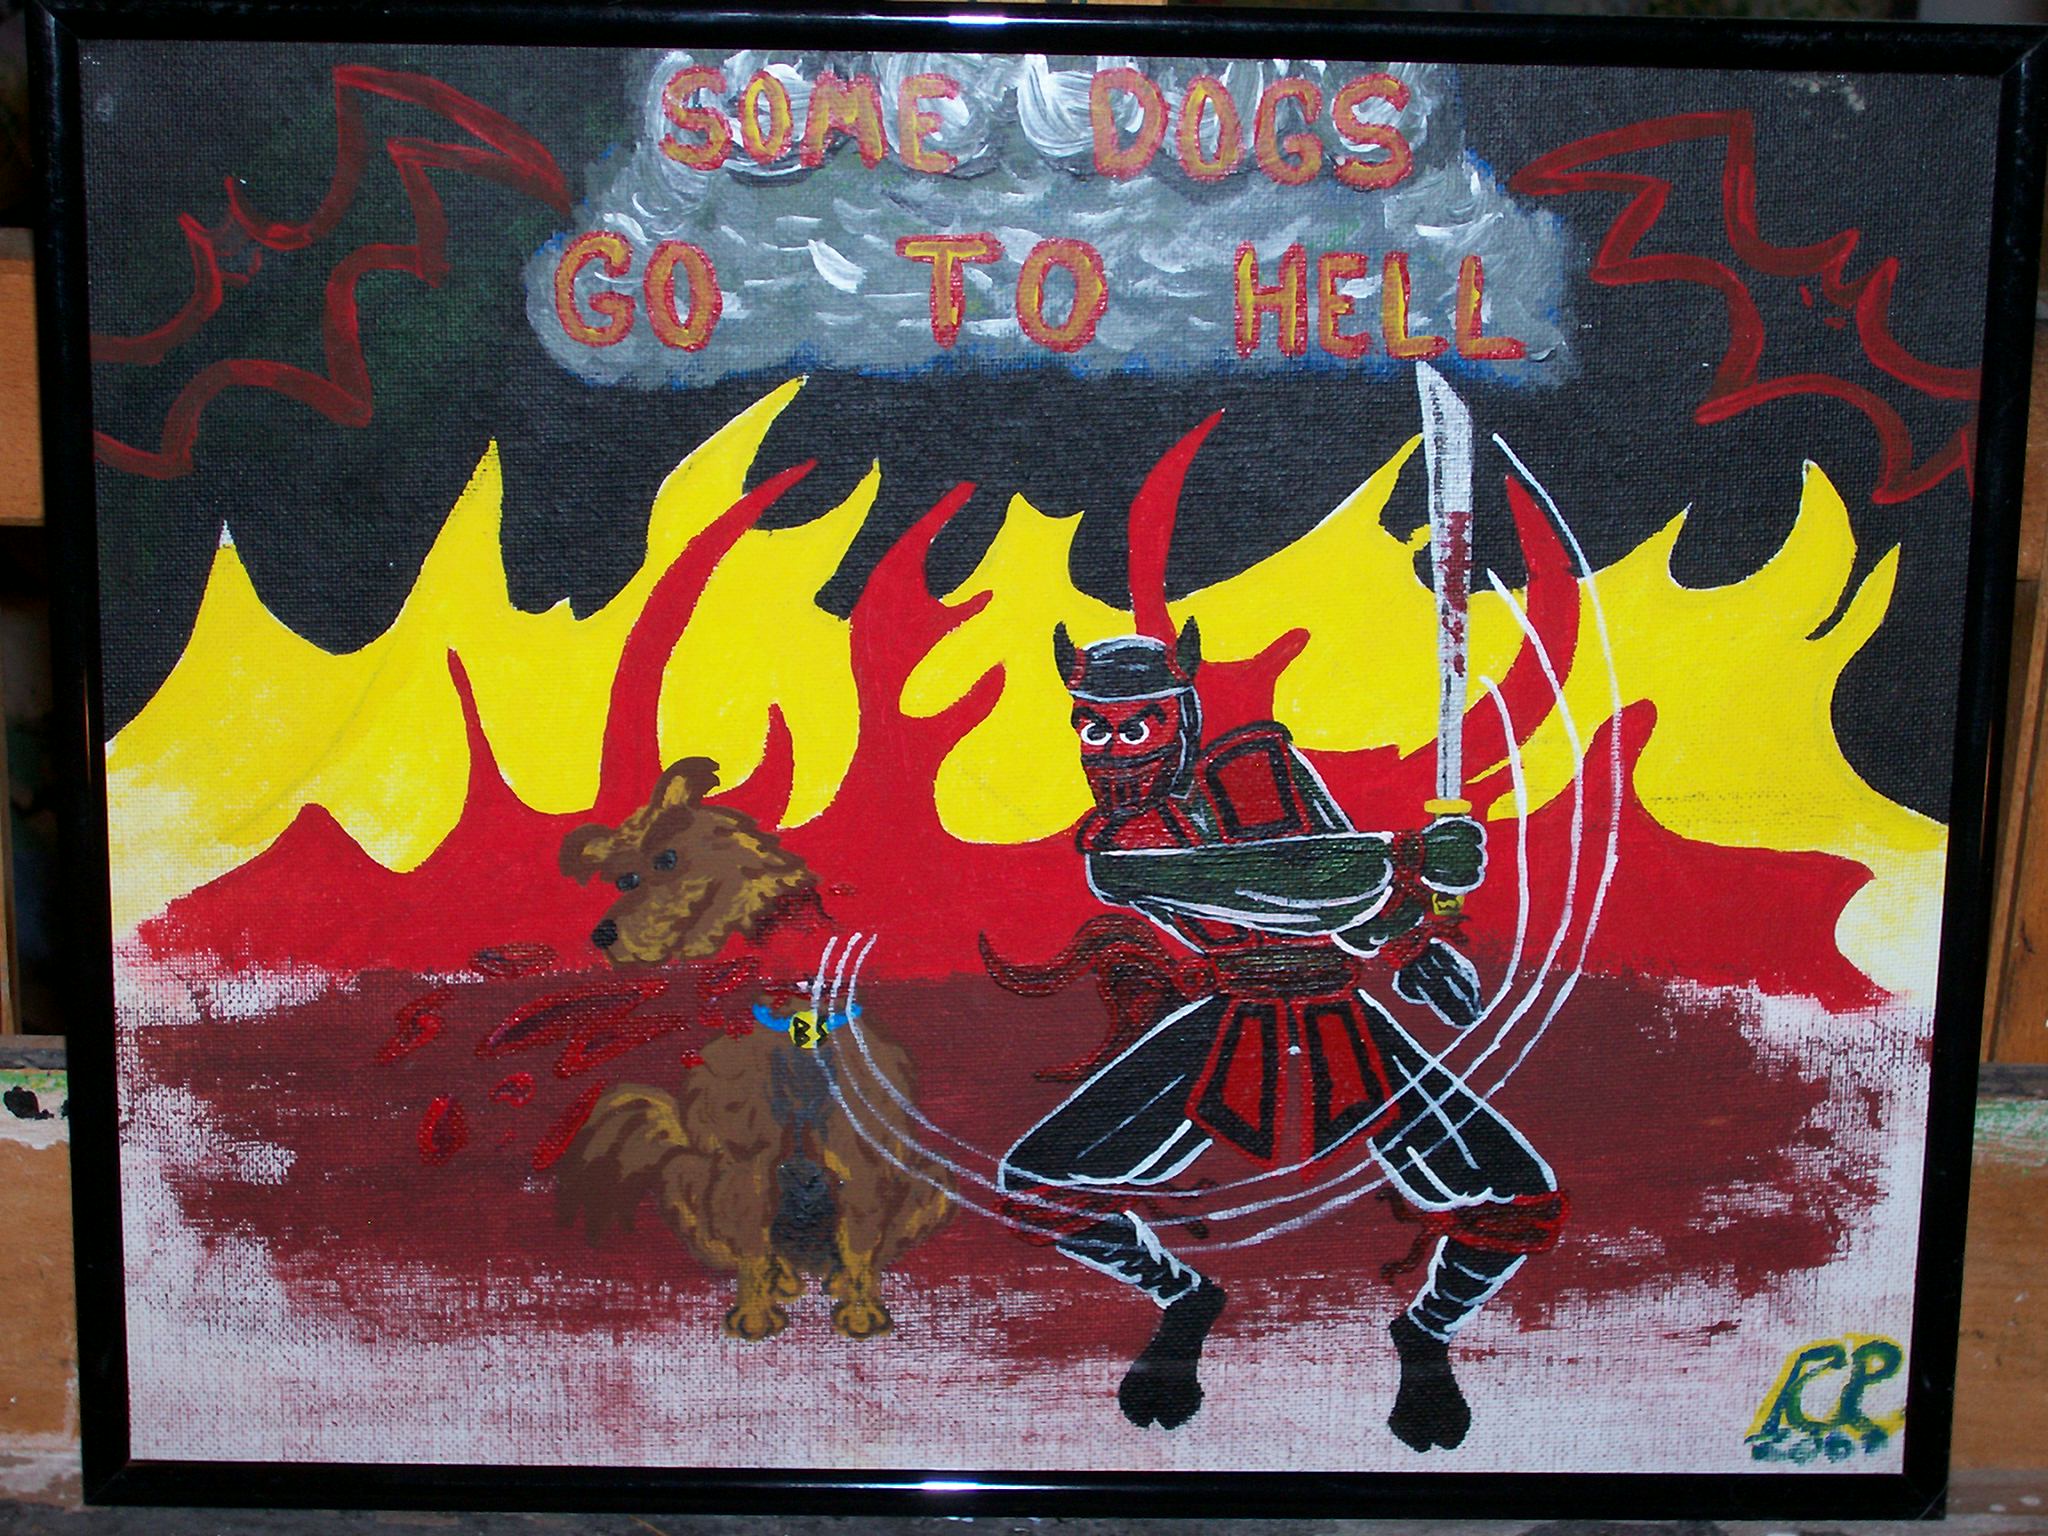 “Some dogs go to hell” 11×14
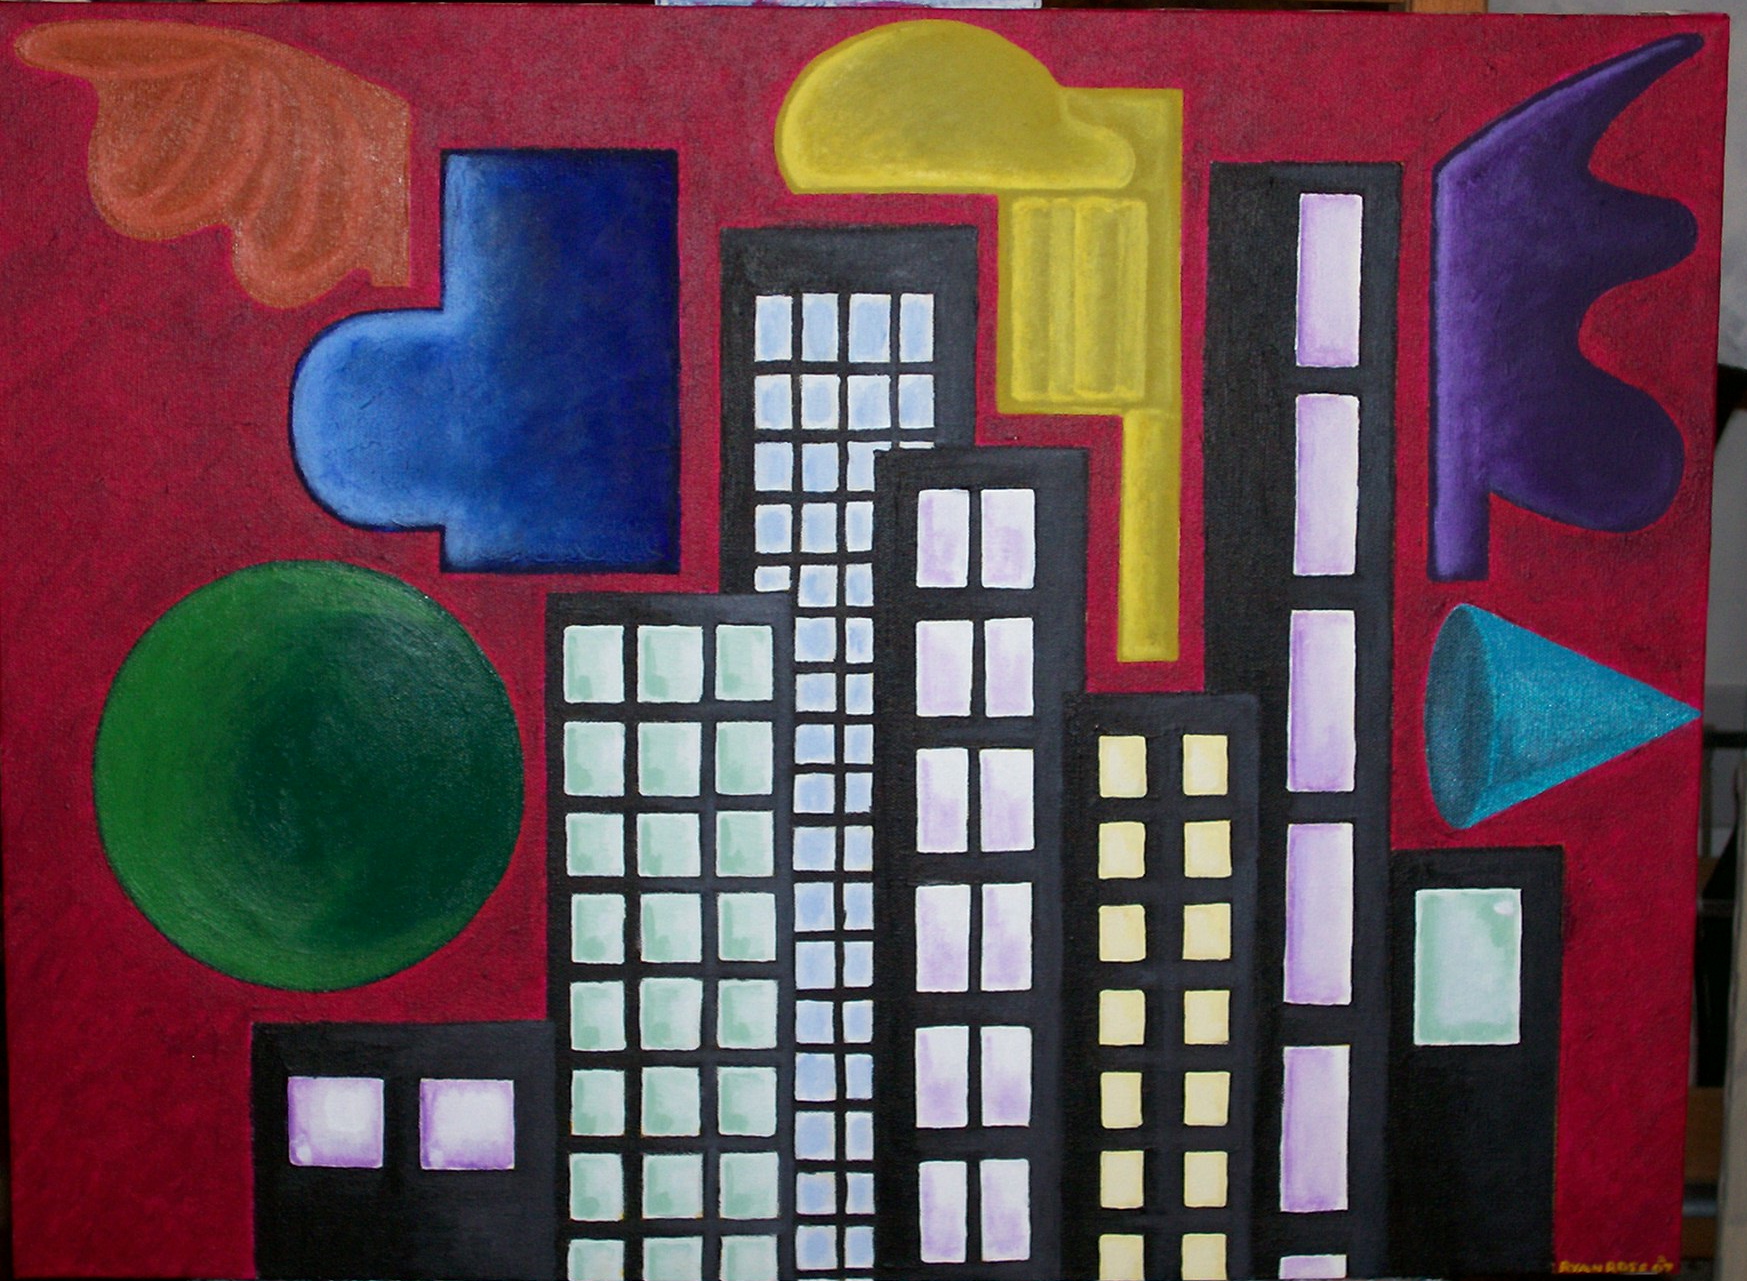 “A wing and a prayer” 18×24
 “Peep this” 16×20 Currently owned by a good friend.
 Beetlejuice 18×18 2013
 “One king” Bela Lugosi 18×18 2013
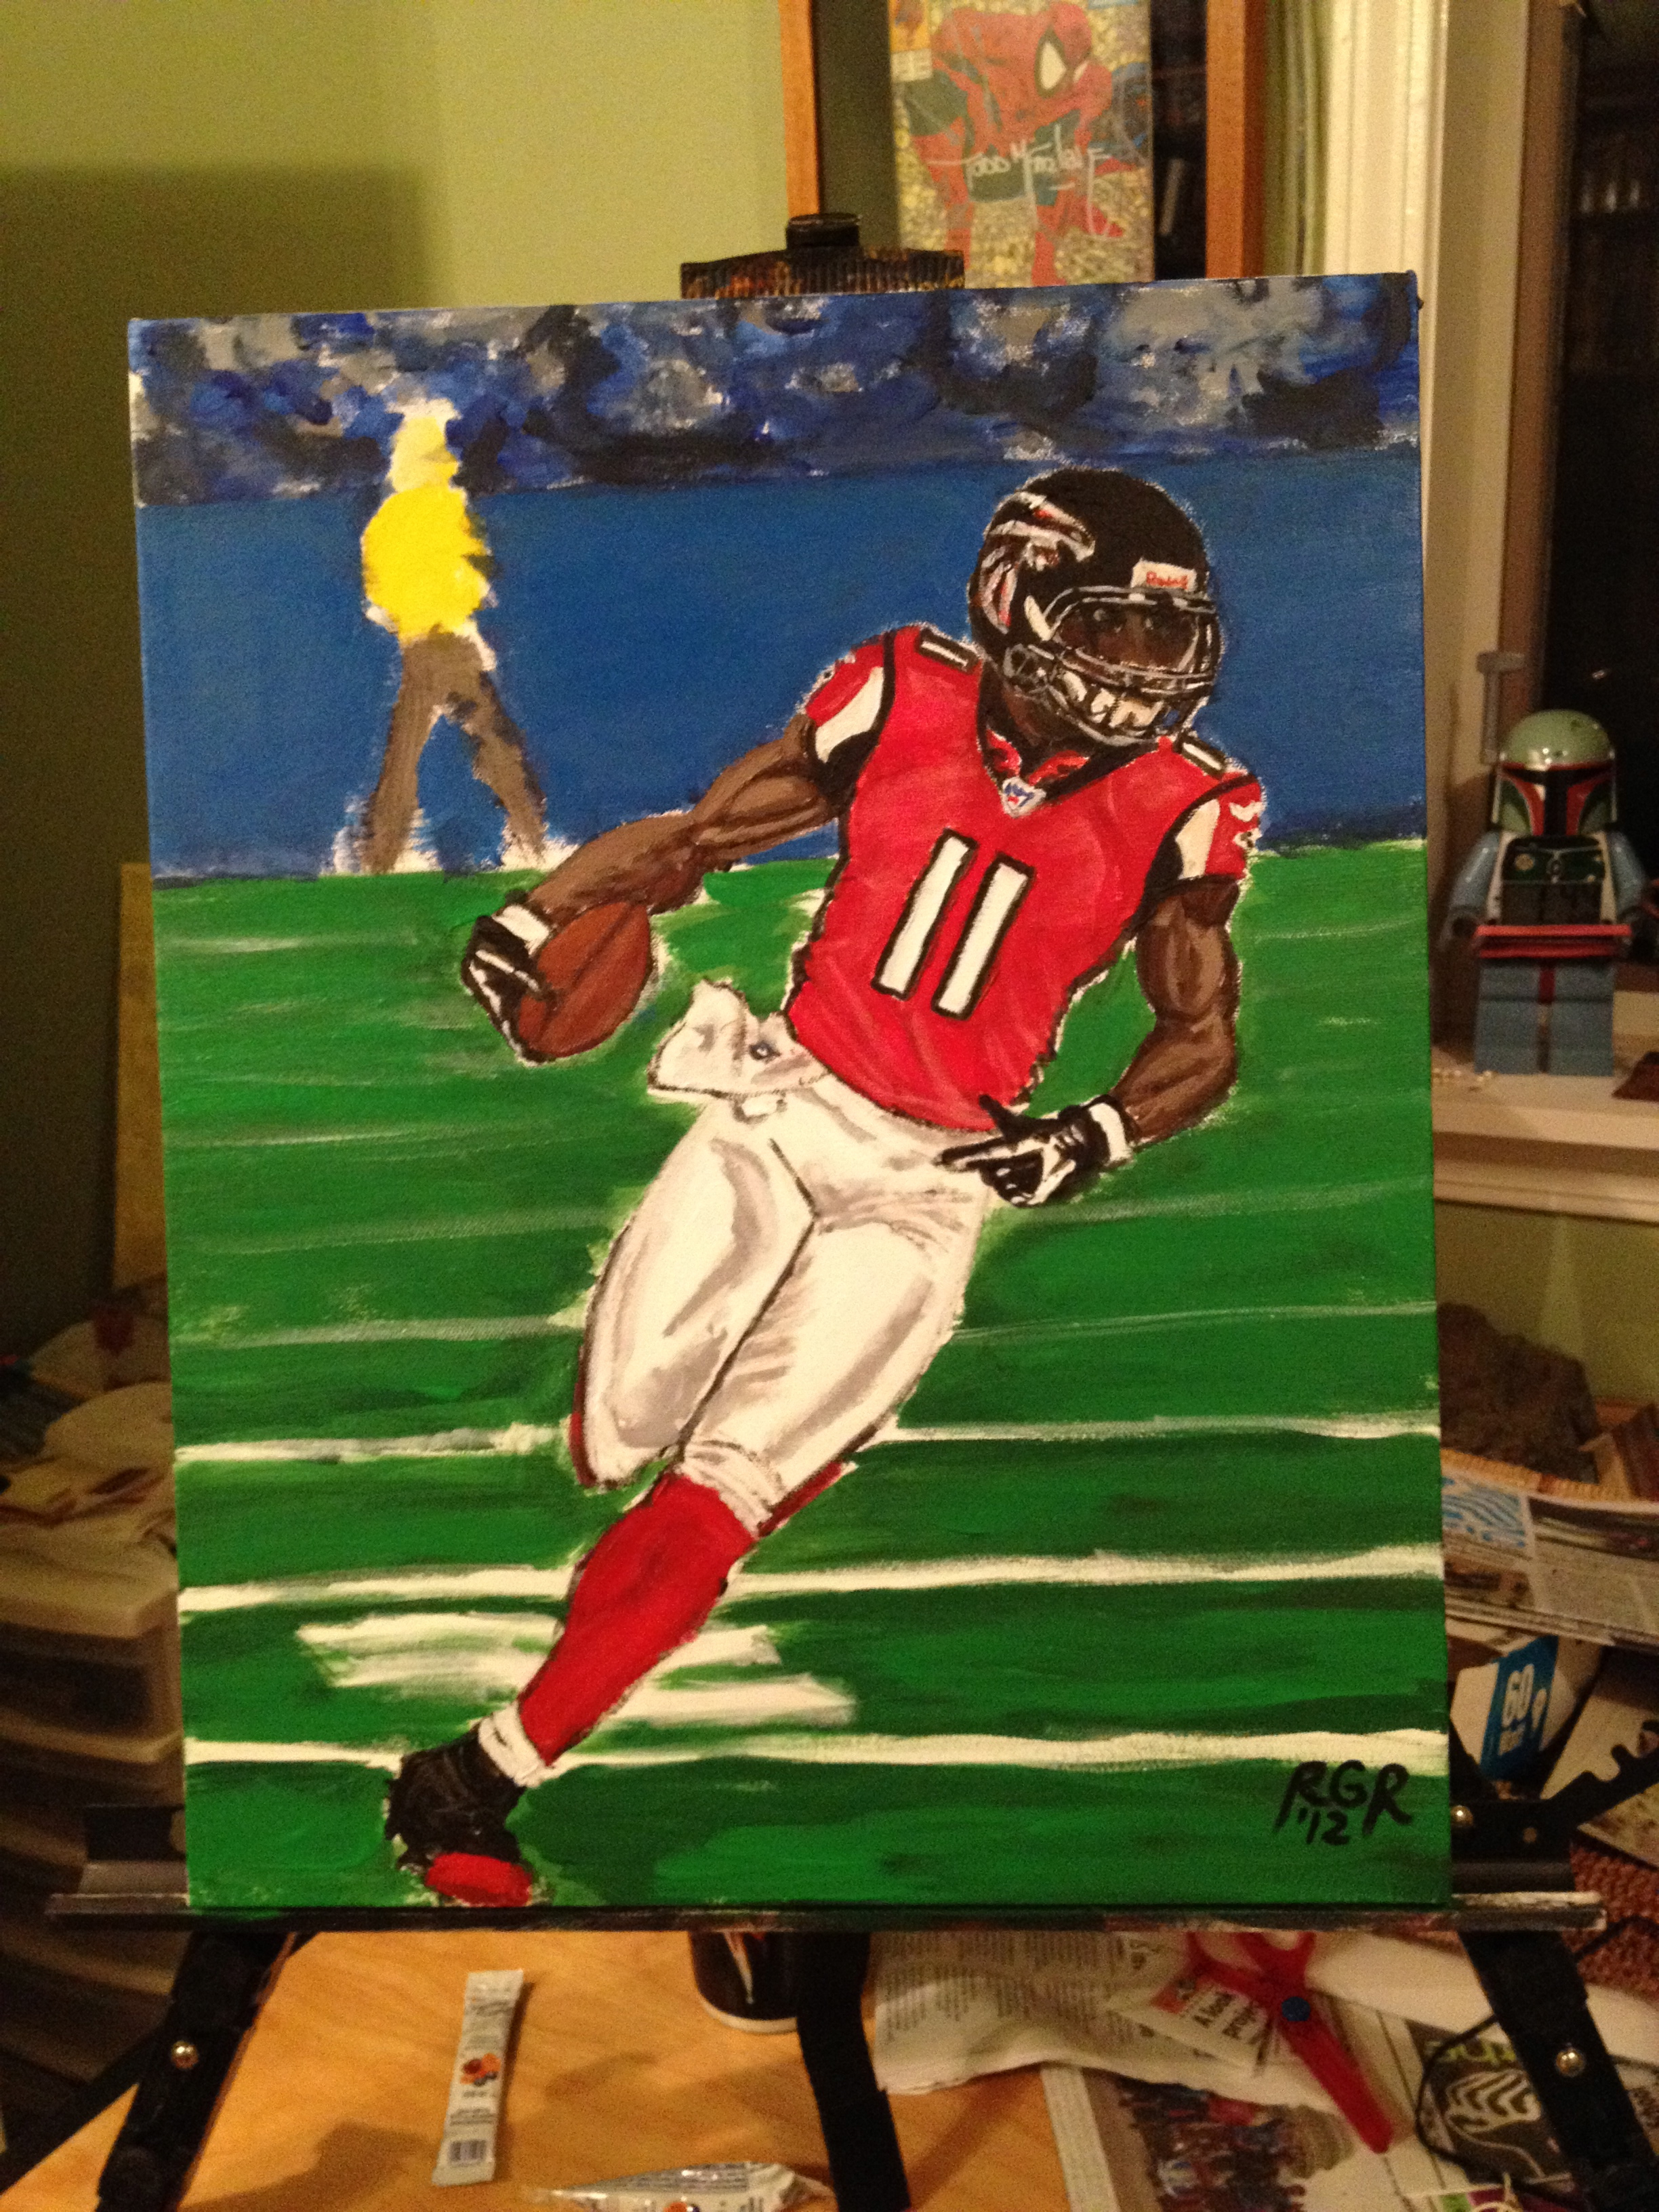 Julio Jones fast painting 16×20 2013
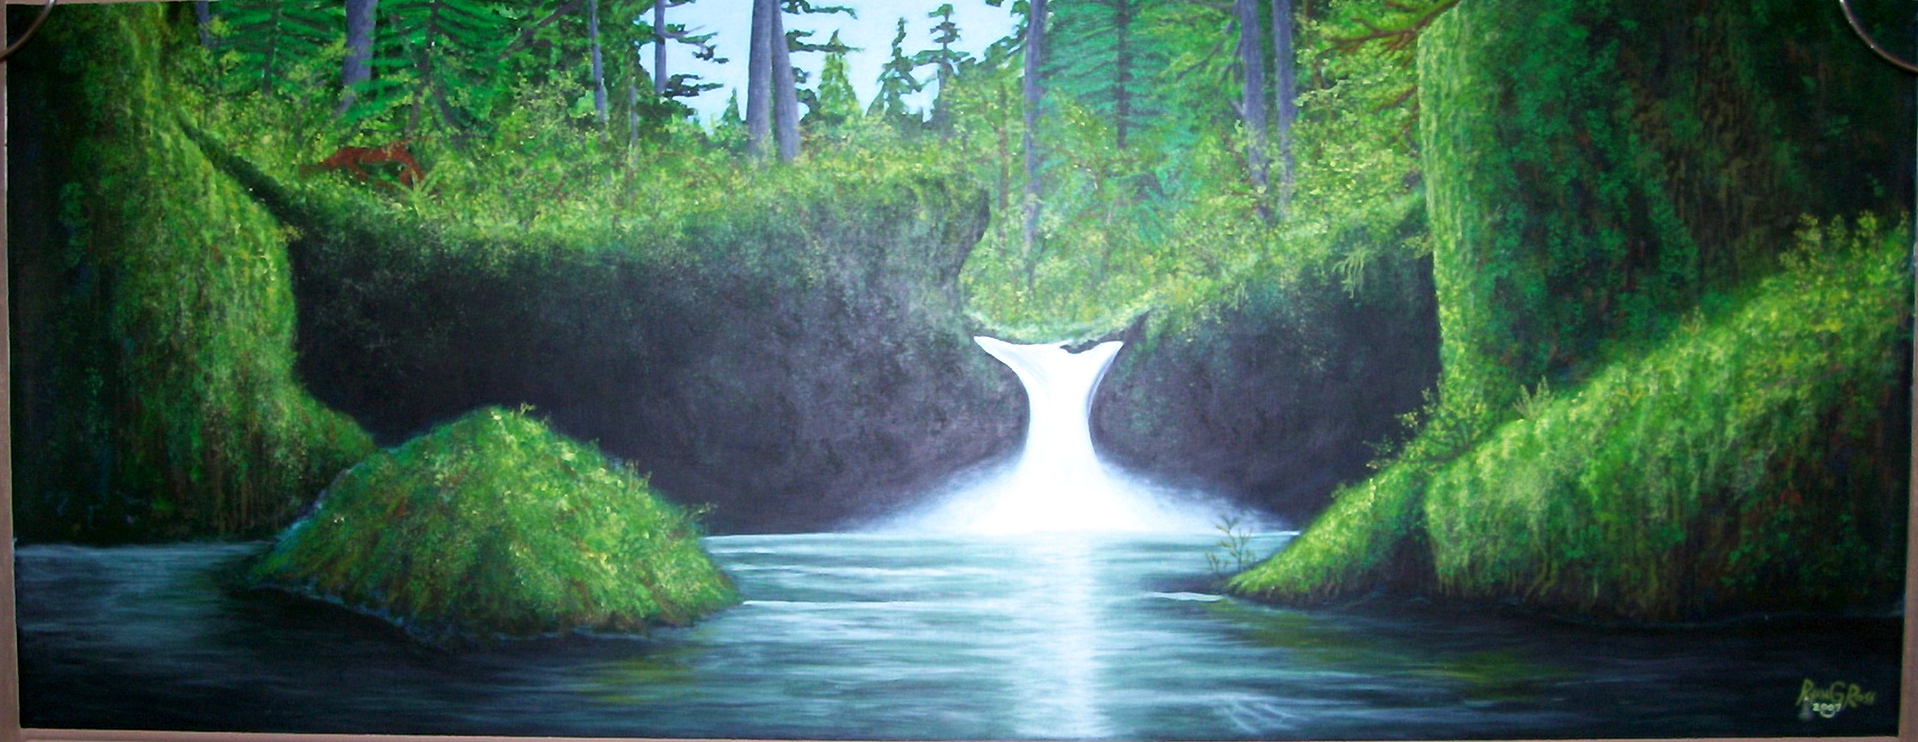 this was a large commission piece at least 3×7′ 2007
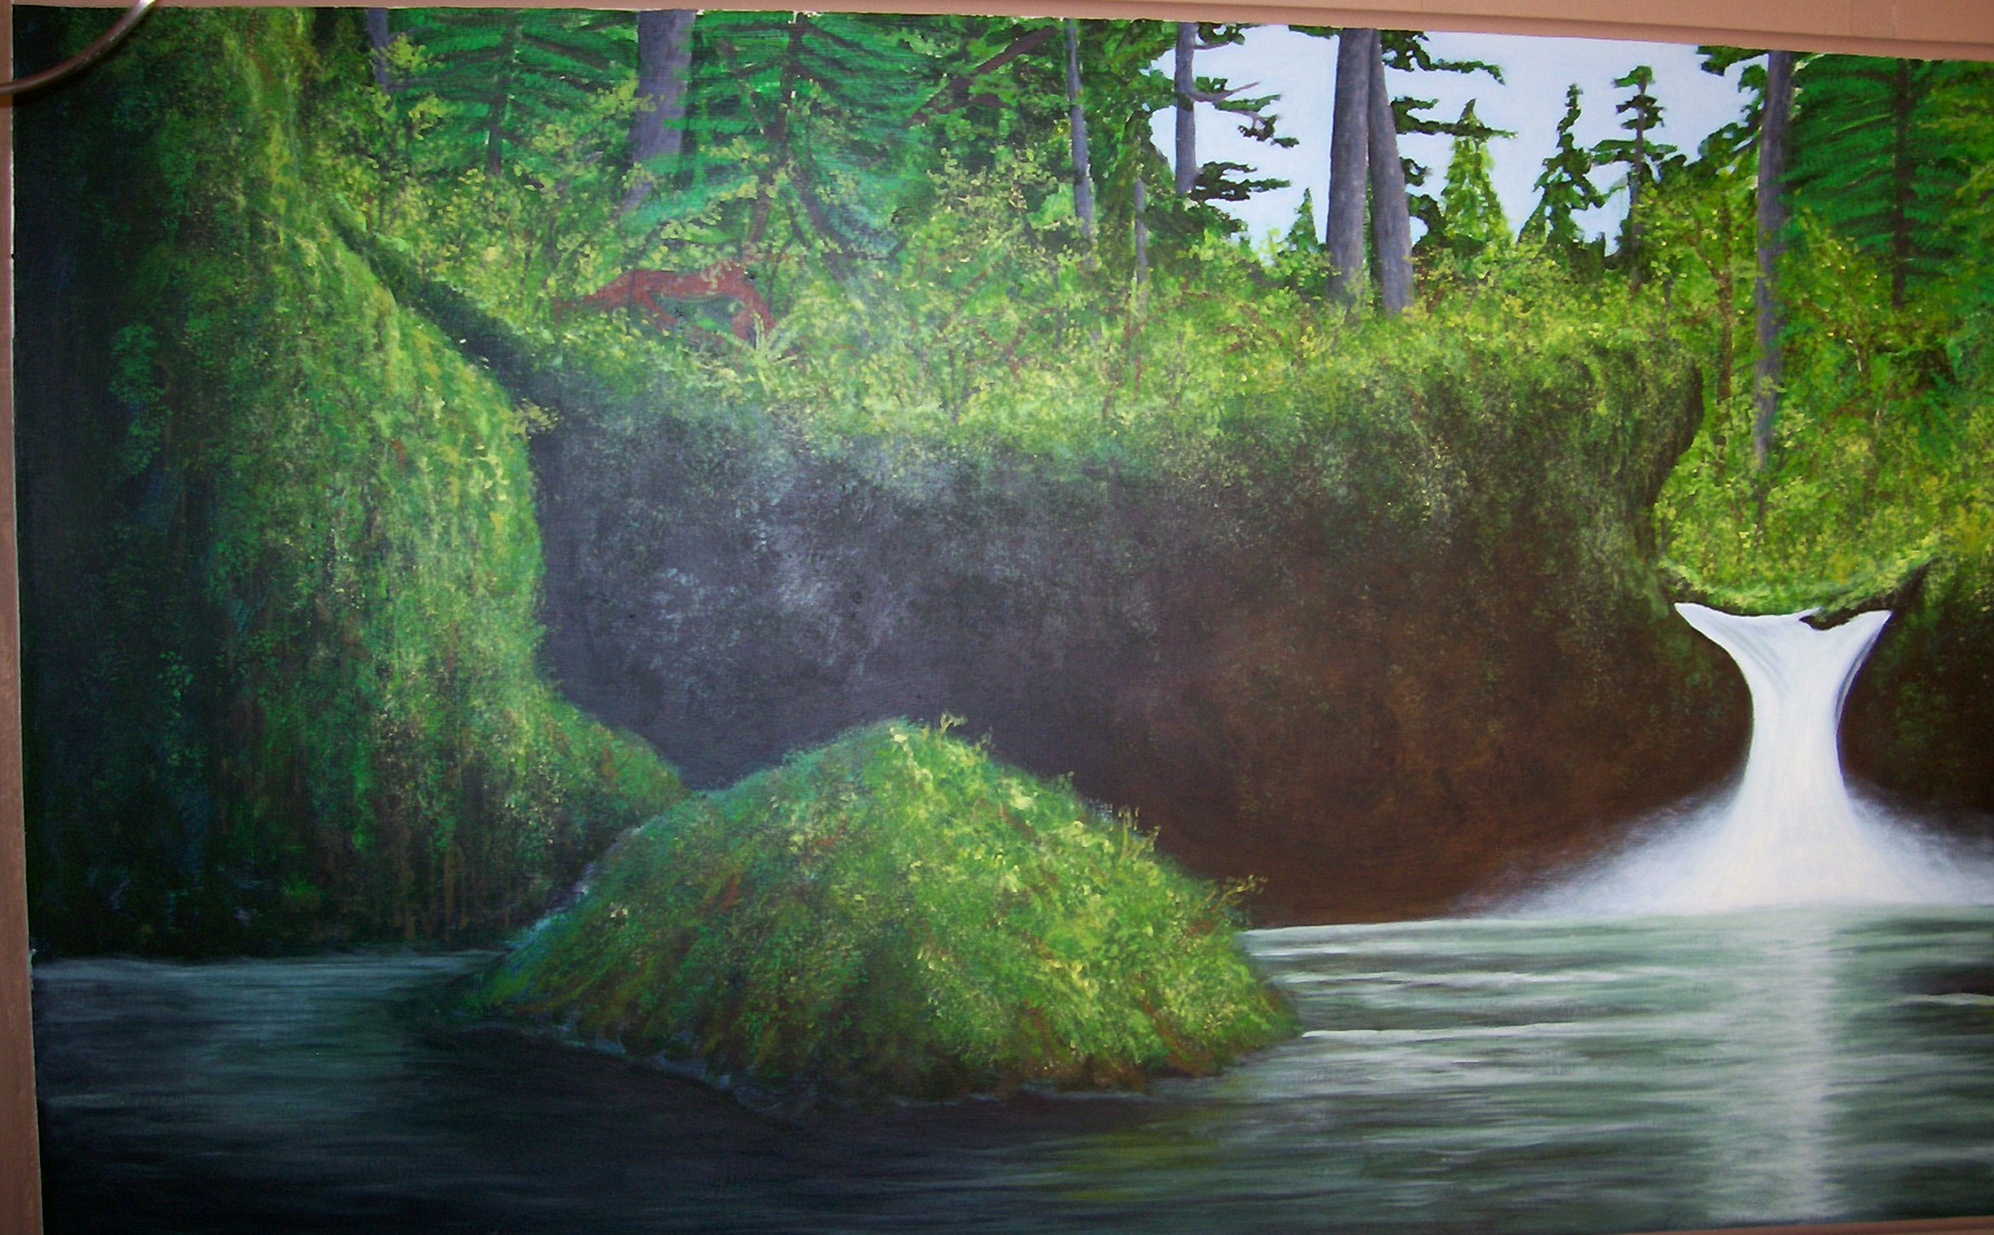
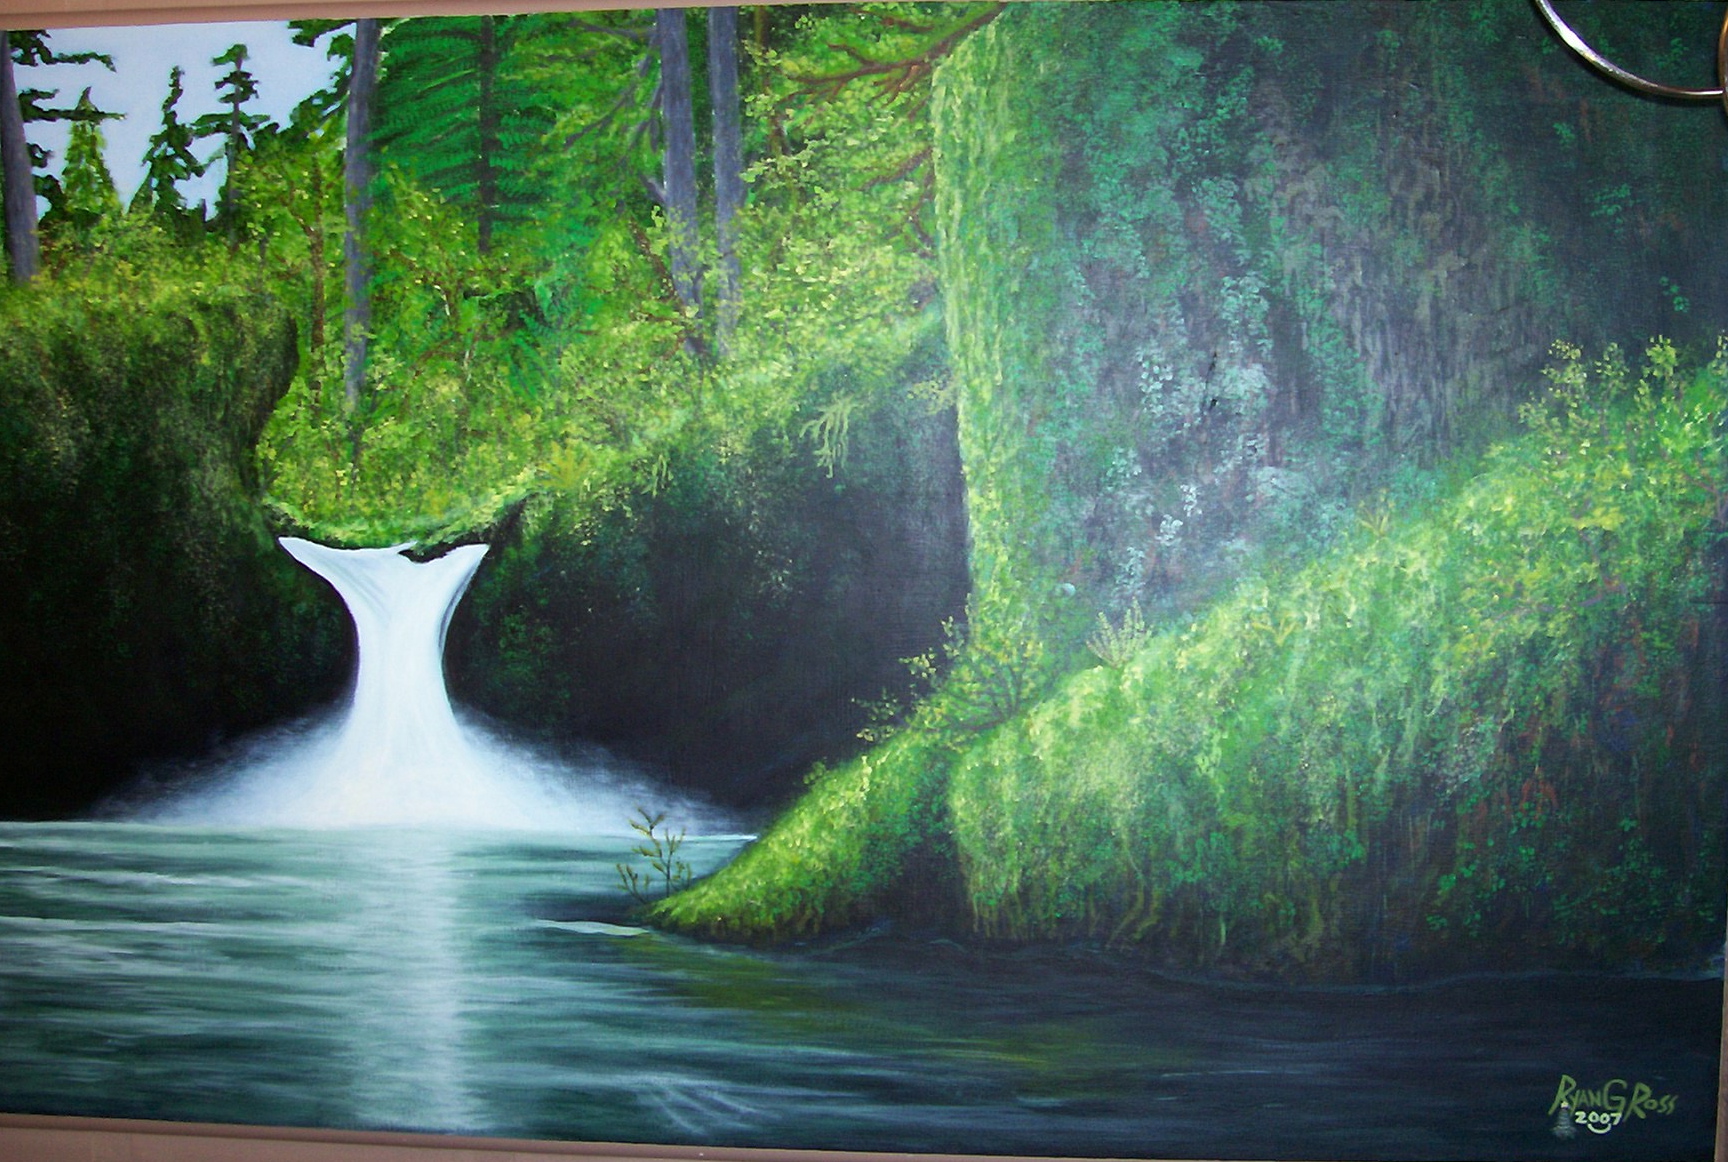 details left and right
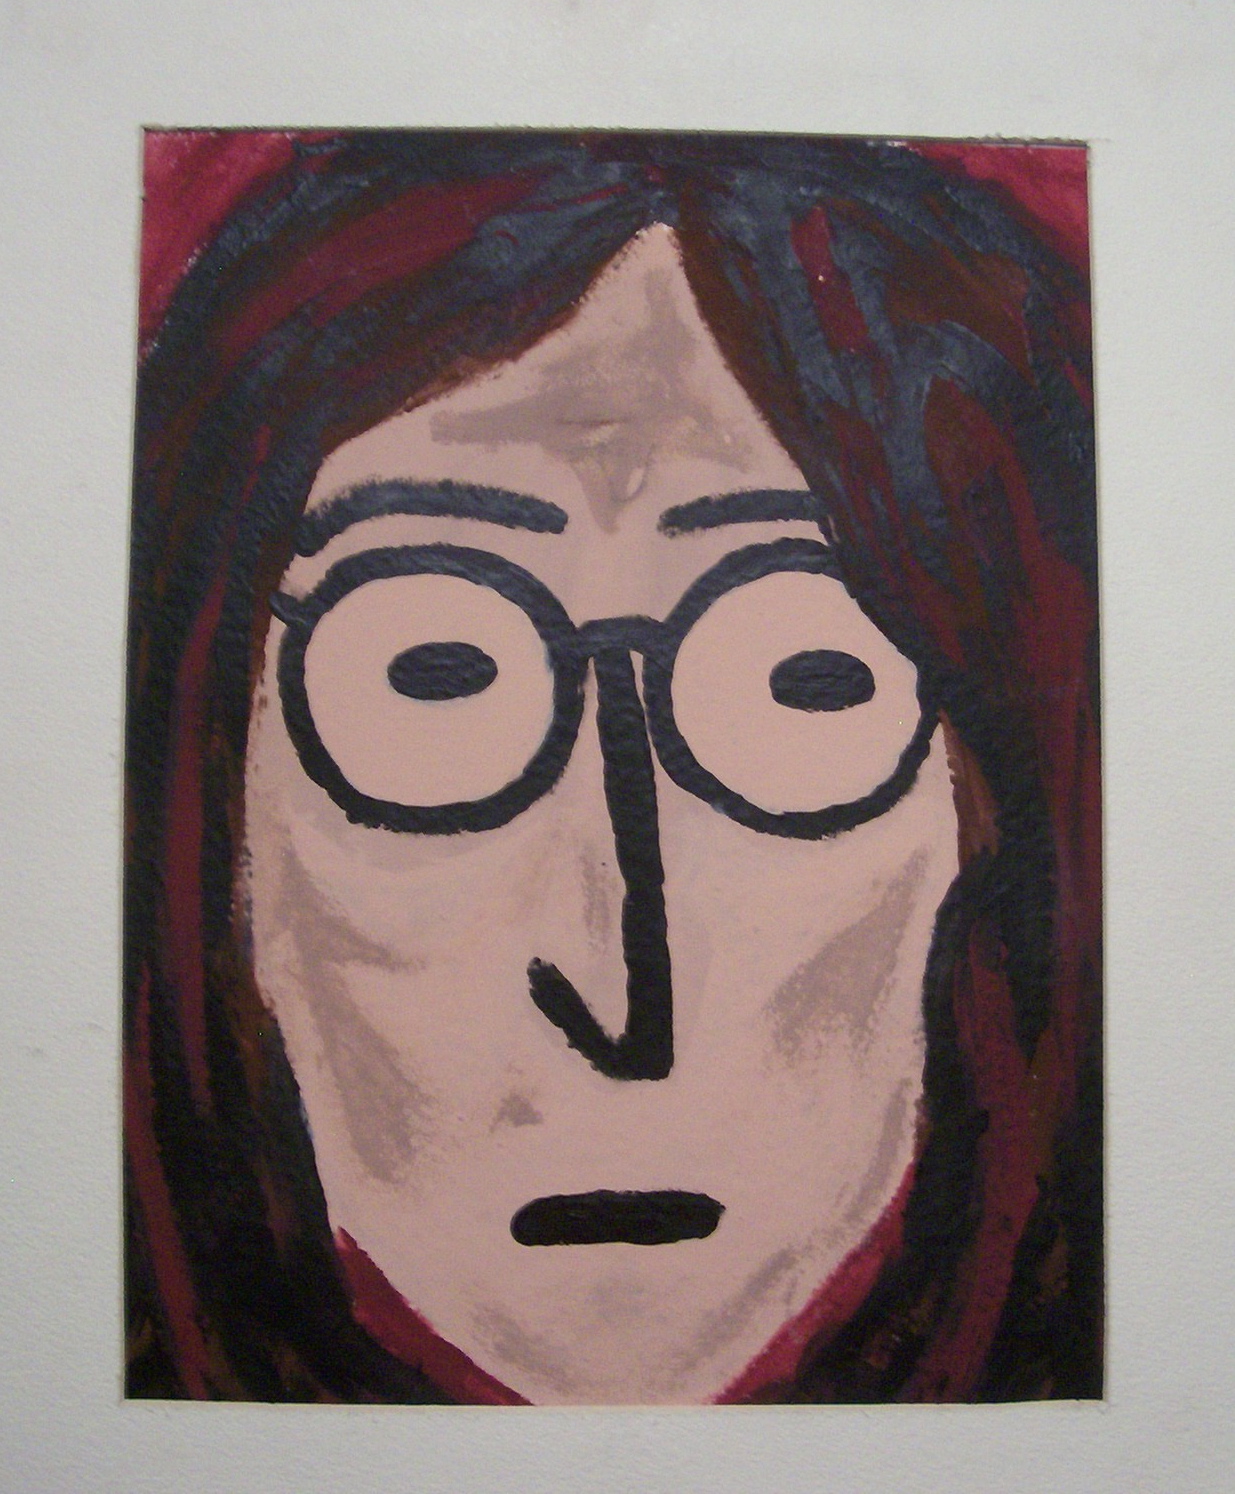 John Lennon finger painting 11×14 circa 1994
 Commission for The 6th Street Pier in Griffin Ga roughly 2×4′ Located on the front of a metal portable bar not currently in plain view at the restaurant.
Oil paintings.
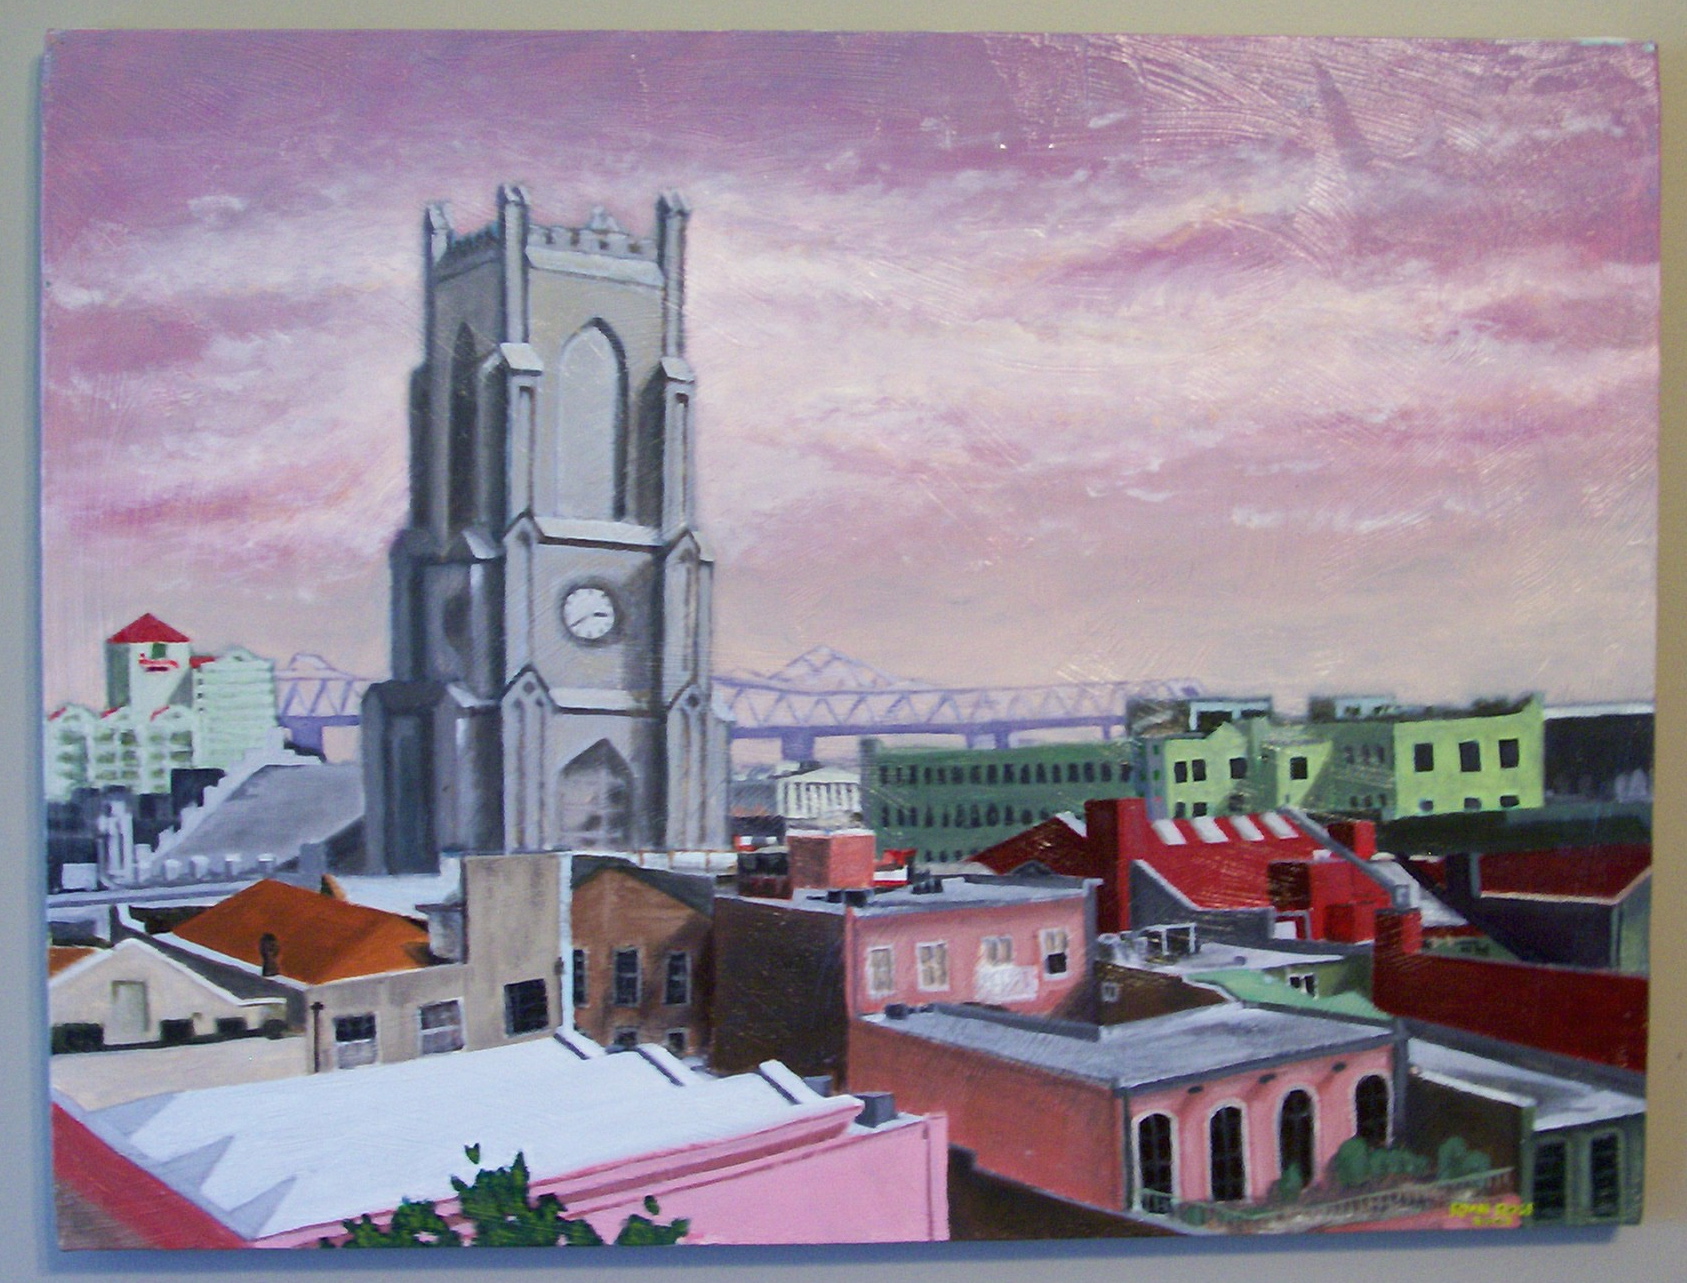 “A view from Gan’s” 18×24 This piece actually took a blue ribbon in the Georgia National Fair amateur art show.
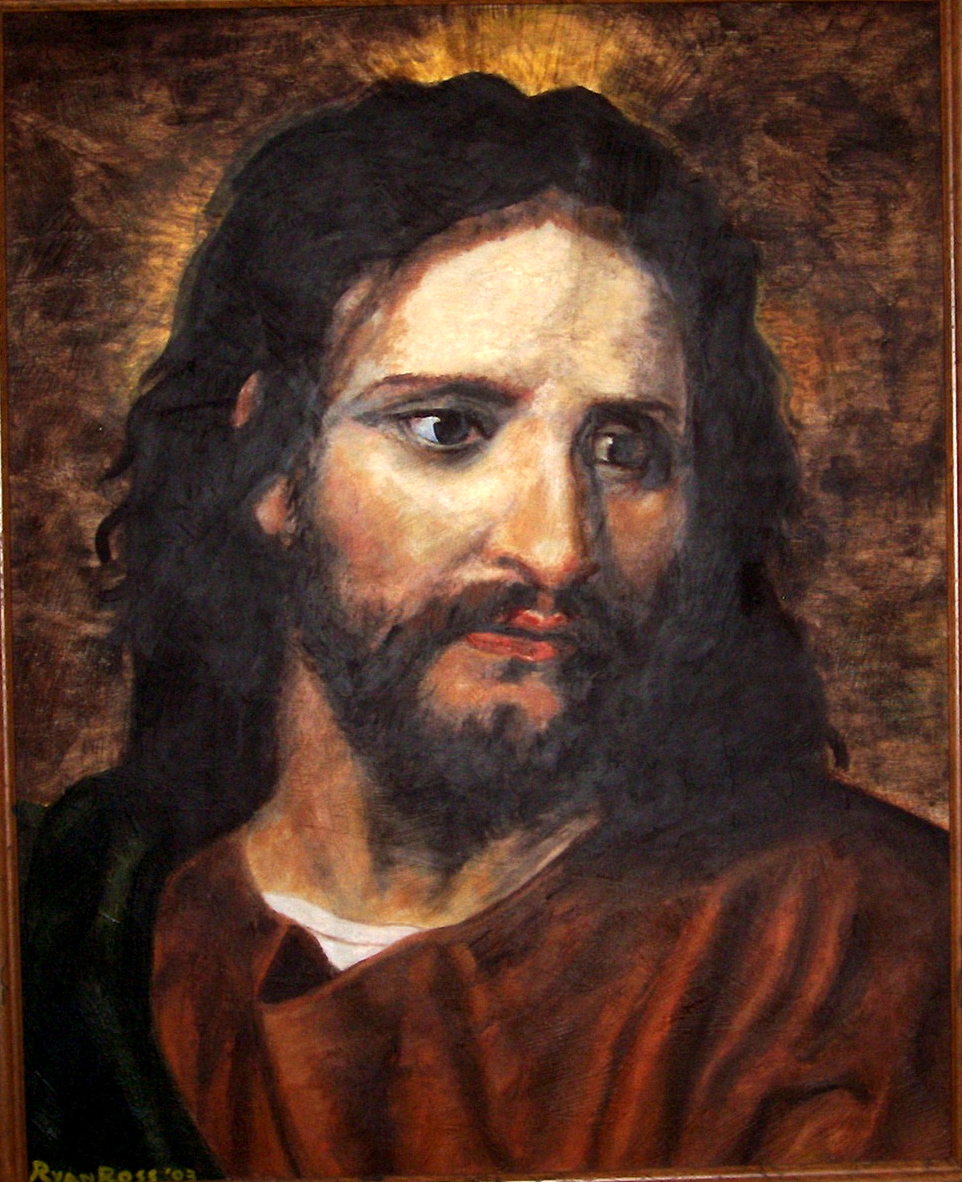 Jesus 16×20 2003
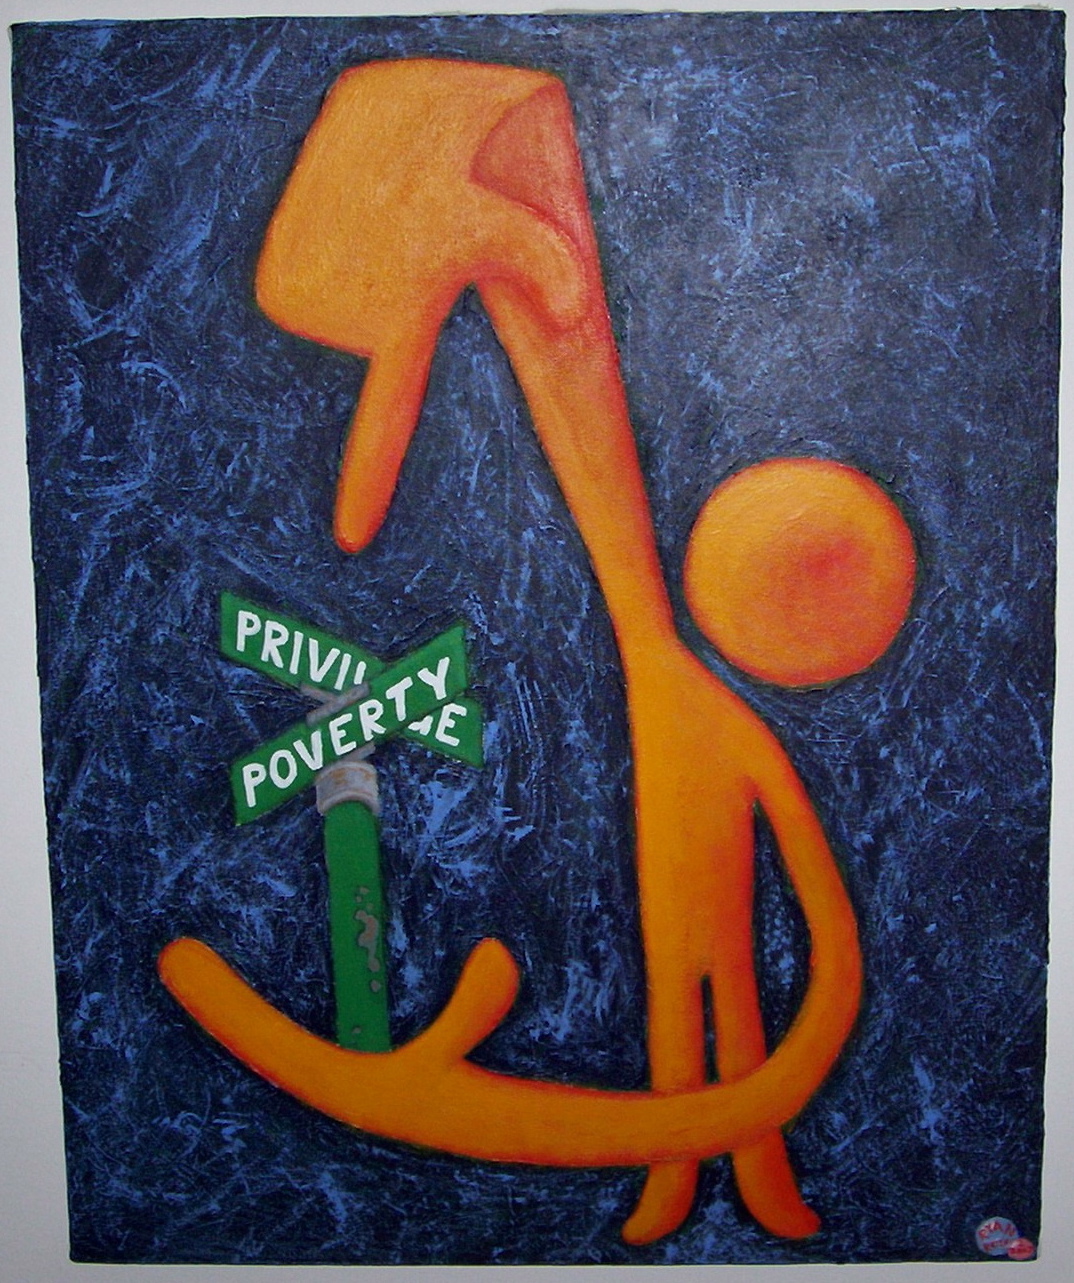
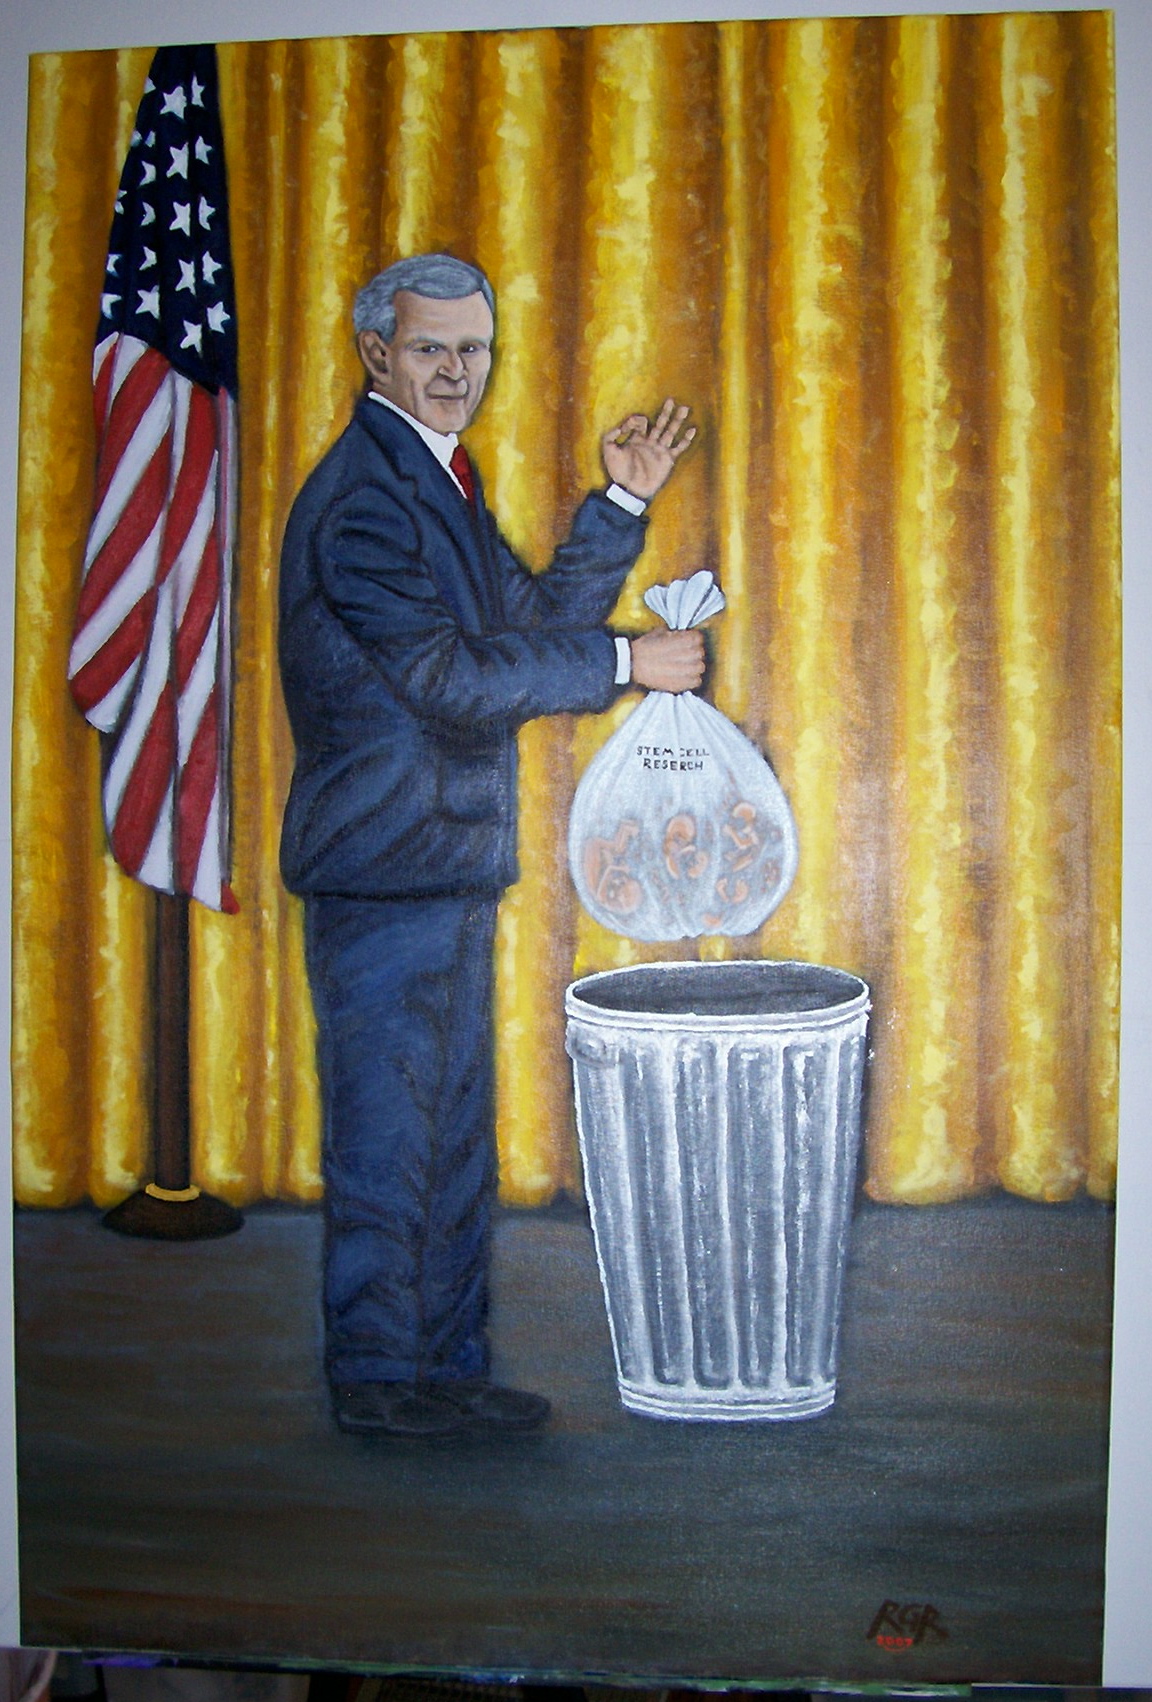 “Throwing away the future” 24×36
 (detail) This piece has tons of personal meaning and zero resale value. Just had to paint it.
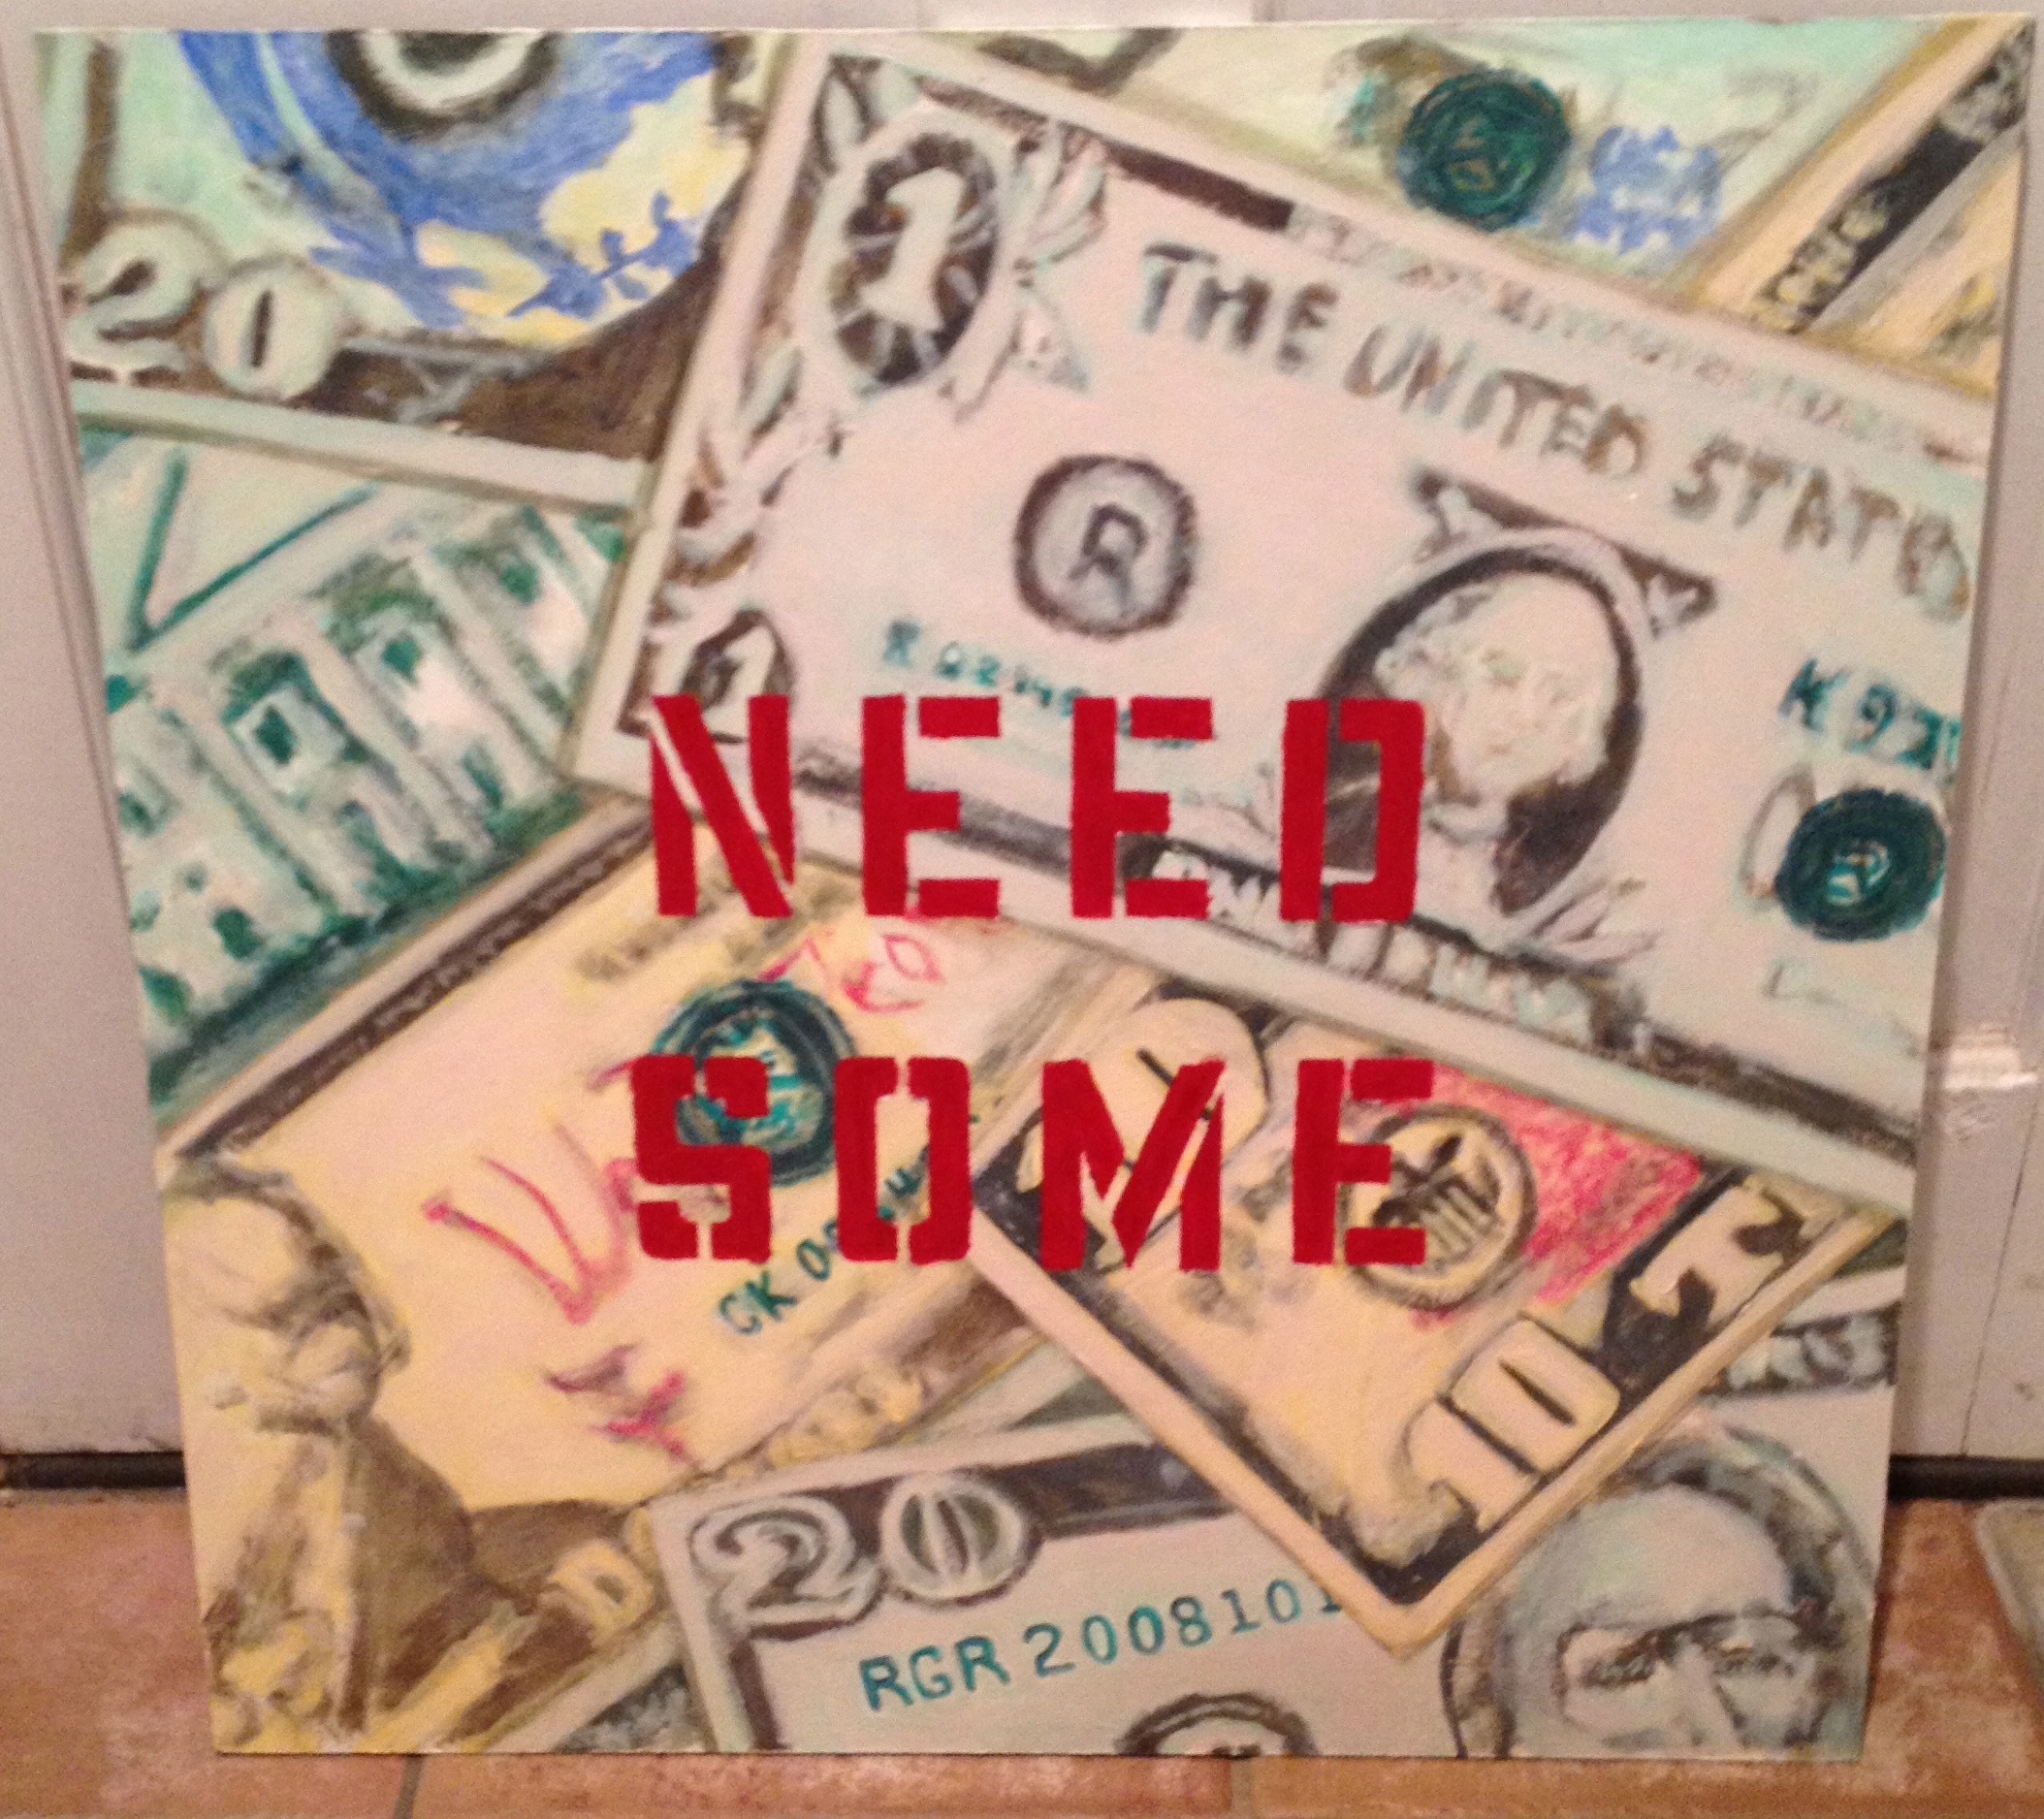
 “Need Some, Spare Some” 2 pieces approx. 24×24 each (sorry about the bad pic on the first one. Will try and get a better one soon) 2008
Here you have a chunk of examples and there are still tons more to add to all of these! just need to find and/or take pictures of more. I think its boring to give it all up at once though, don’t you? Stay engaged and keep looking. Thanks.
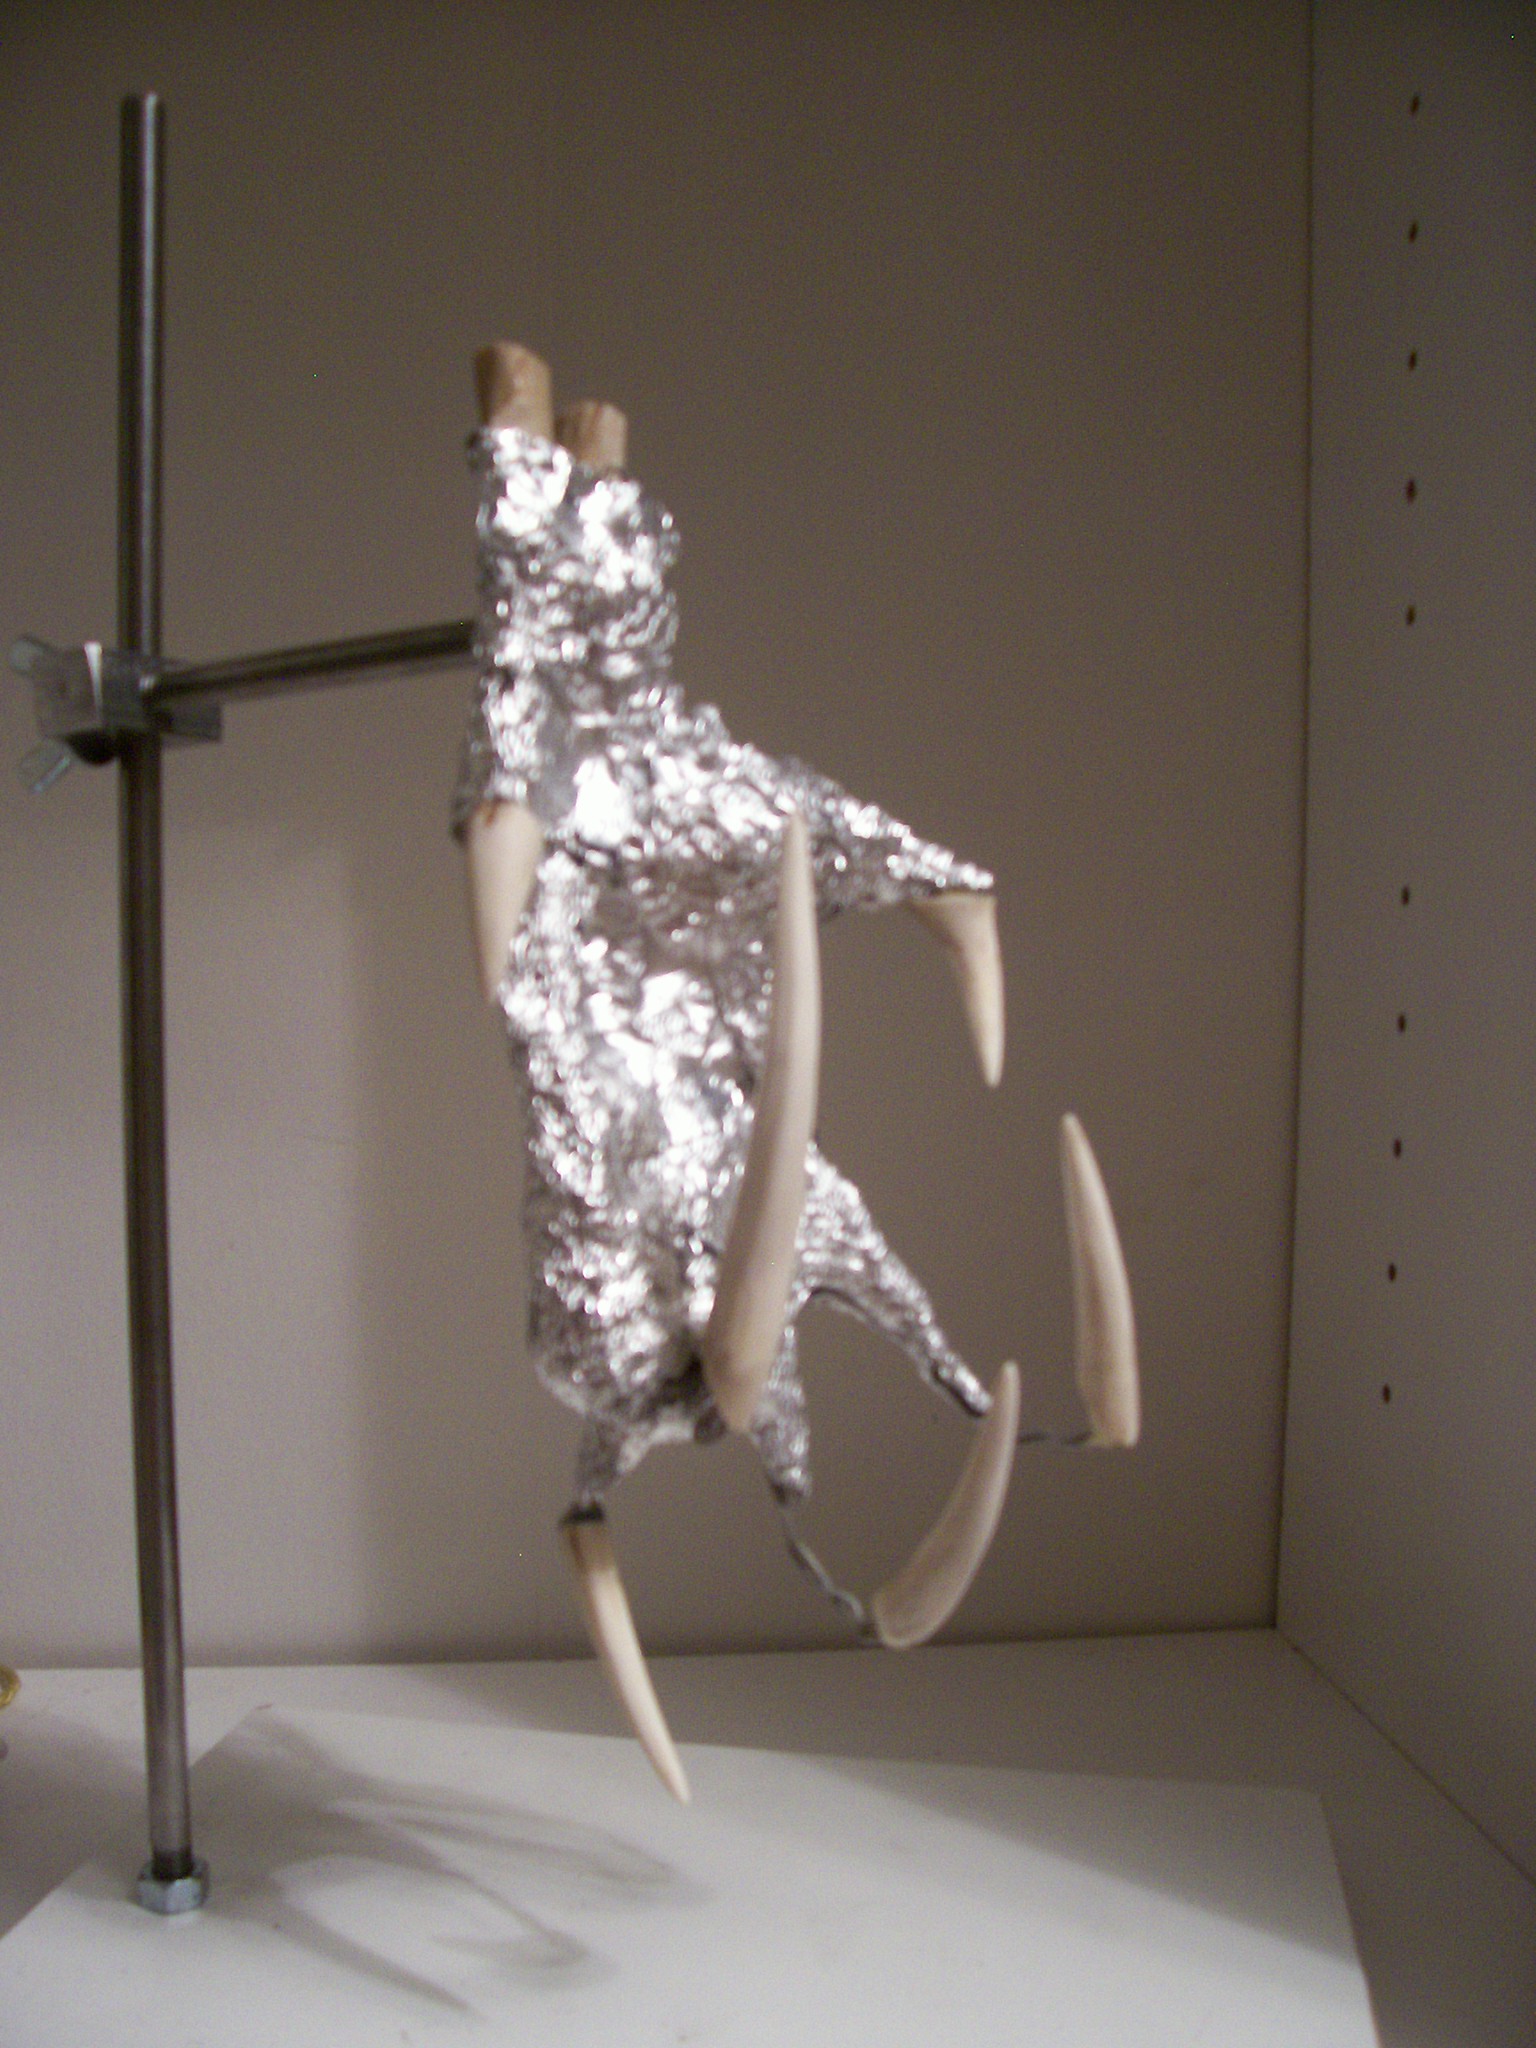
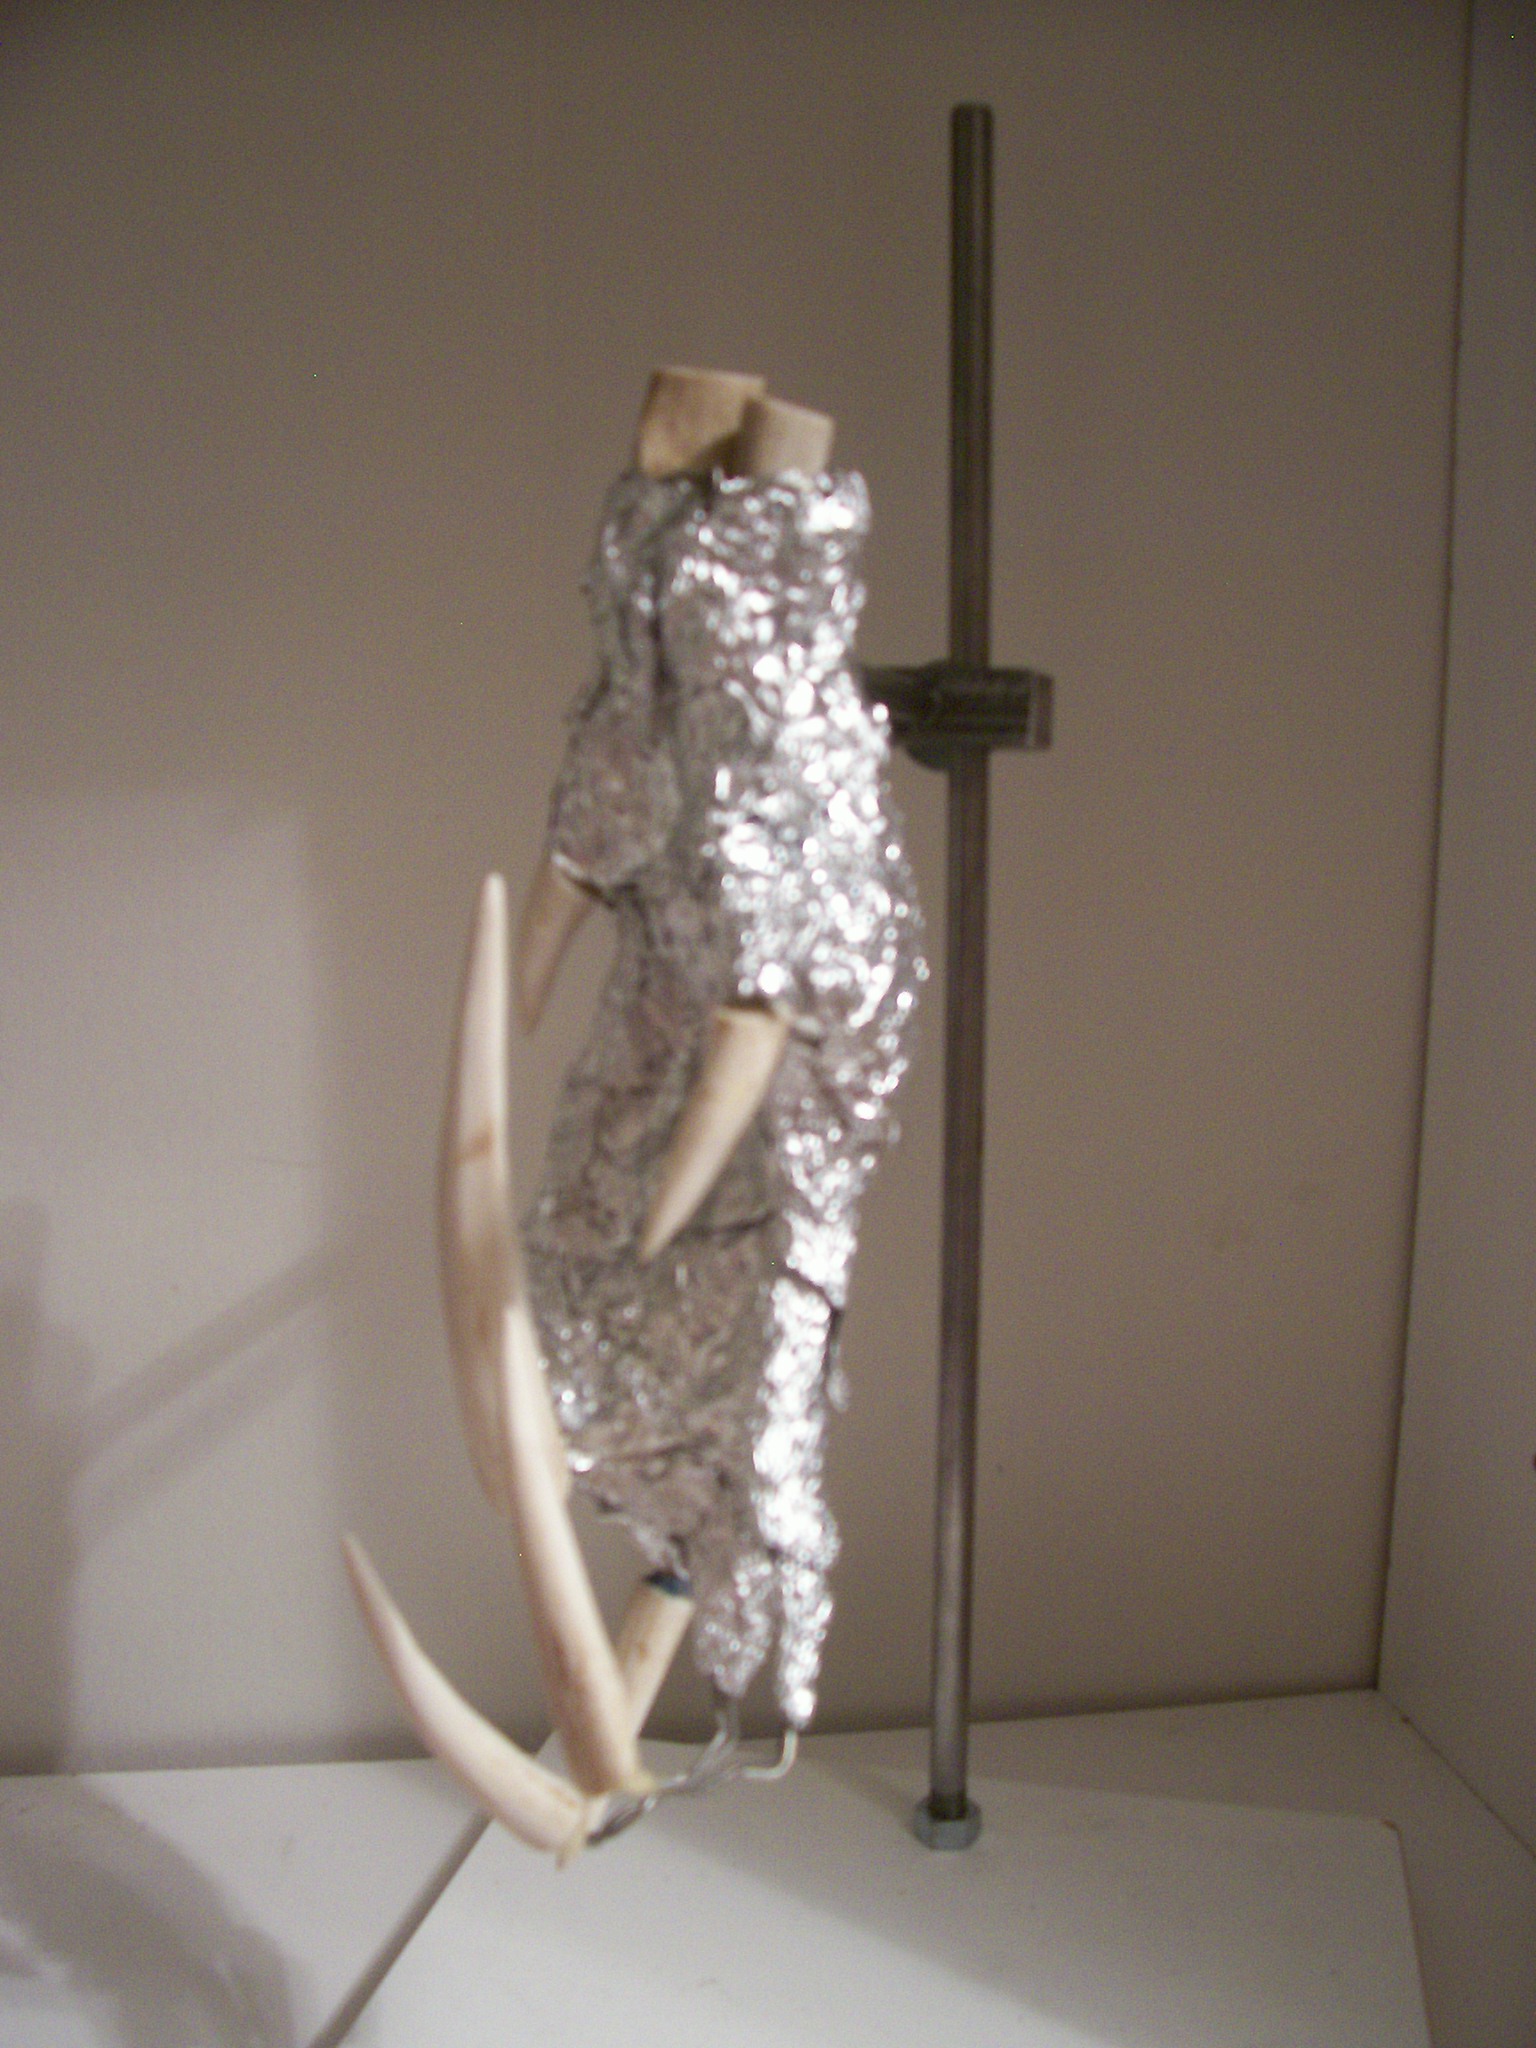
One day I sketched this tiny two inch picture of a grotesquely deformed creature hand. 
Years passed by and I saw it again. I wanted create a larger sculptural art piece with massive work involved. I formed a base line for it using wire aluminum foil and deer antlers (I don’t hang them on my walls I destroy them and turn into much creepier objects)Below is my armature form.


Pretty cool I thought. Again years pass by. Clay was finally put on the piece and it began to take form. Another long period of time passes by, I know, this is ridiculous right? Of course it is but, it’s all true. 2013-2014 arrives and I’m finally ready to detail the darn thing. After some minor reworking it is finally sculpted to completion. Here it is in the works (first five pics)and then finished (last seven pics.)
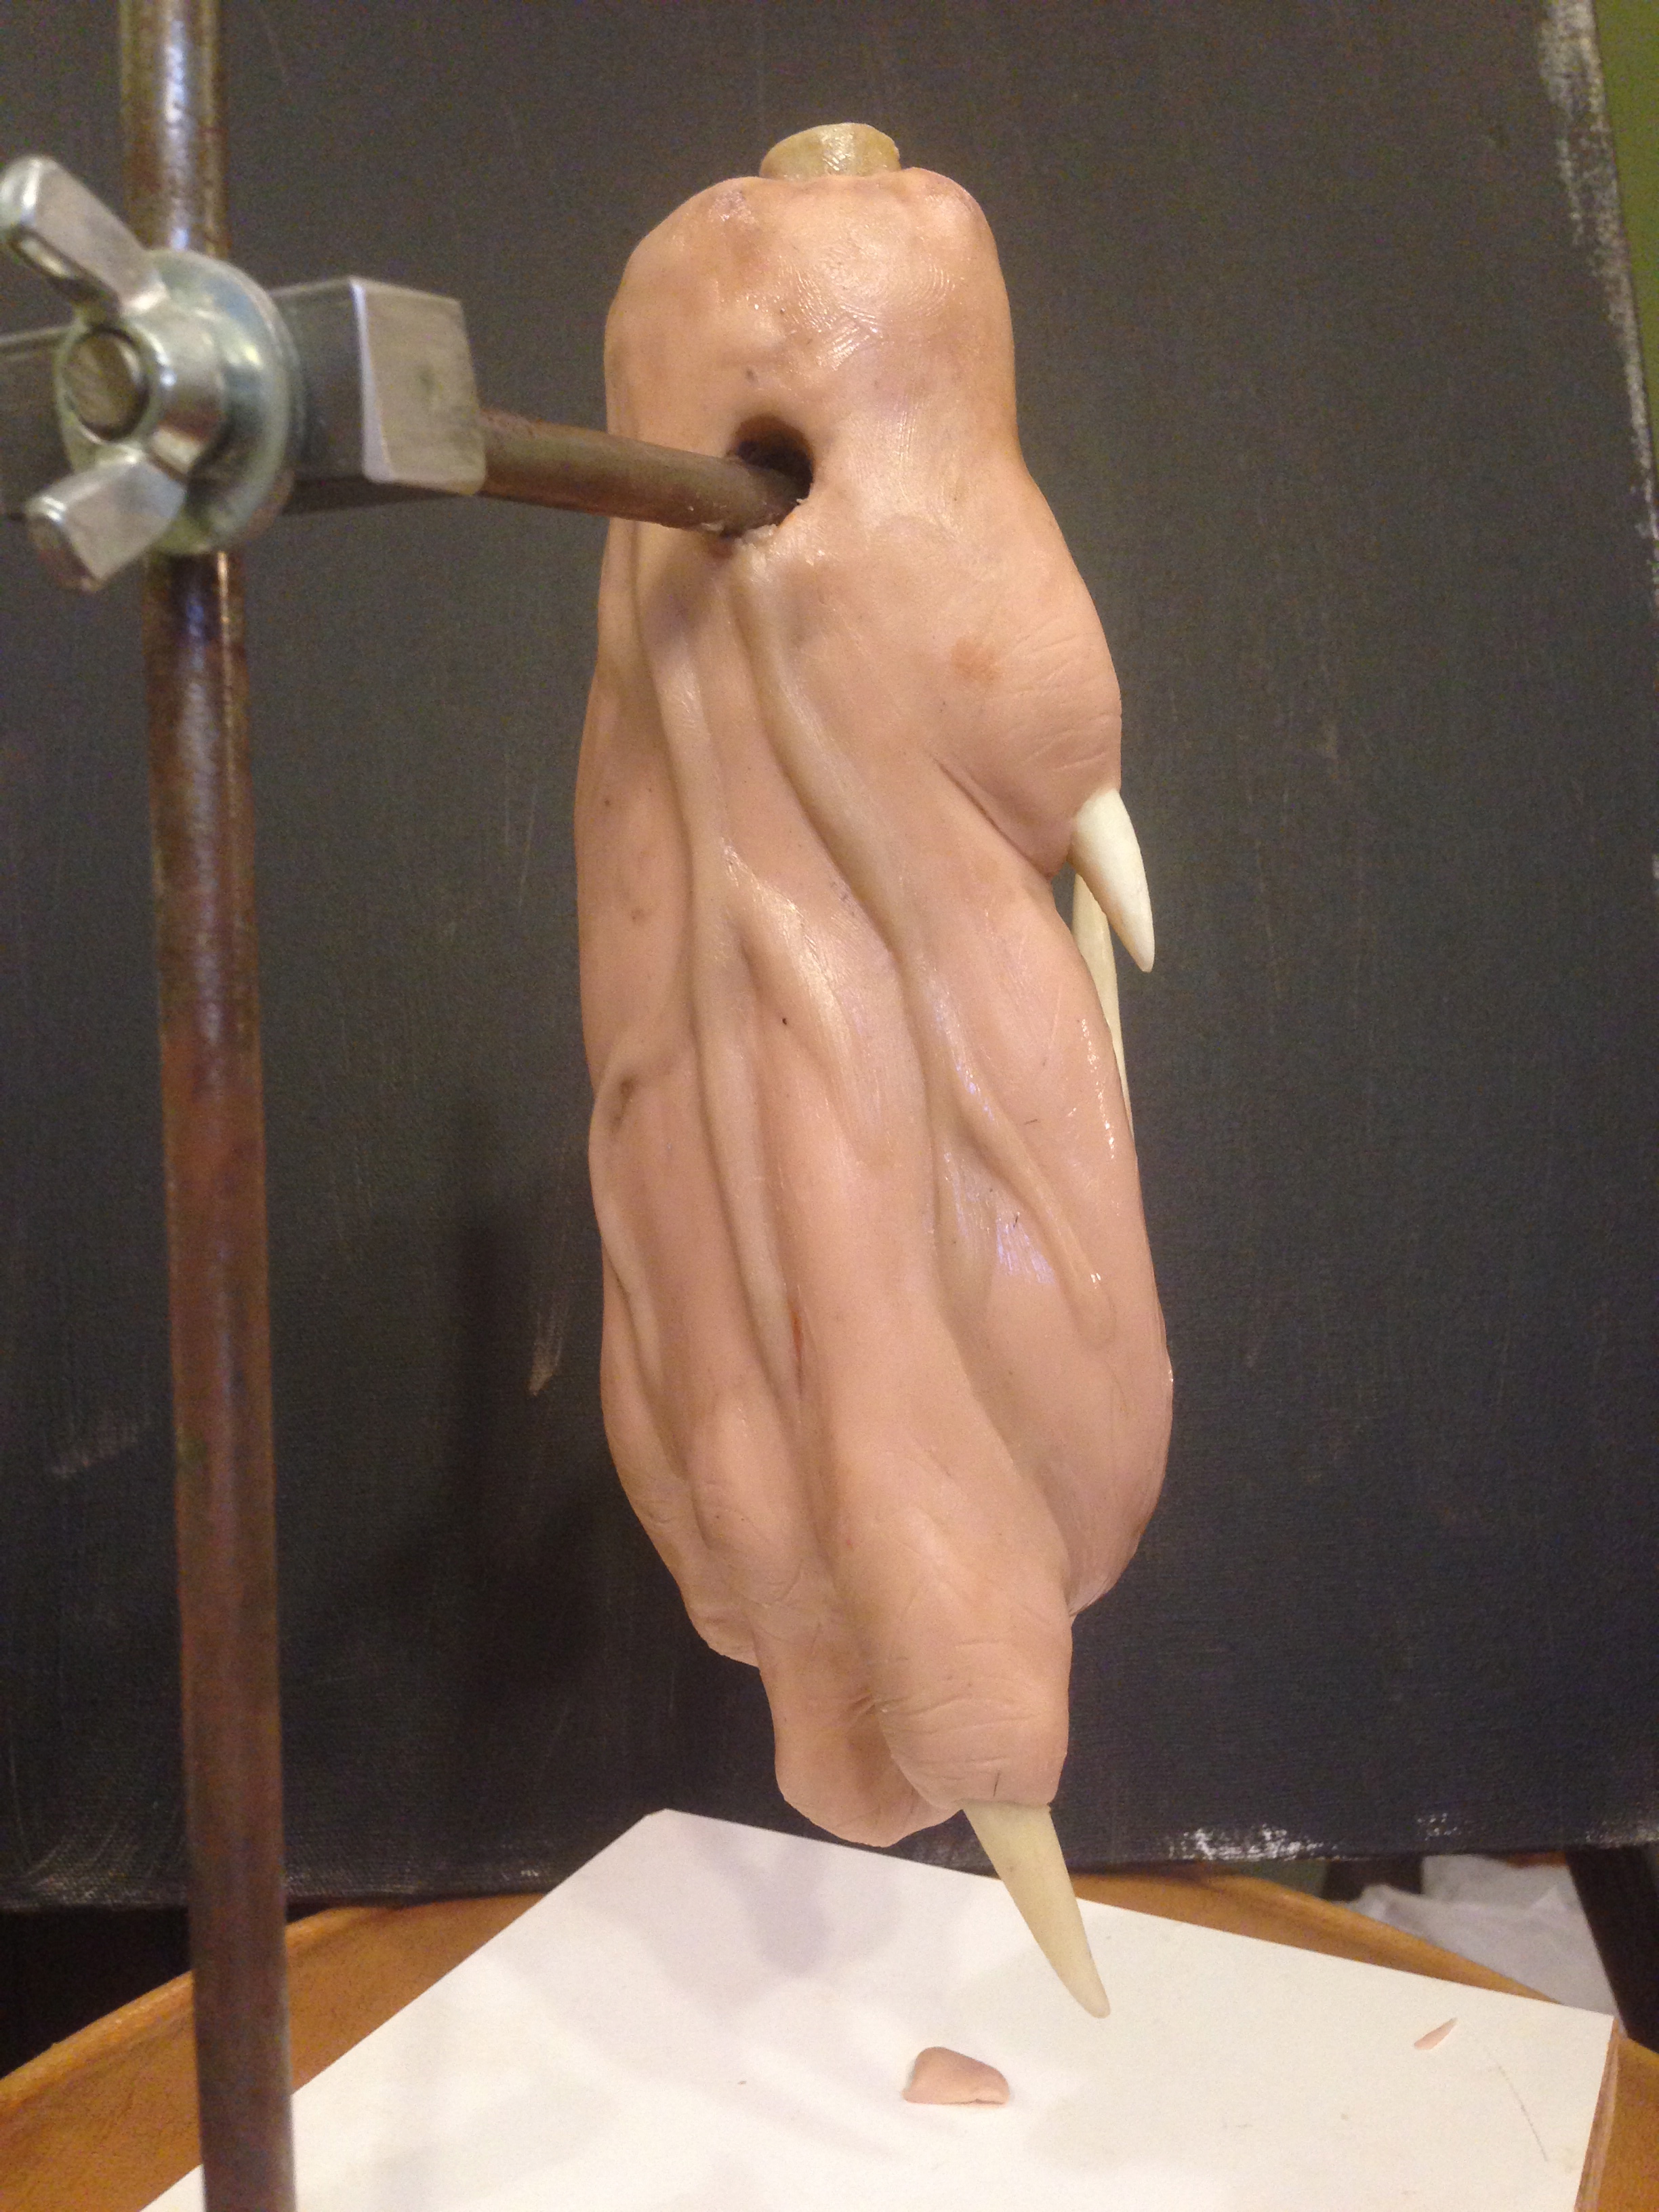
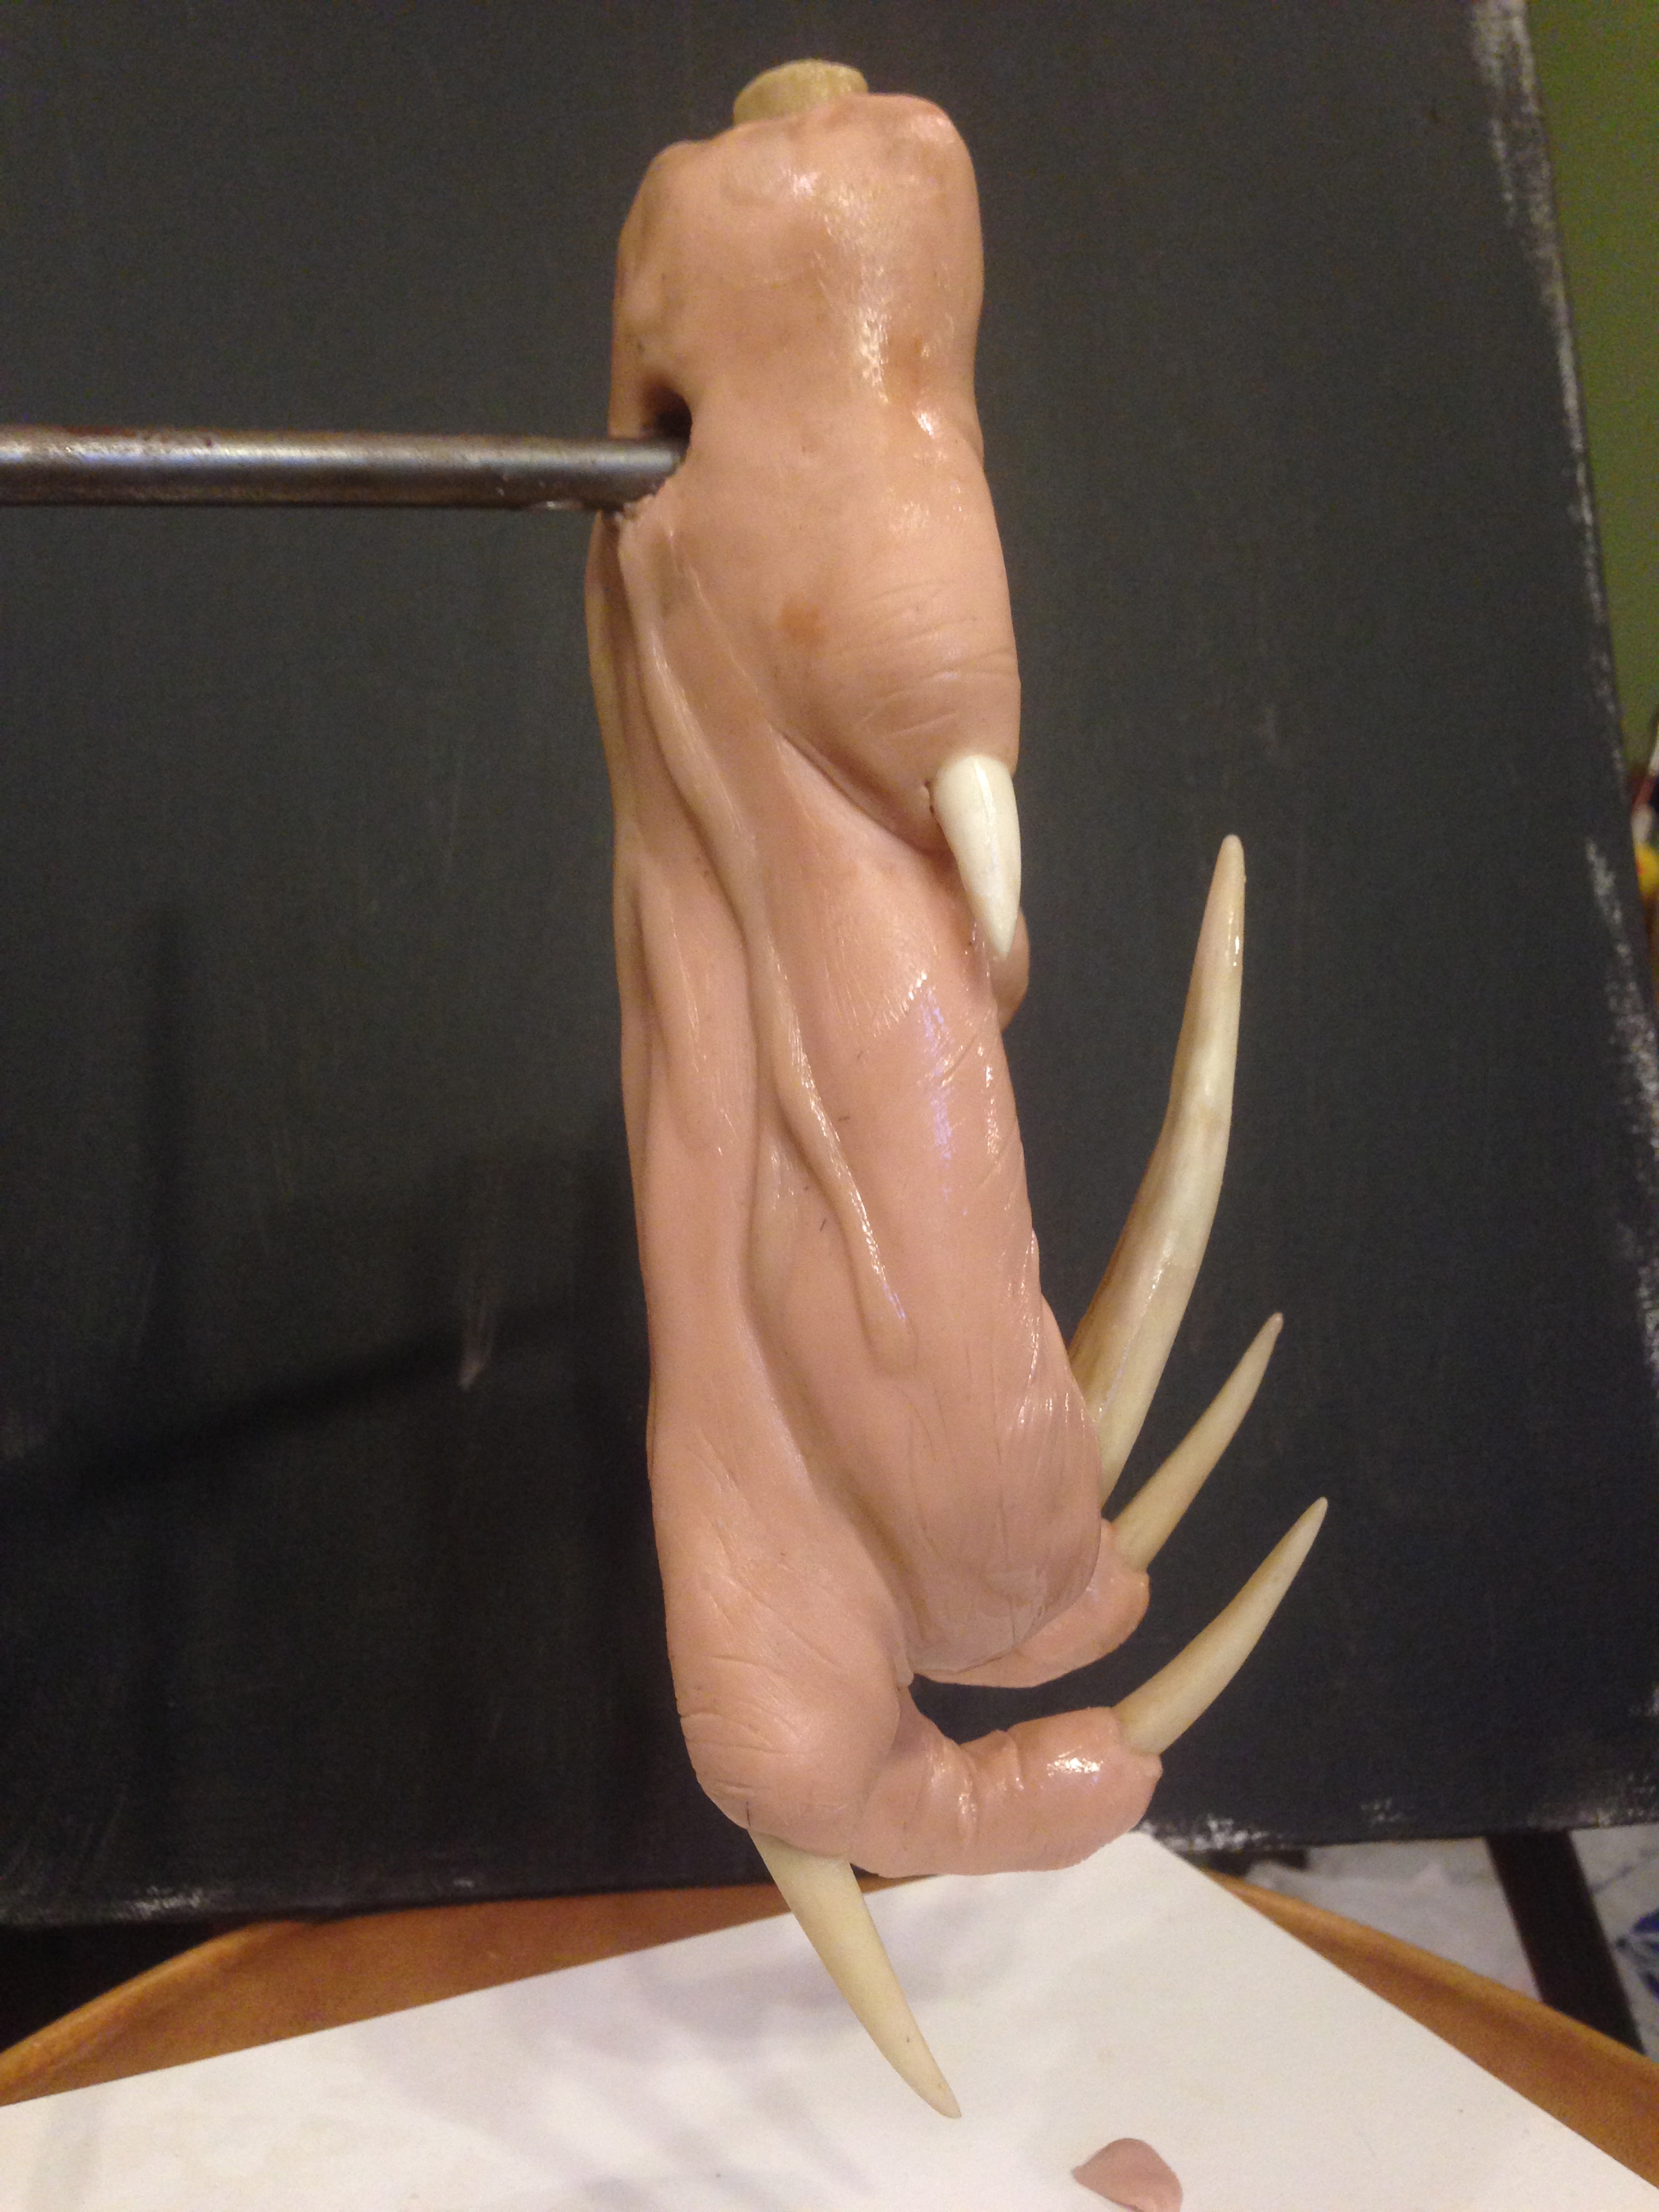
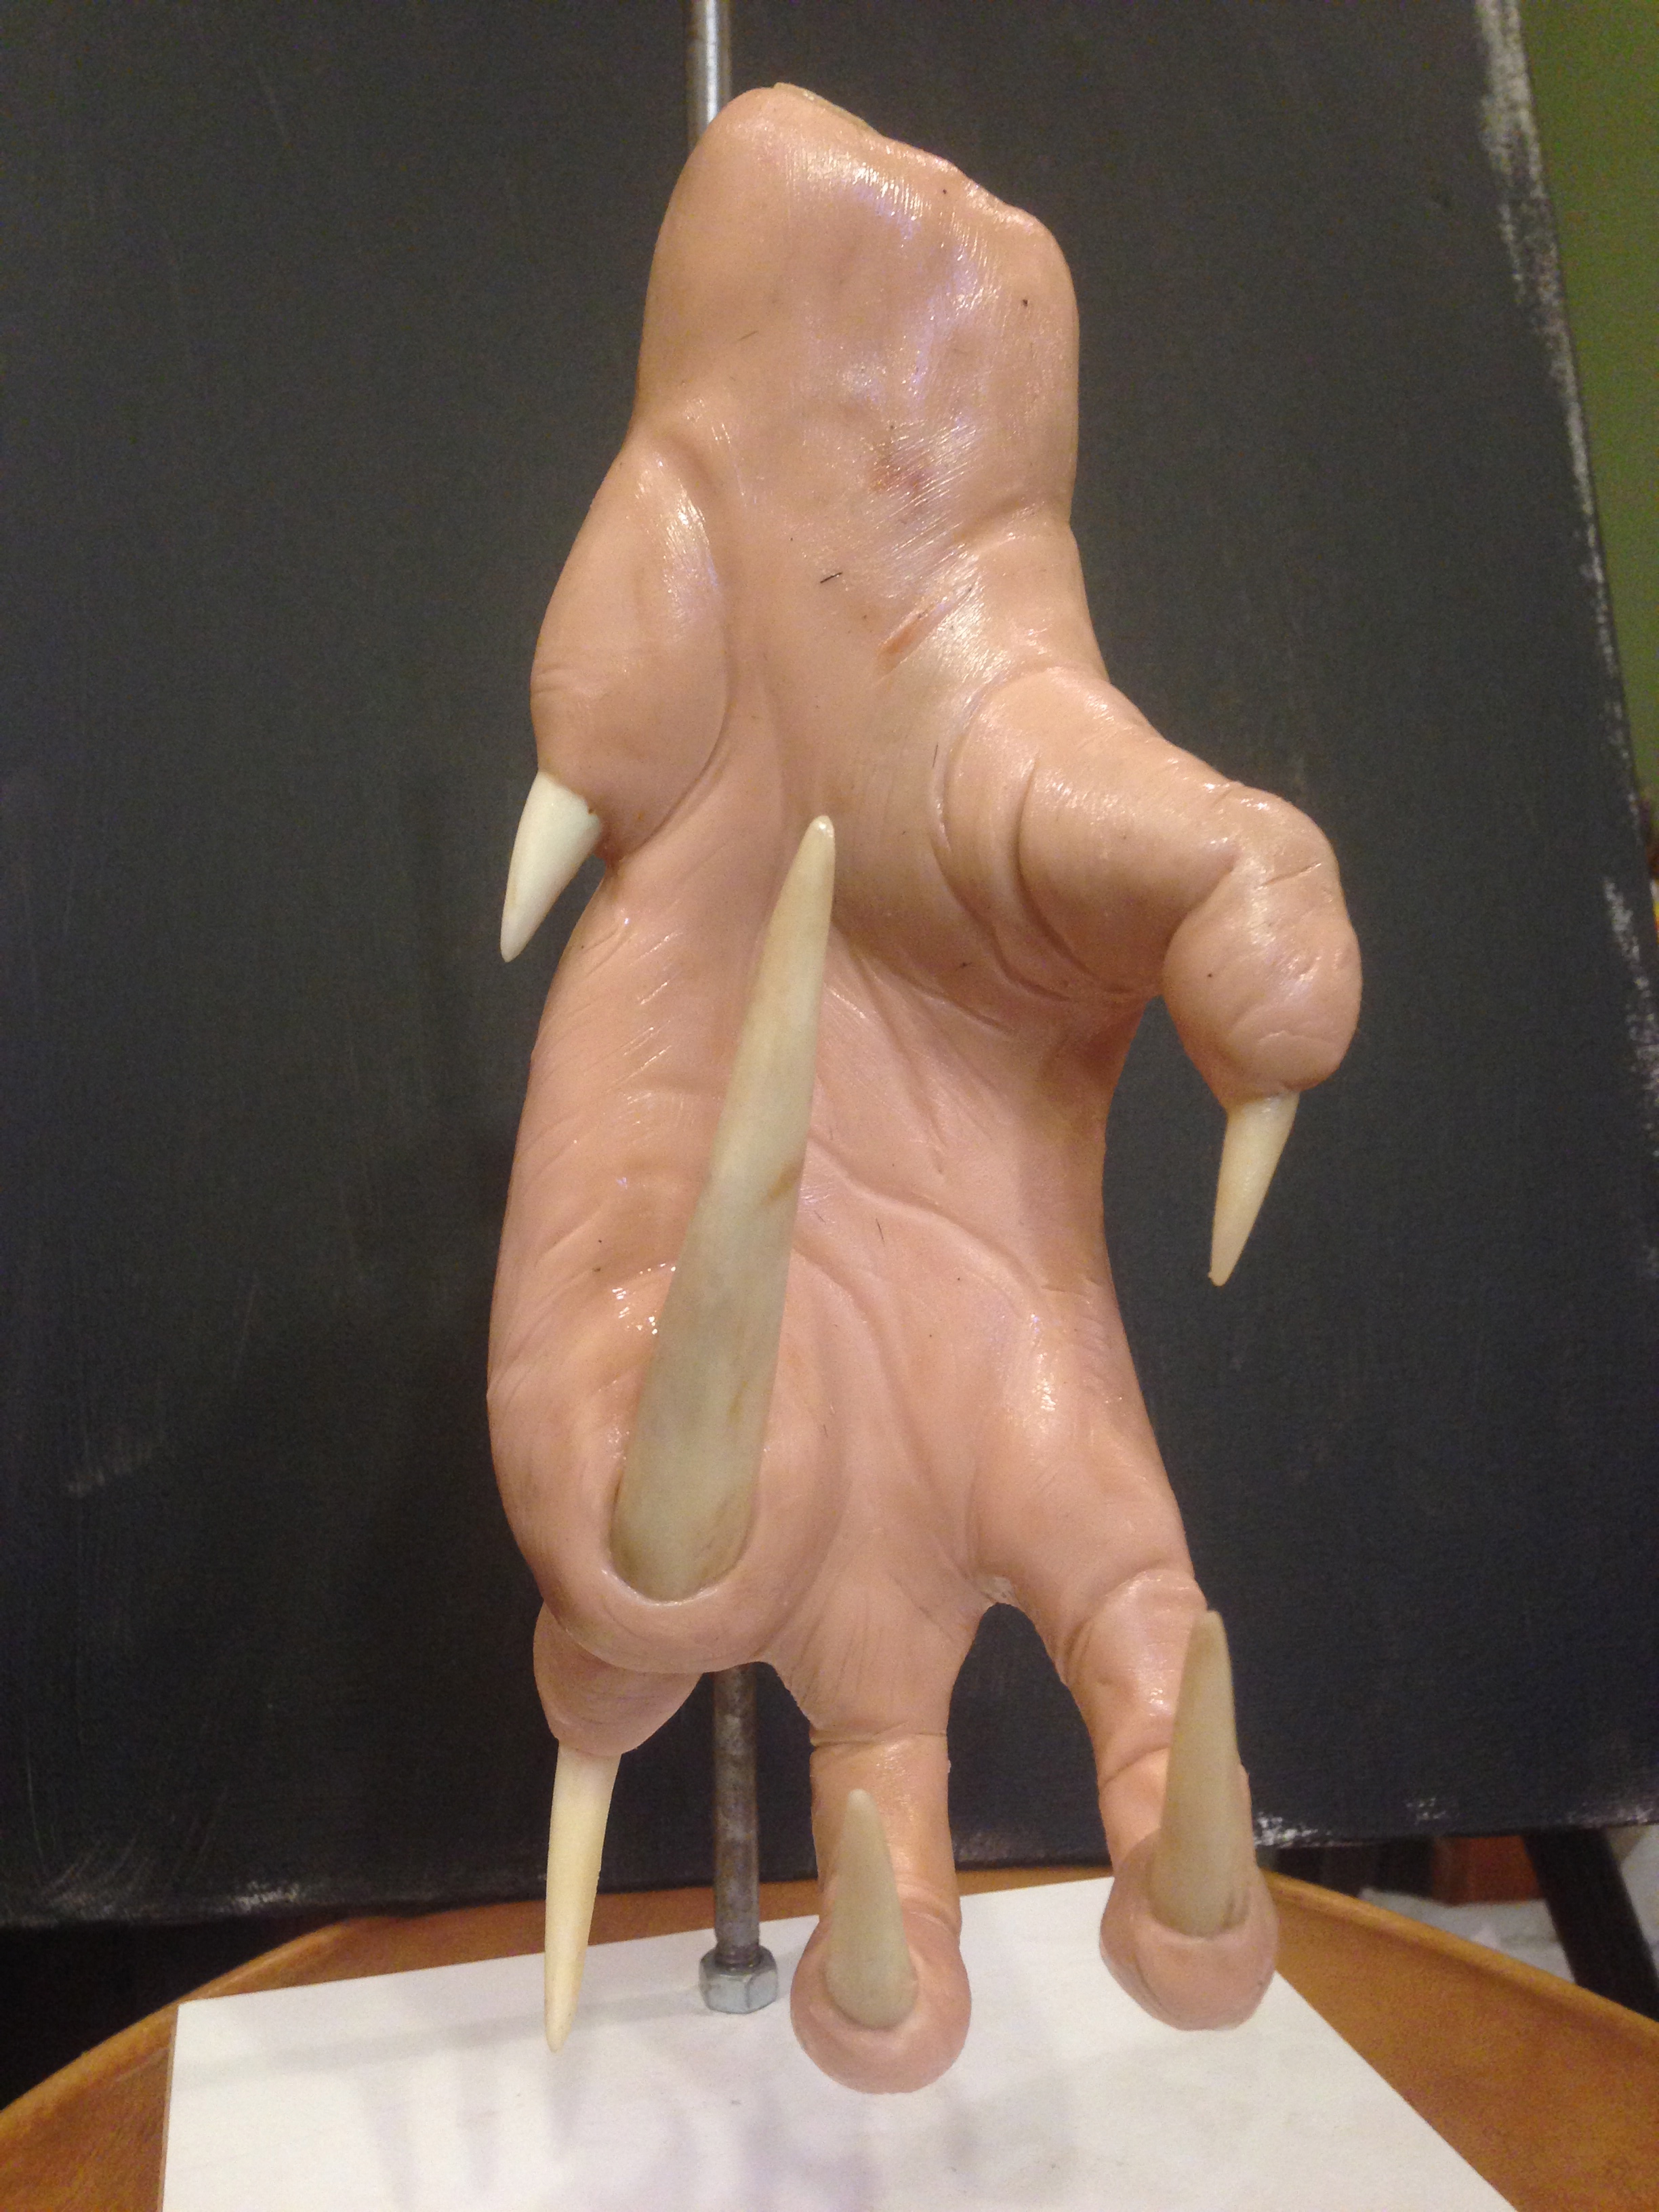

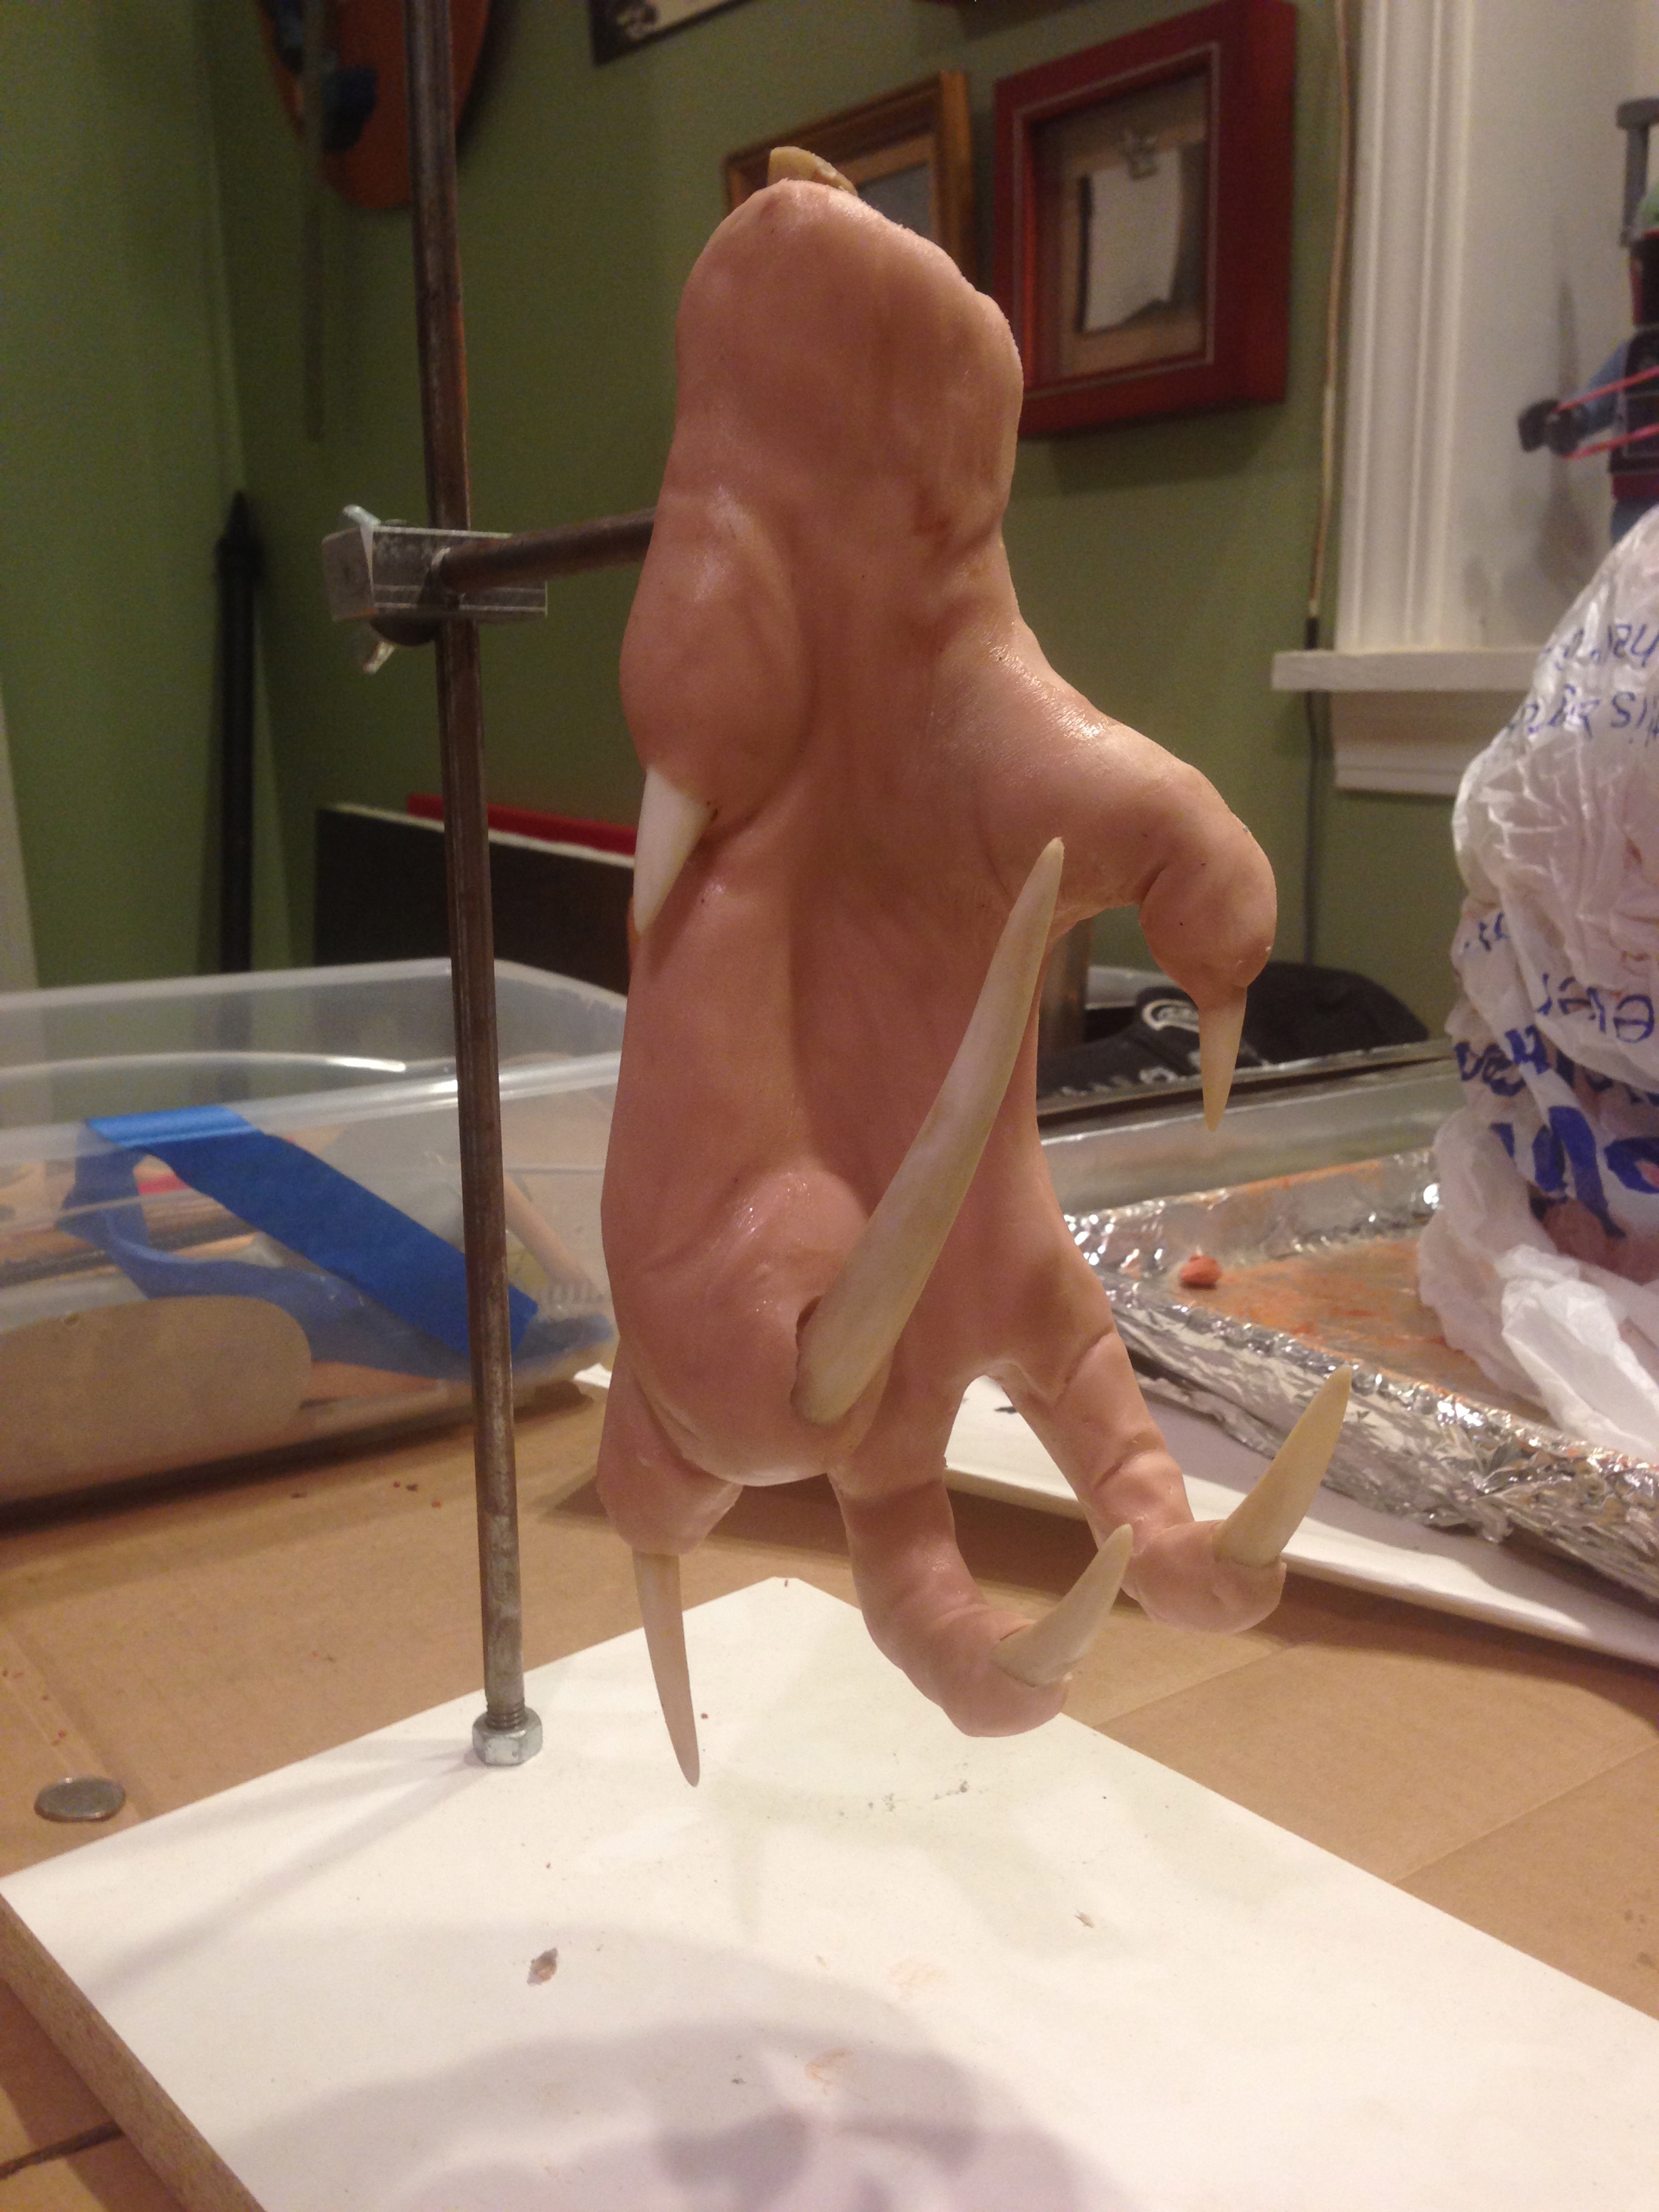
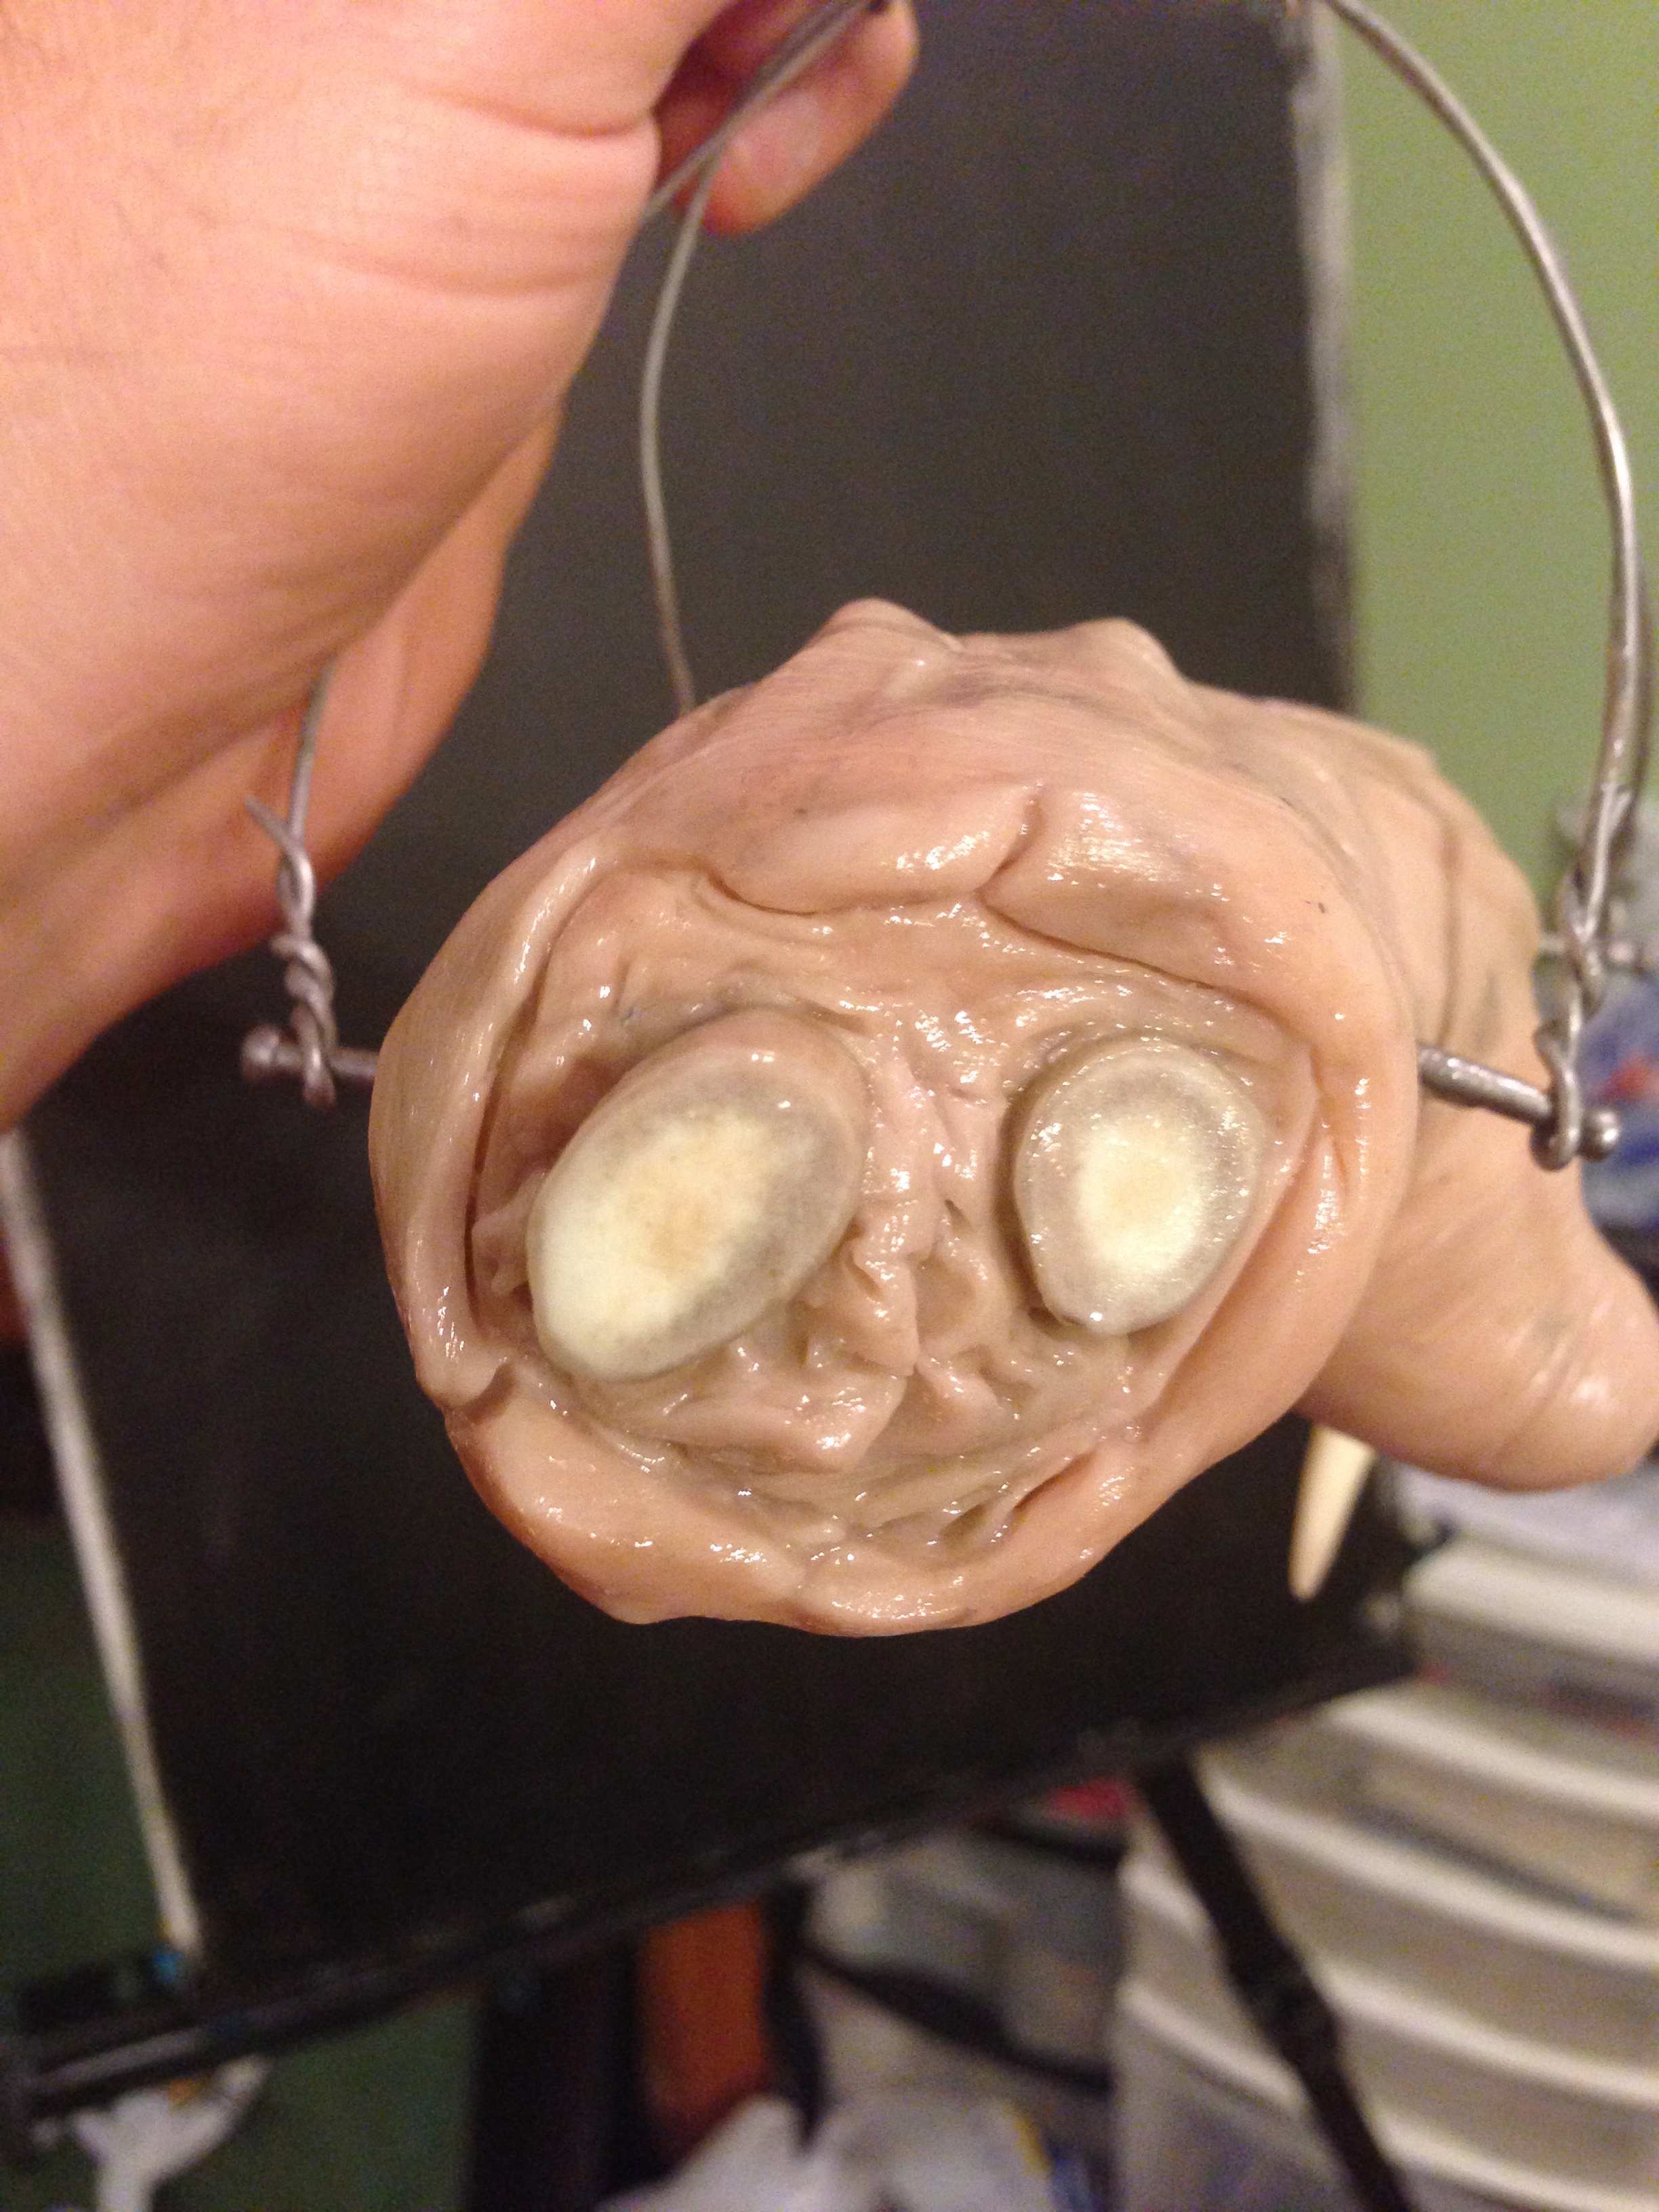
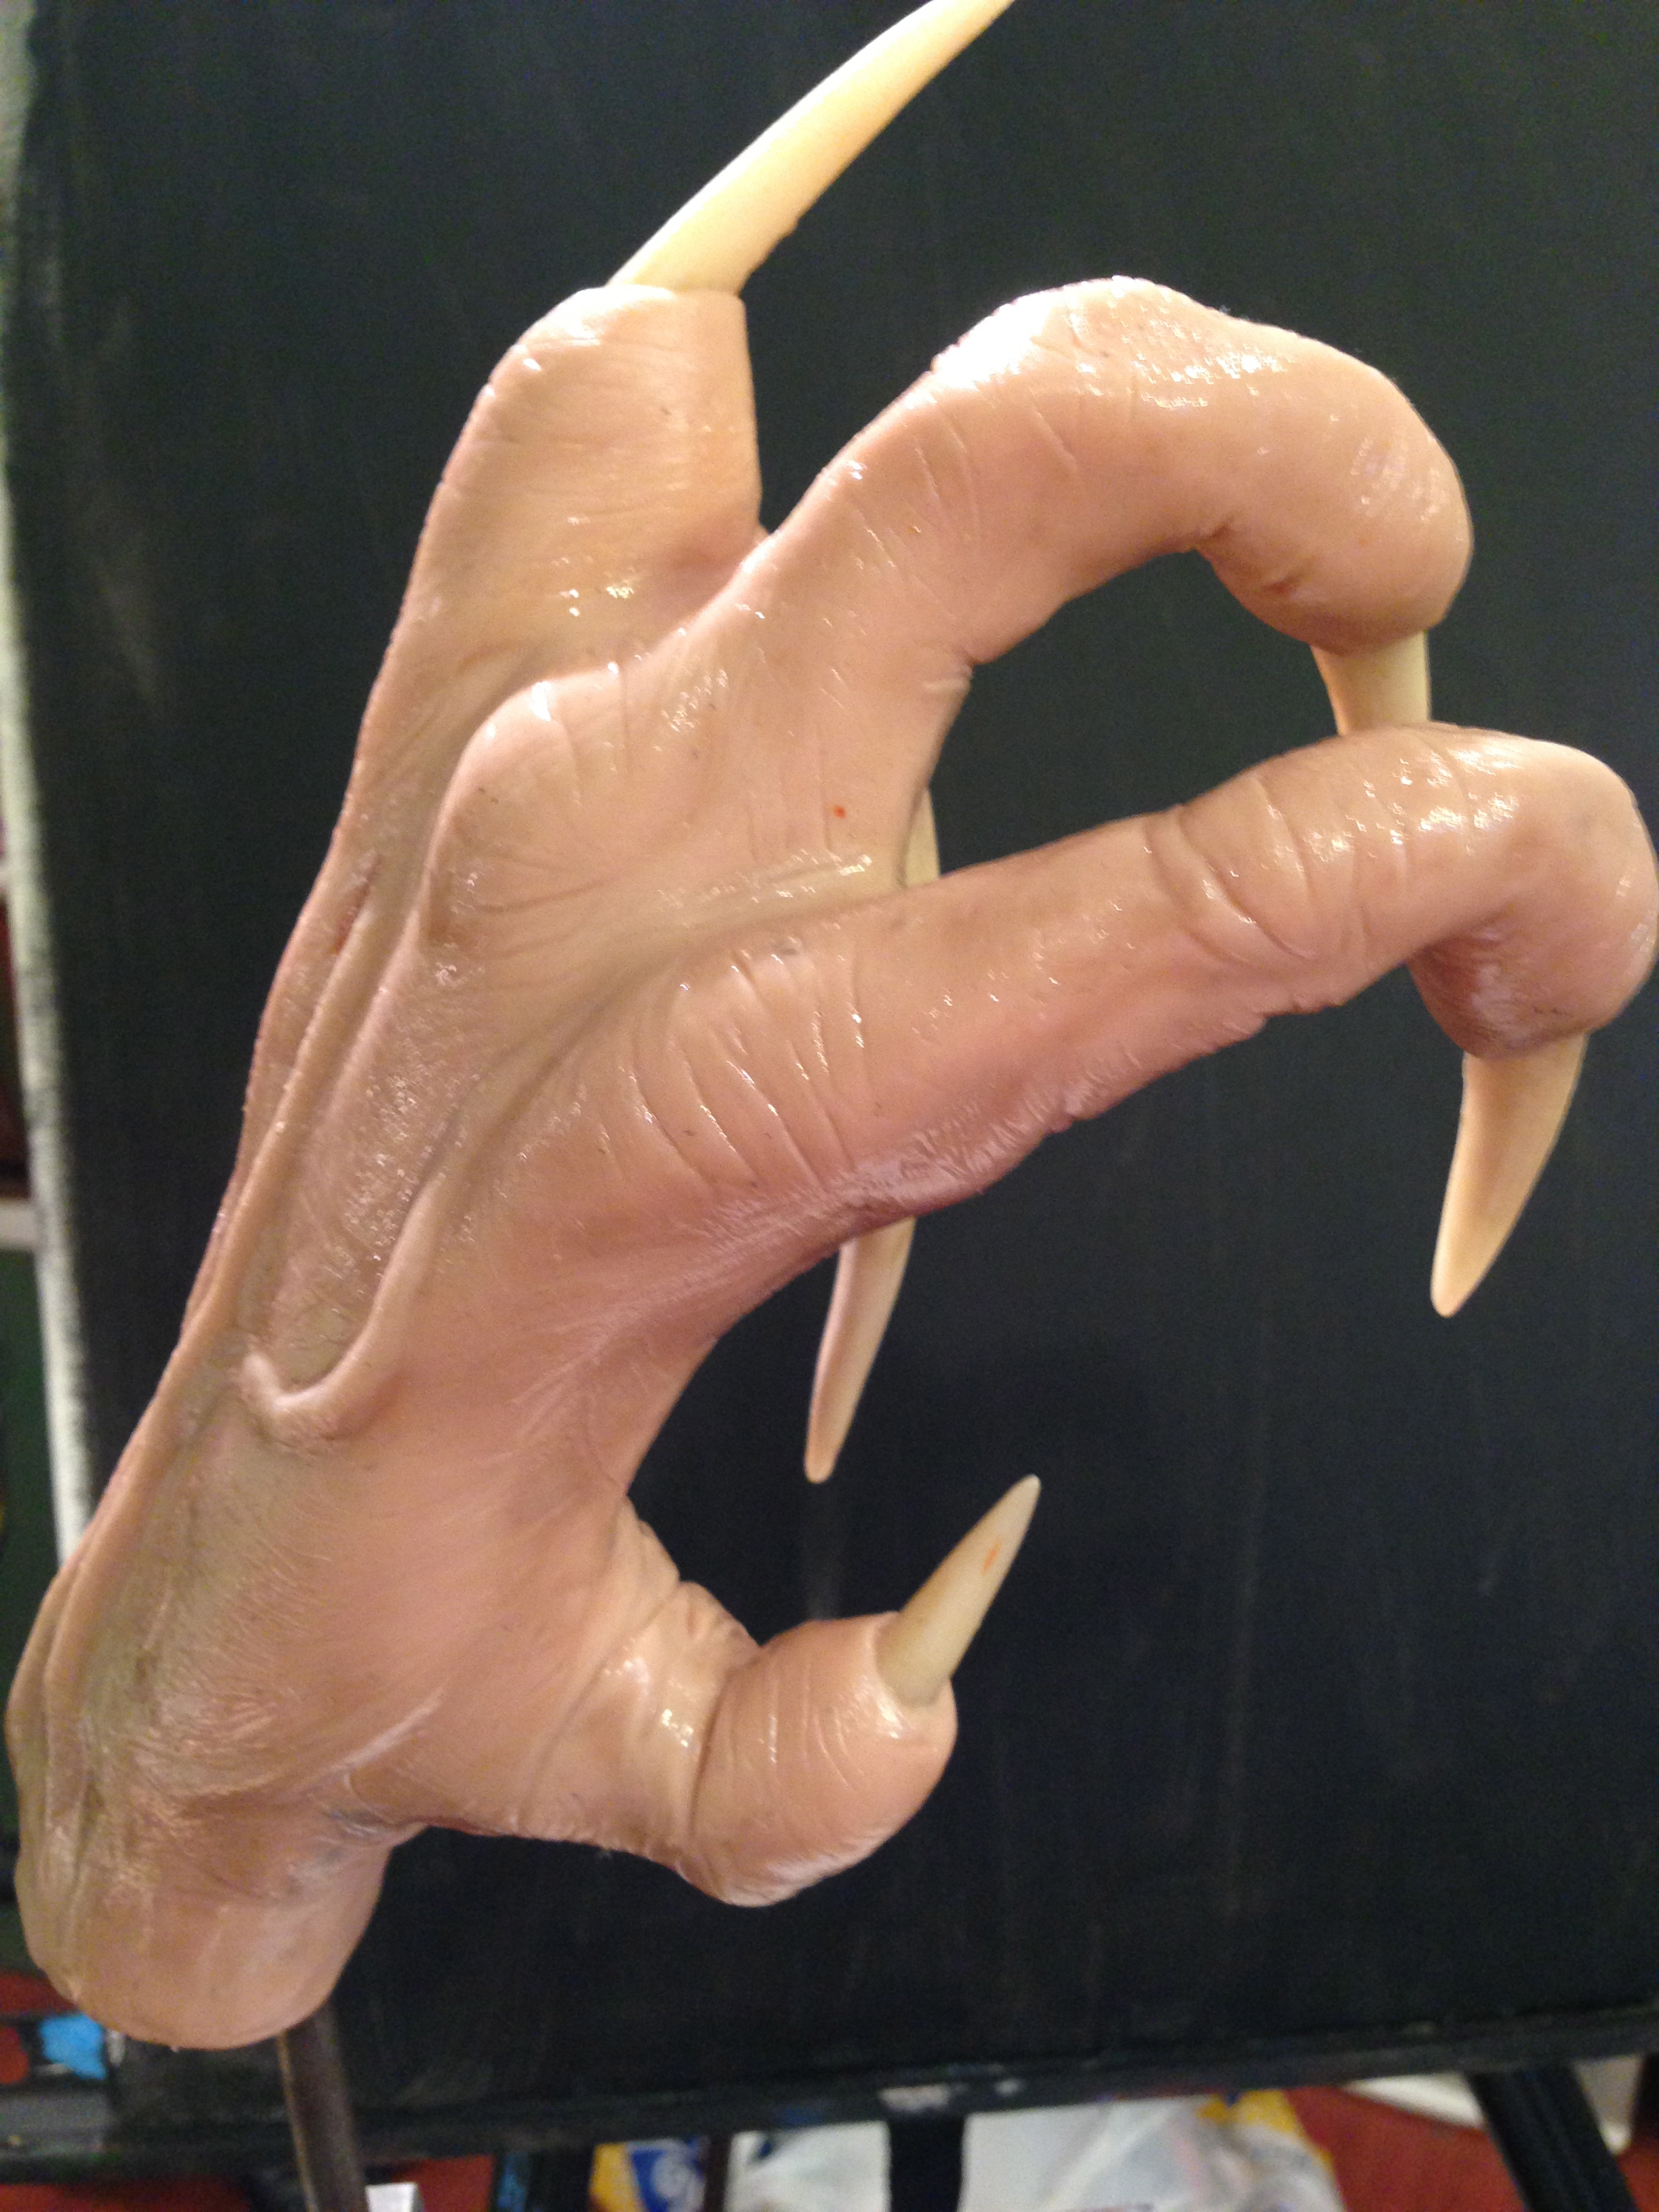


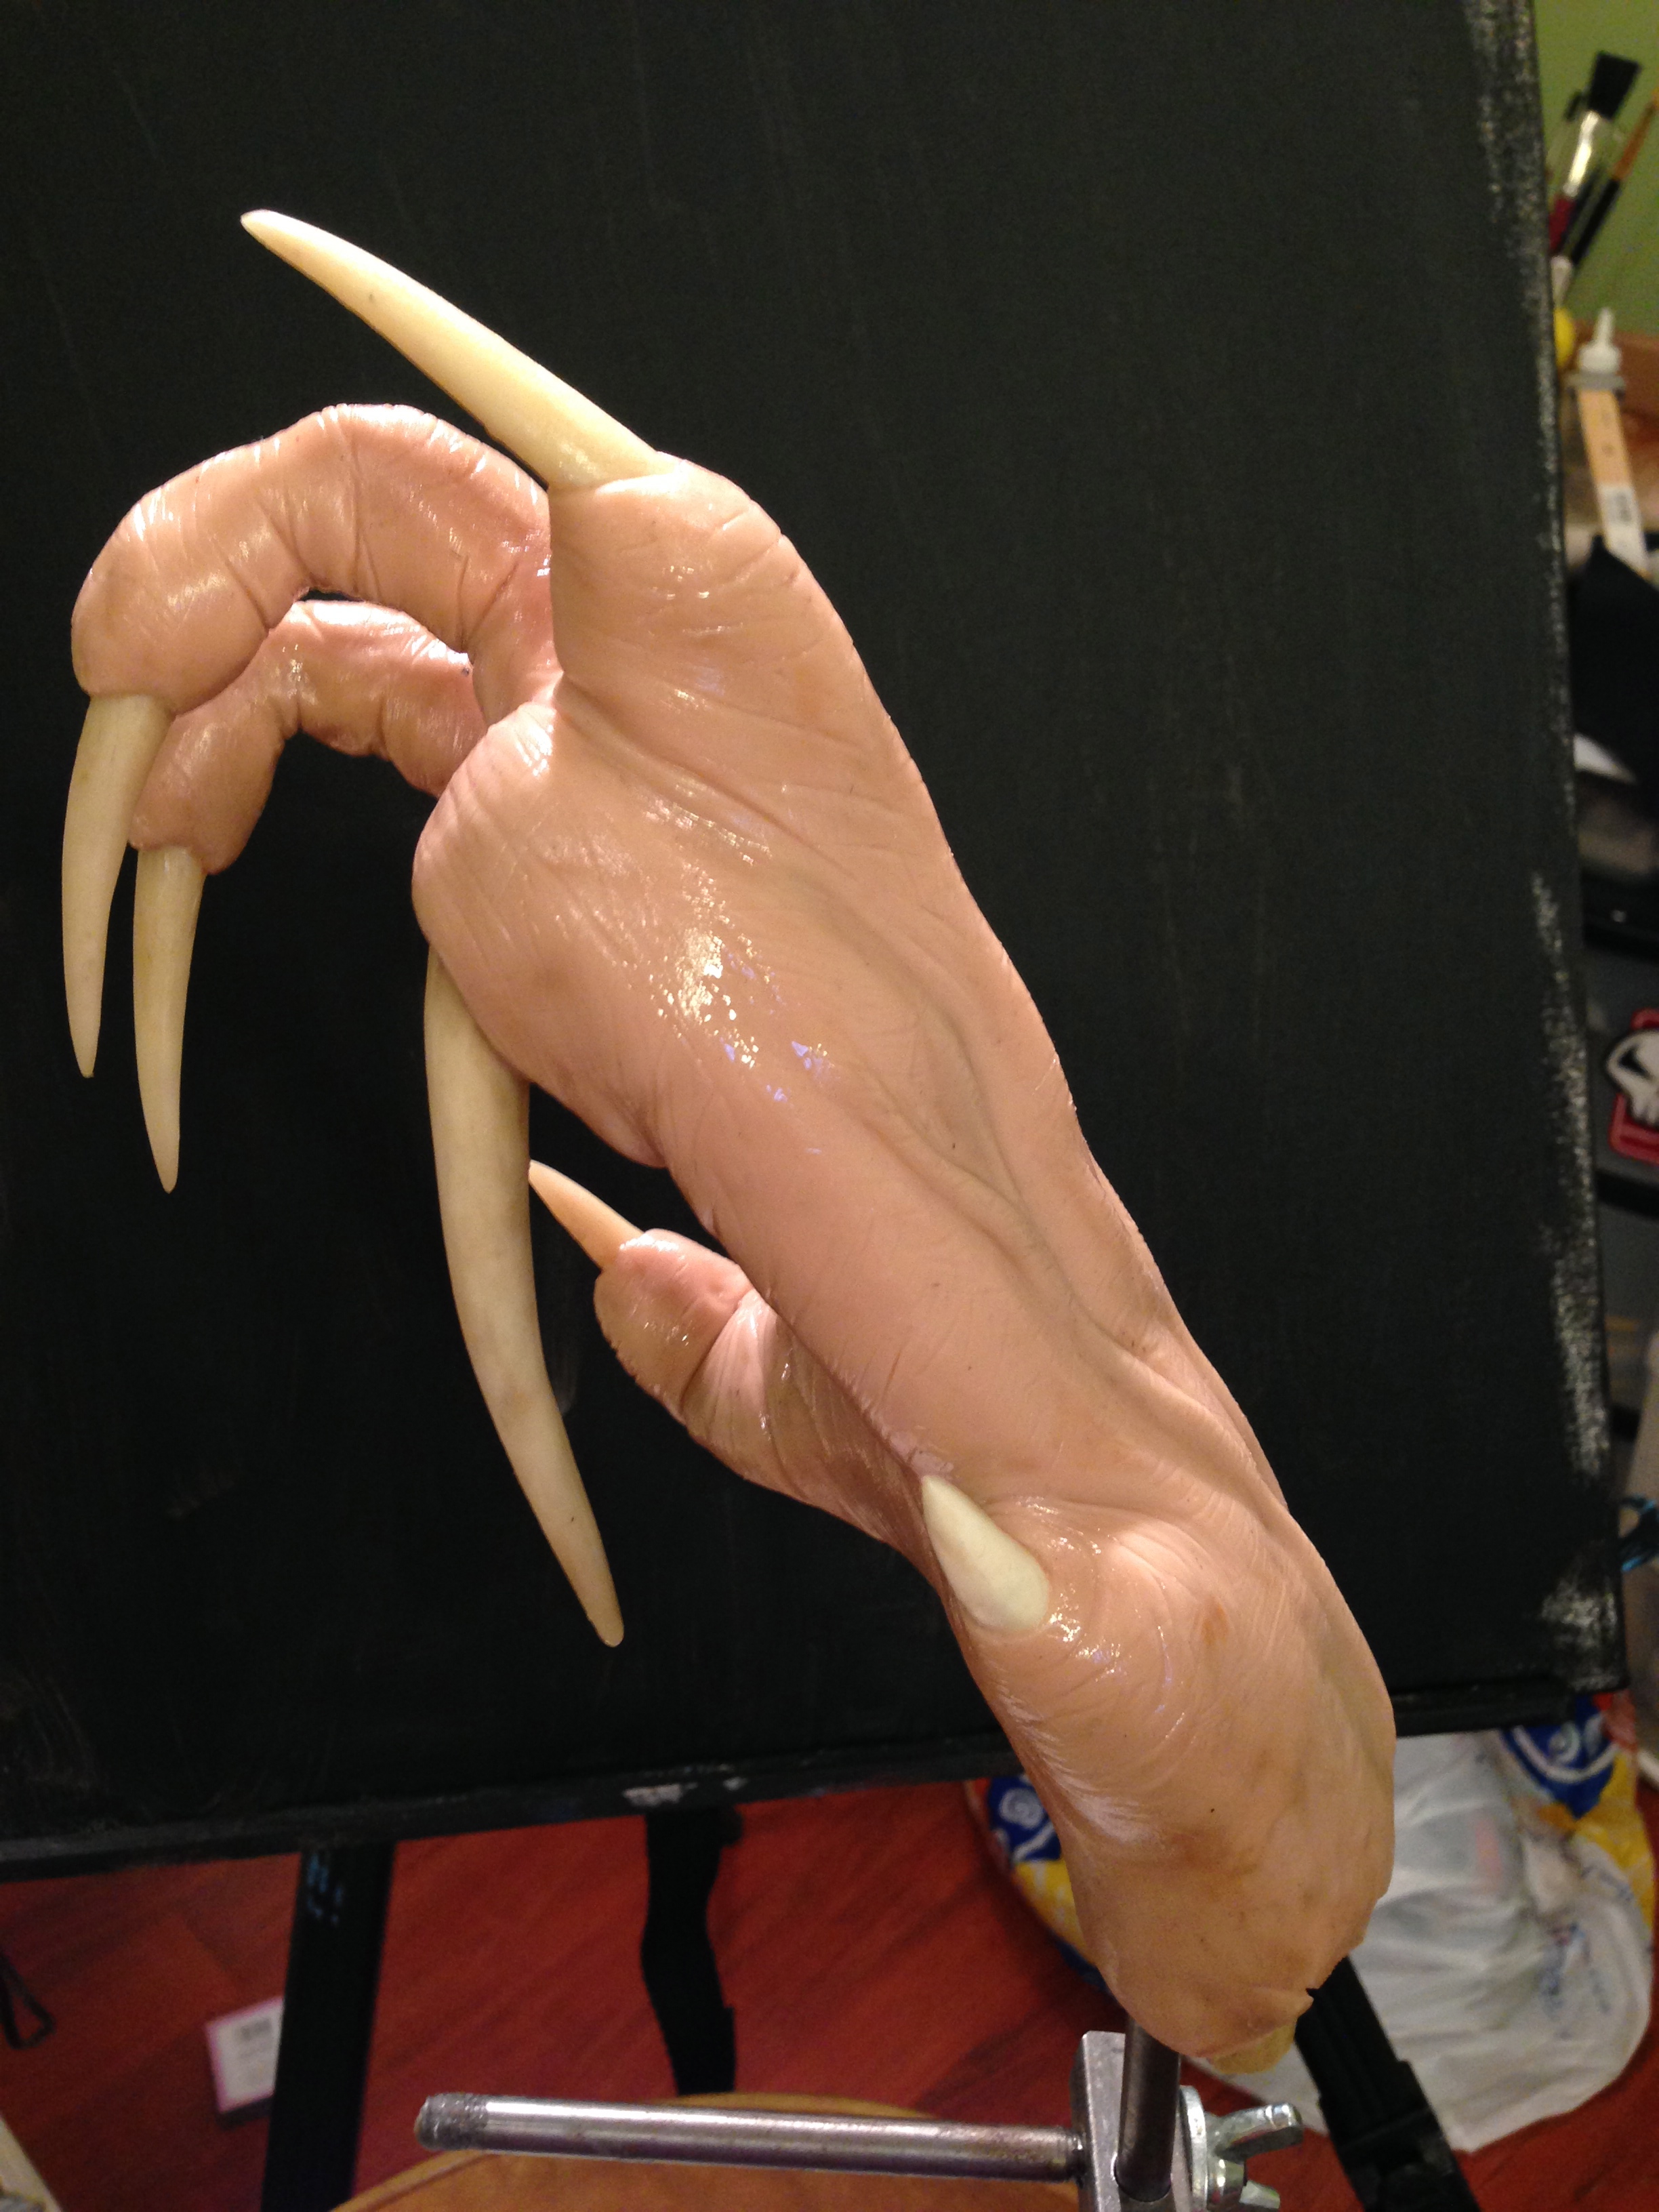
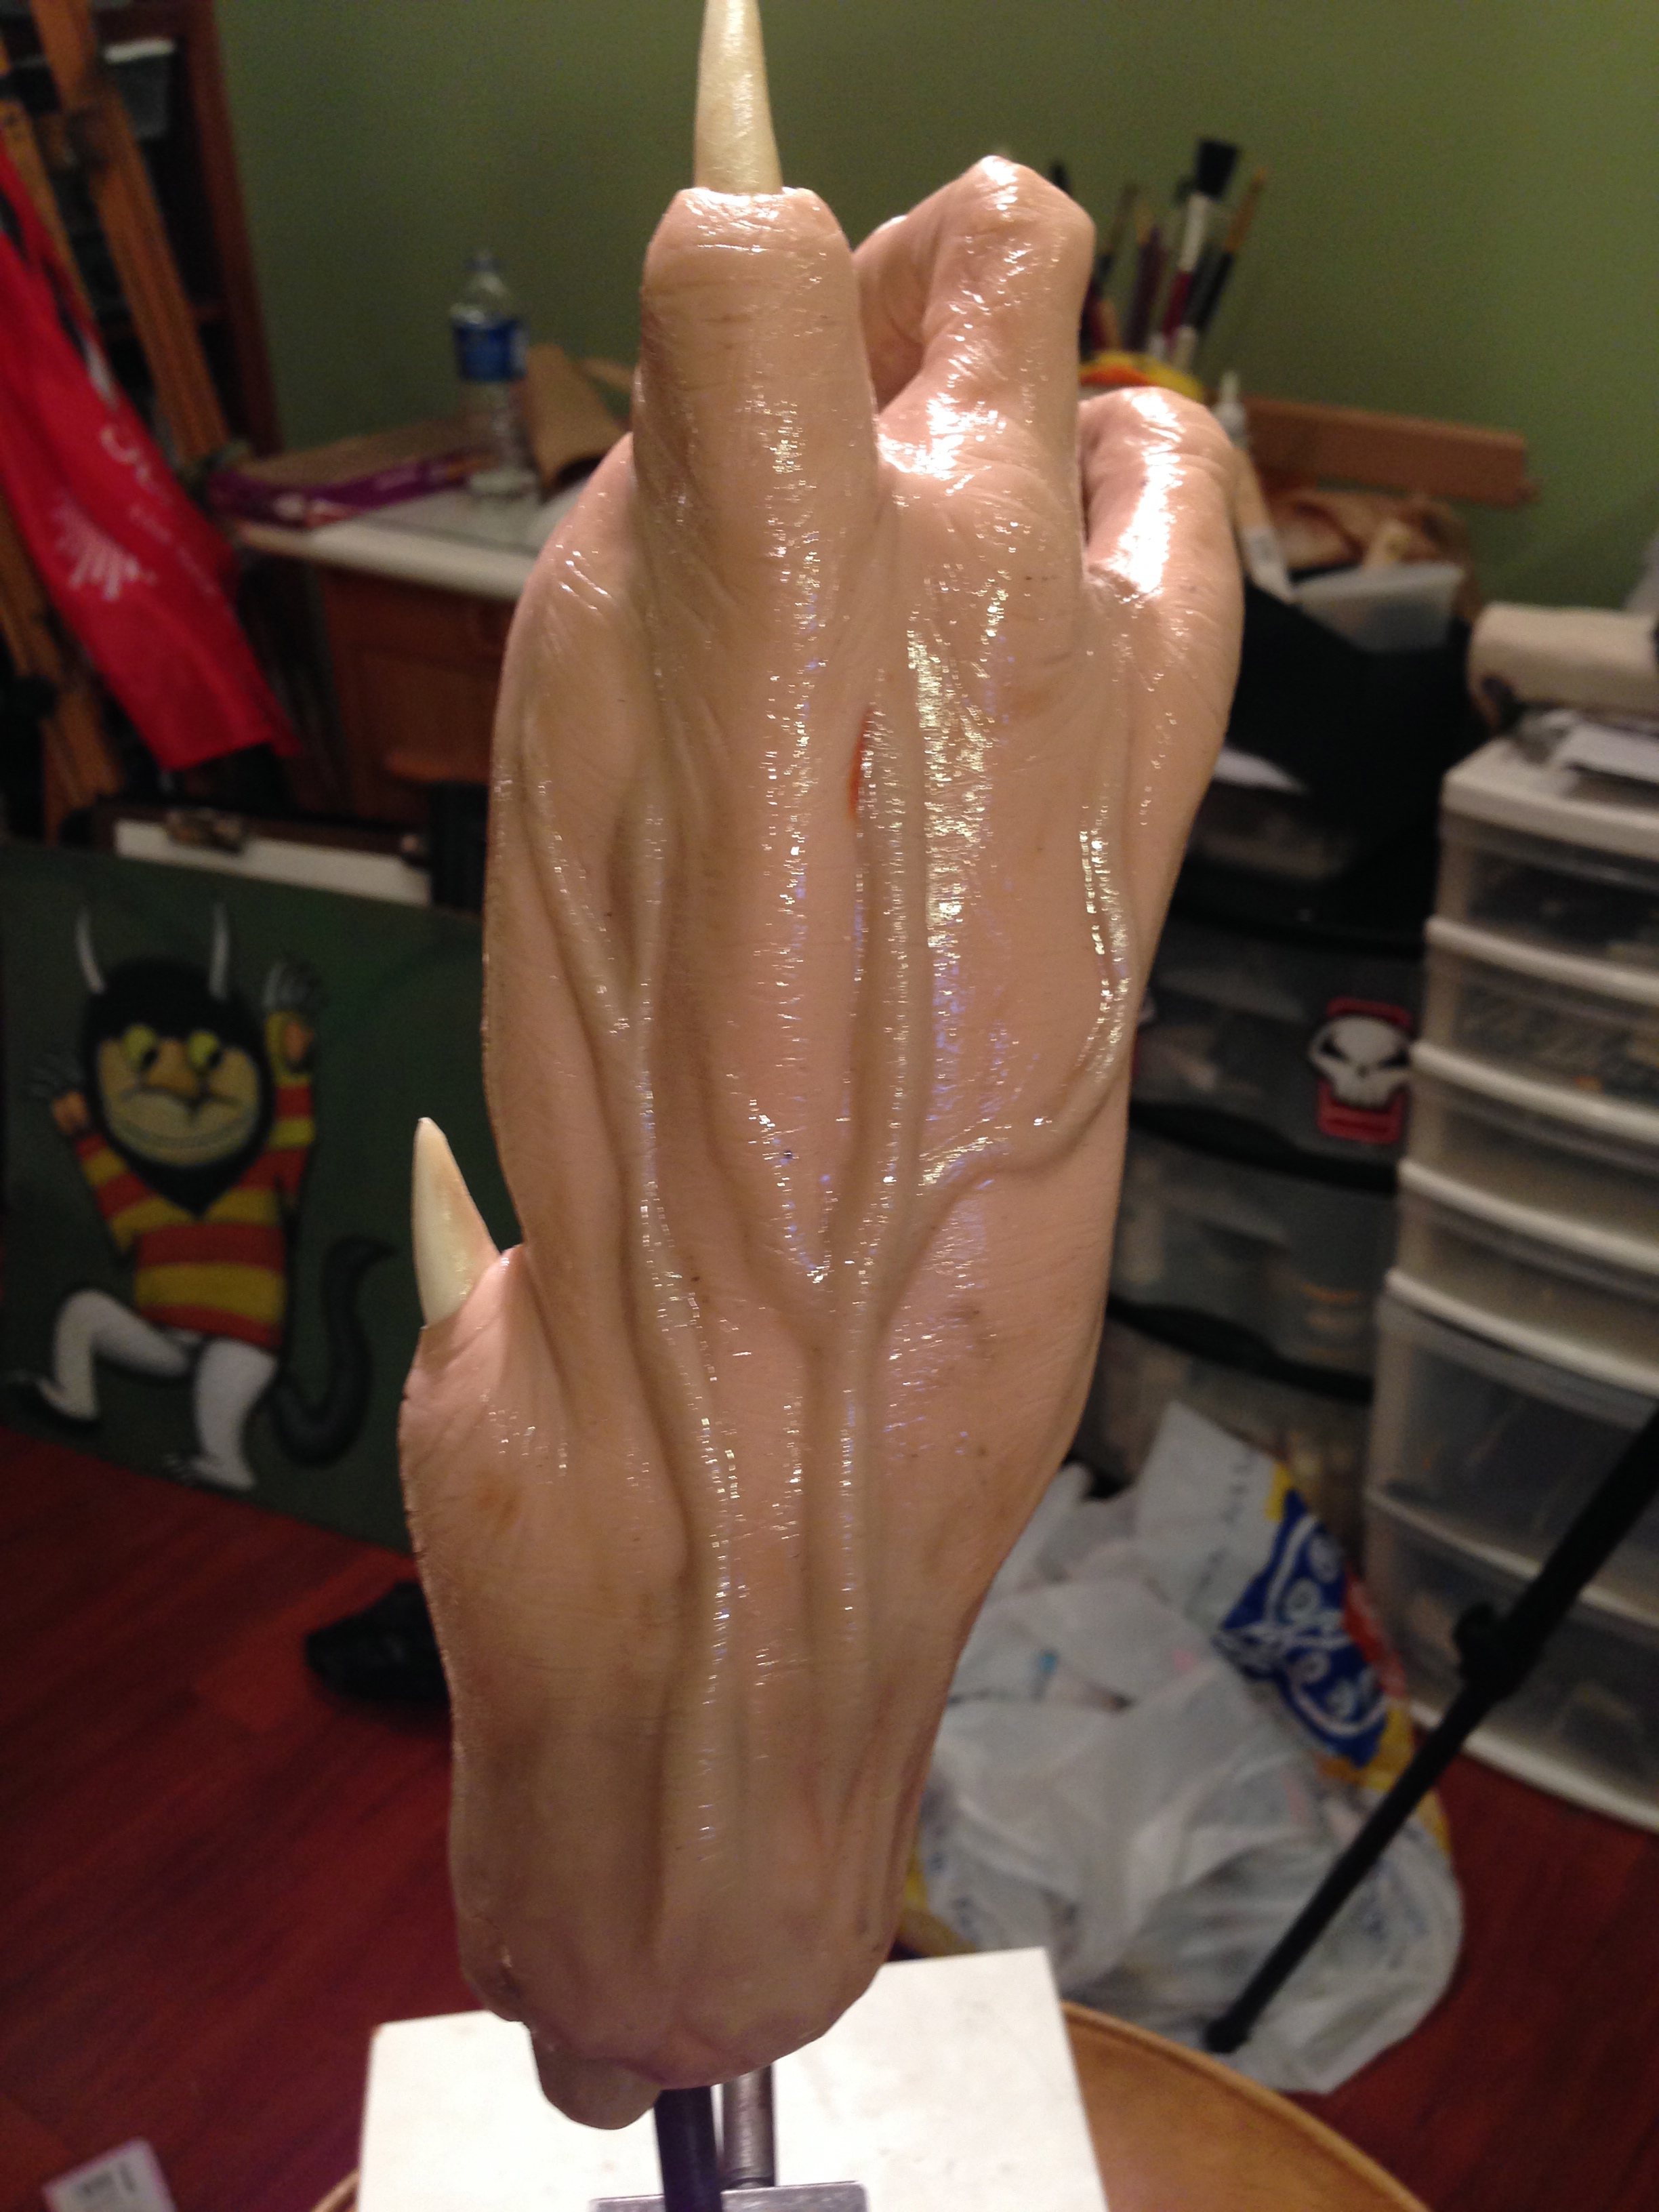
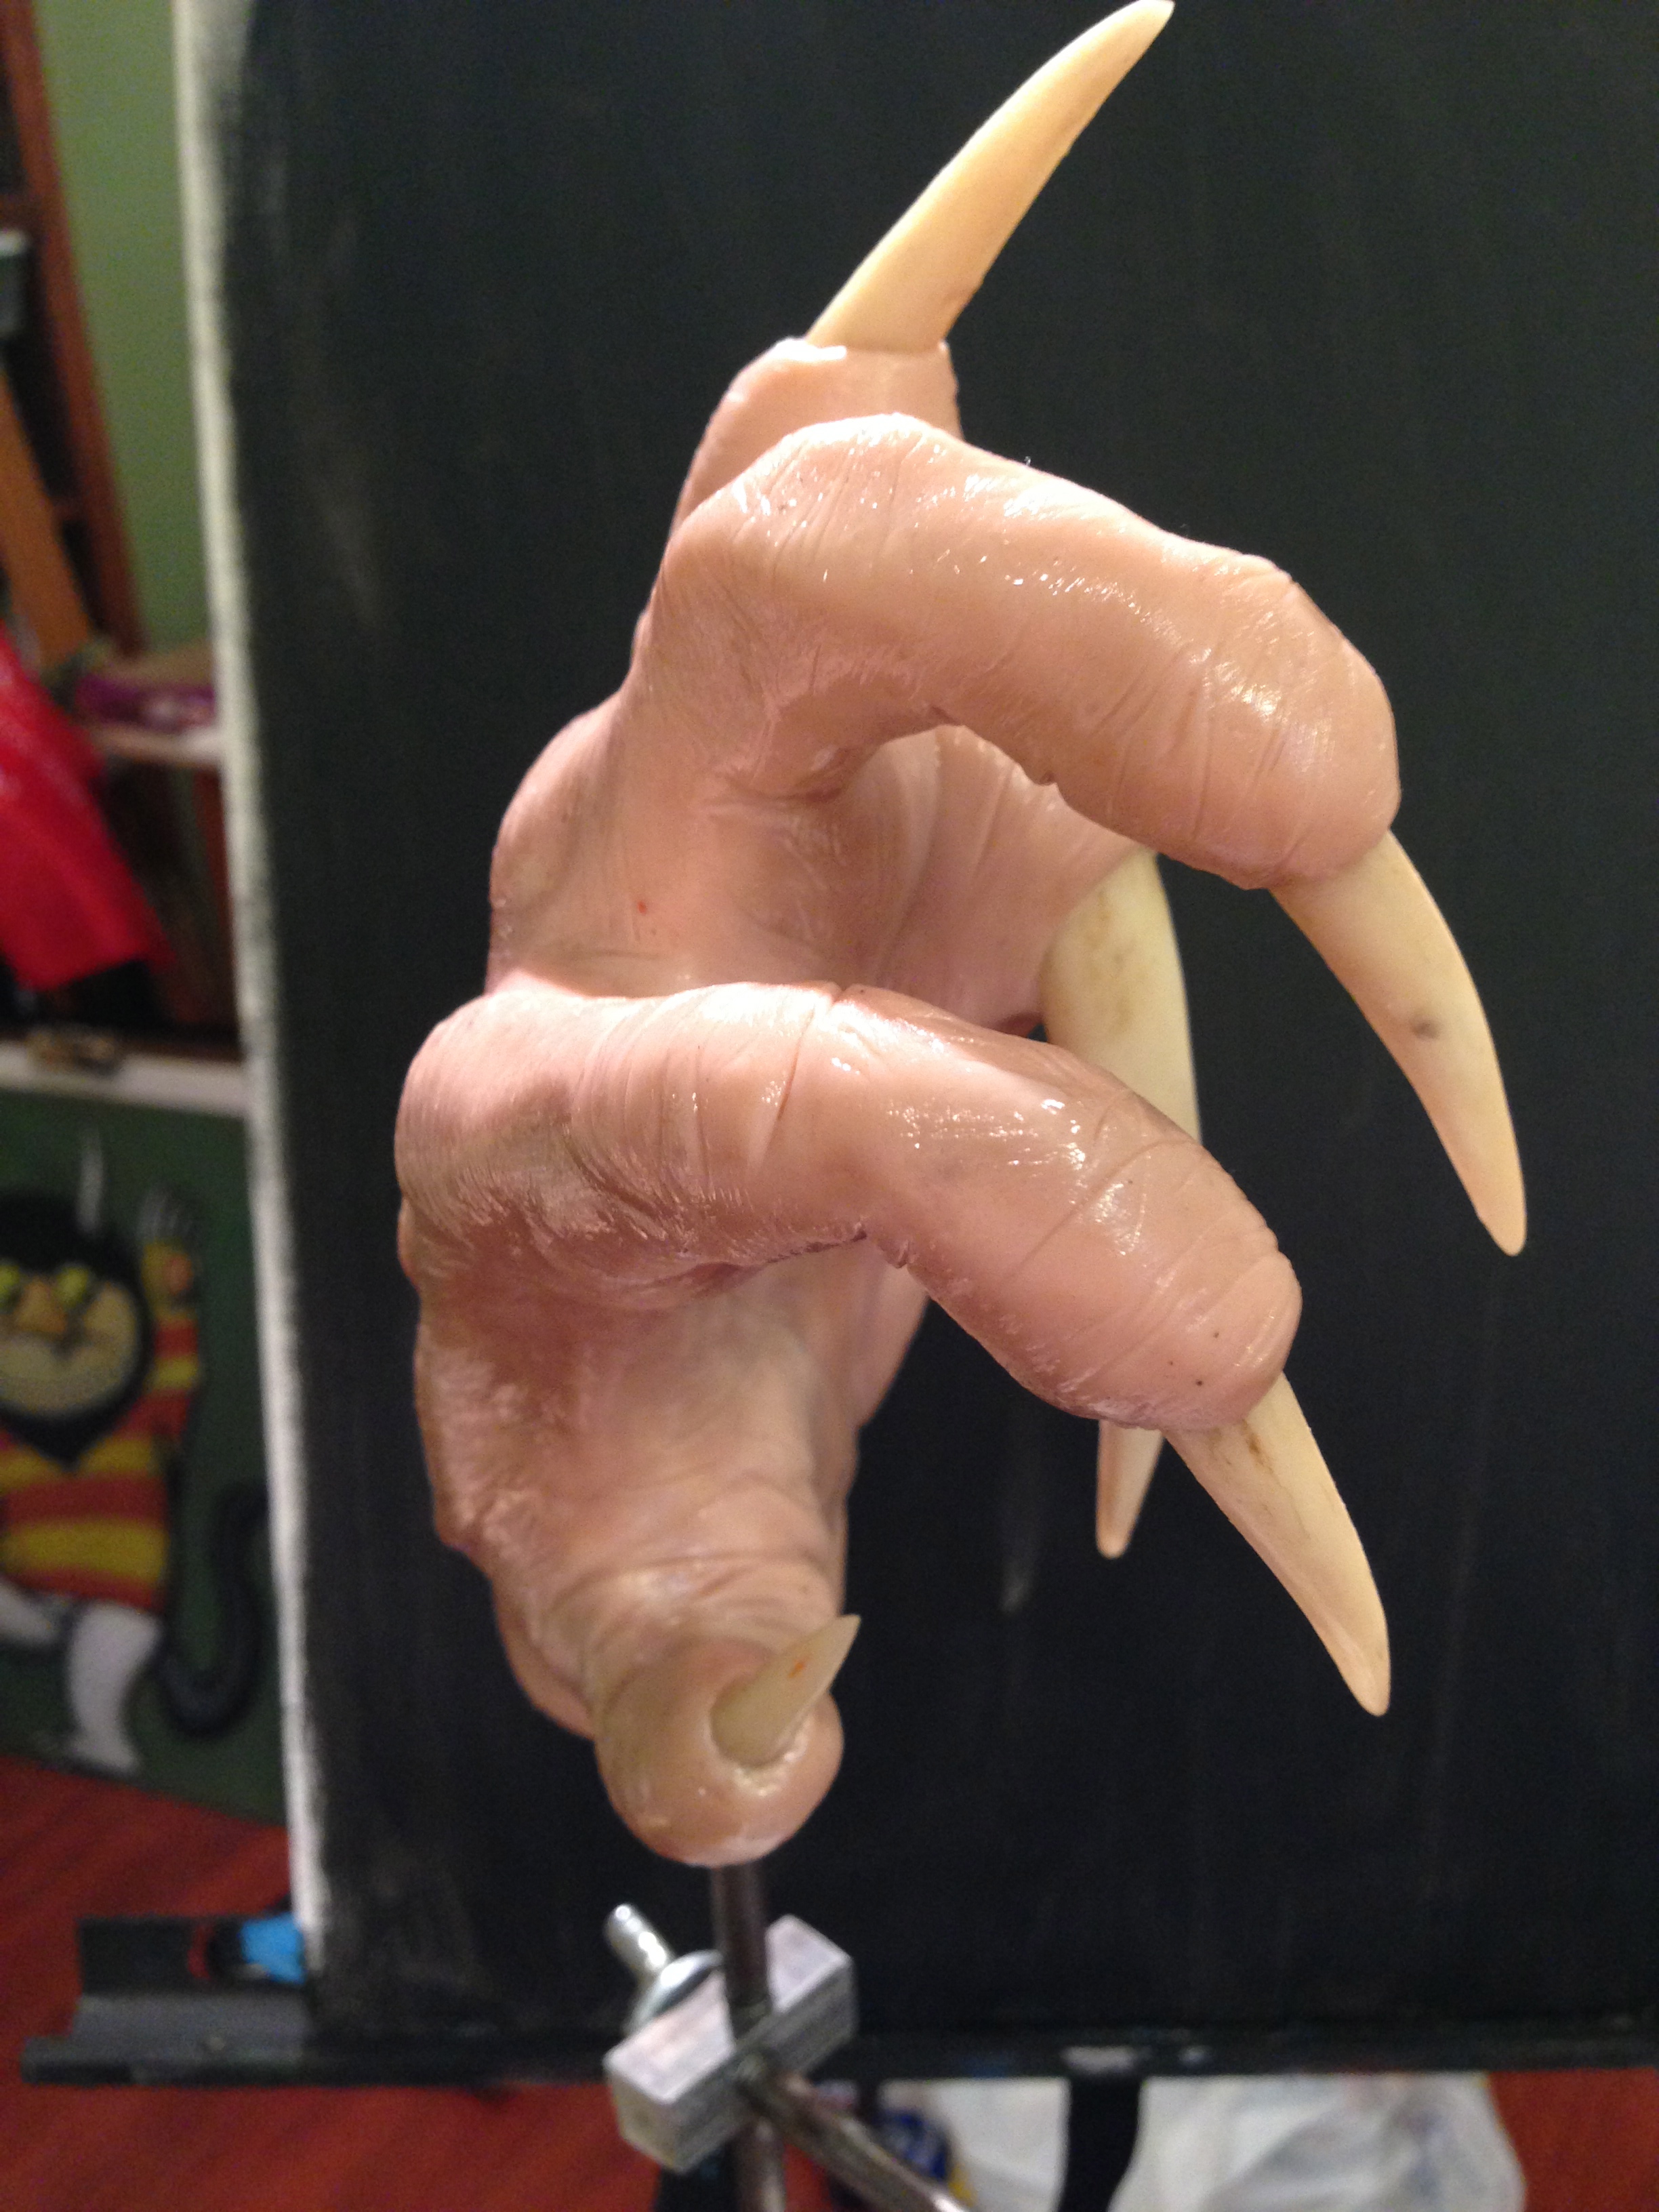
A little bit of fine tuning to the detail has been done and the piece has been baked. Yes I baked it in the oven. For this piece I used super sculpey which is a type of polymer clay that can be baked to harden to a ceramic type stiffness. Also can be found at your local big box craft stores.
The piece is now in another static state of waiting for paint and finishing work. 🙂 I’ll have to get back to you on this one.
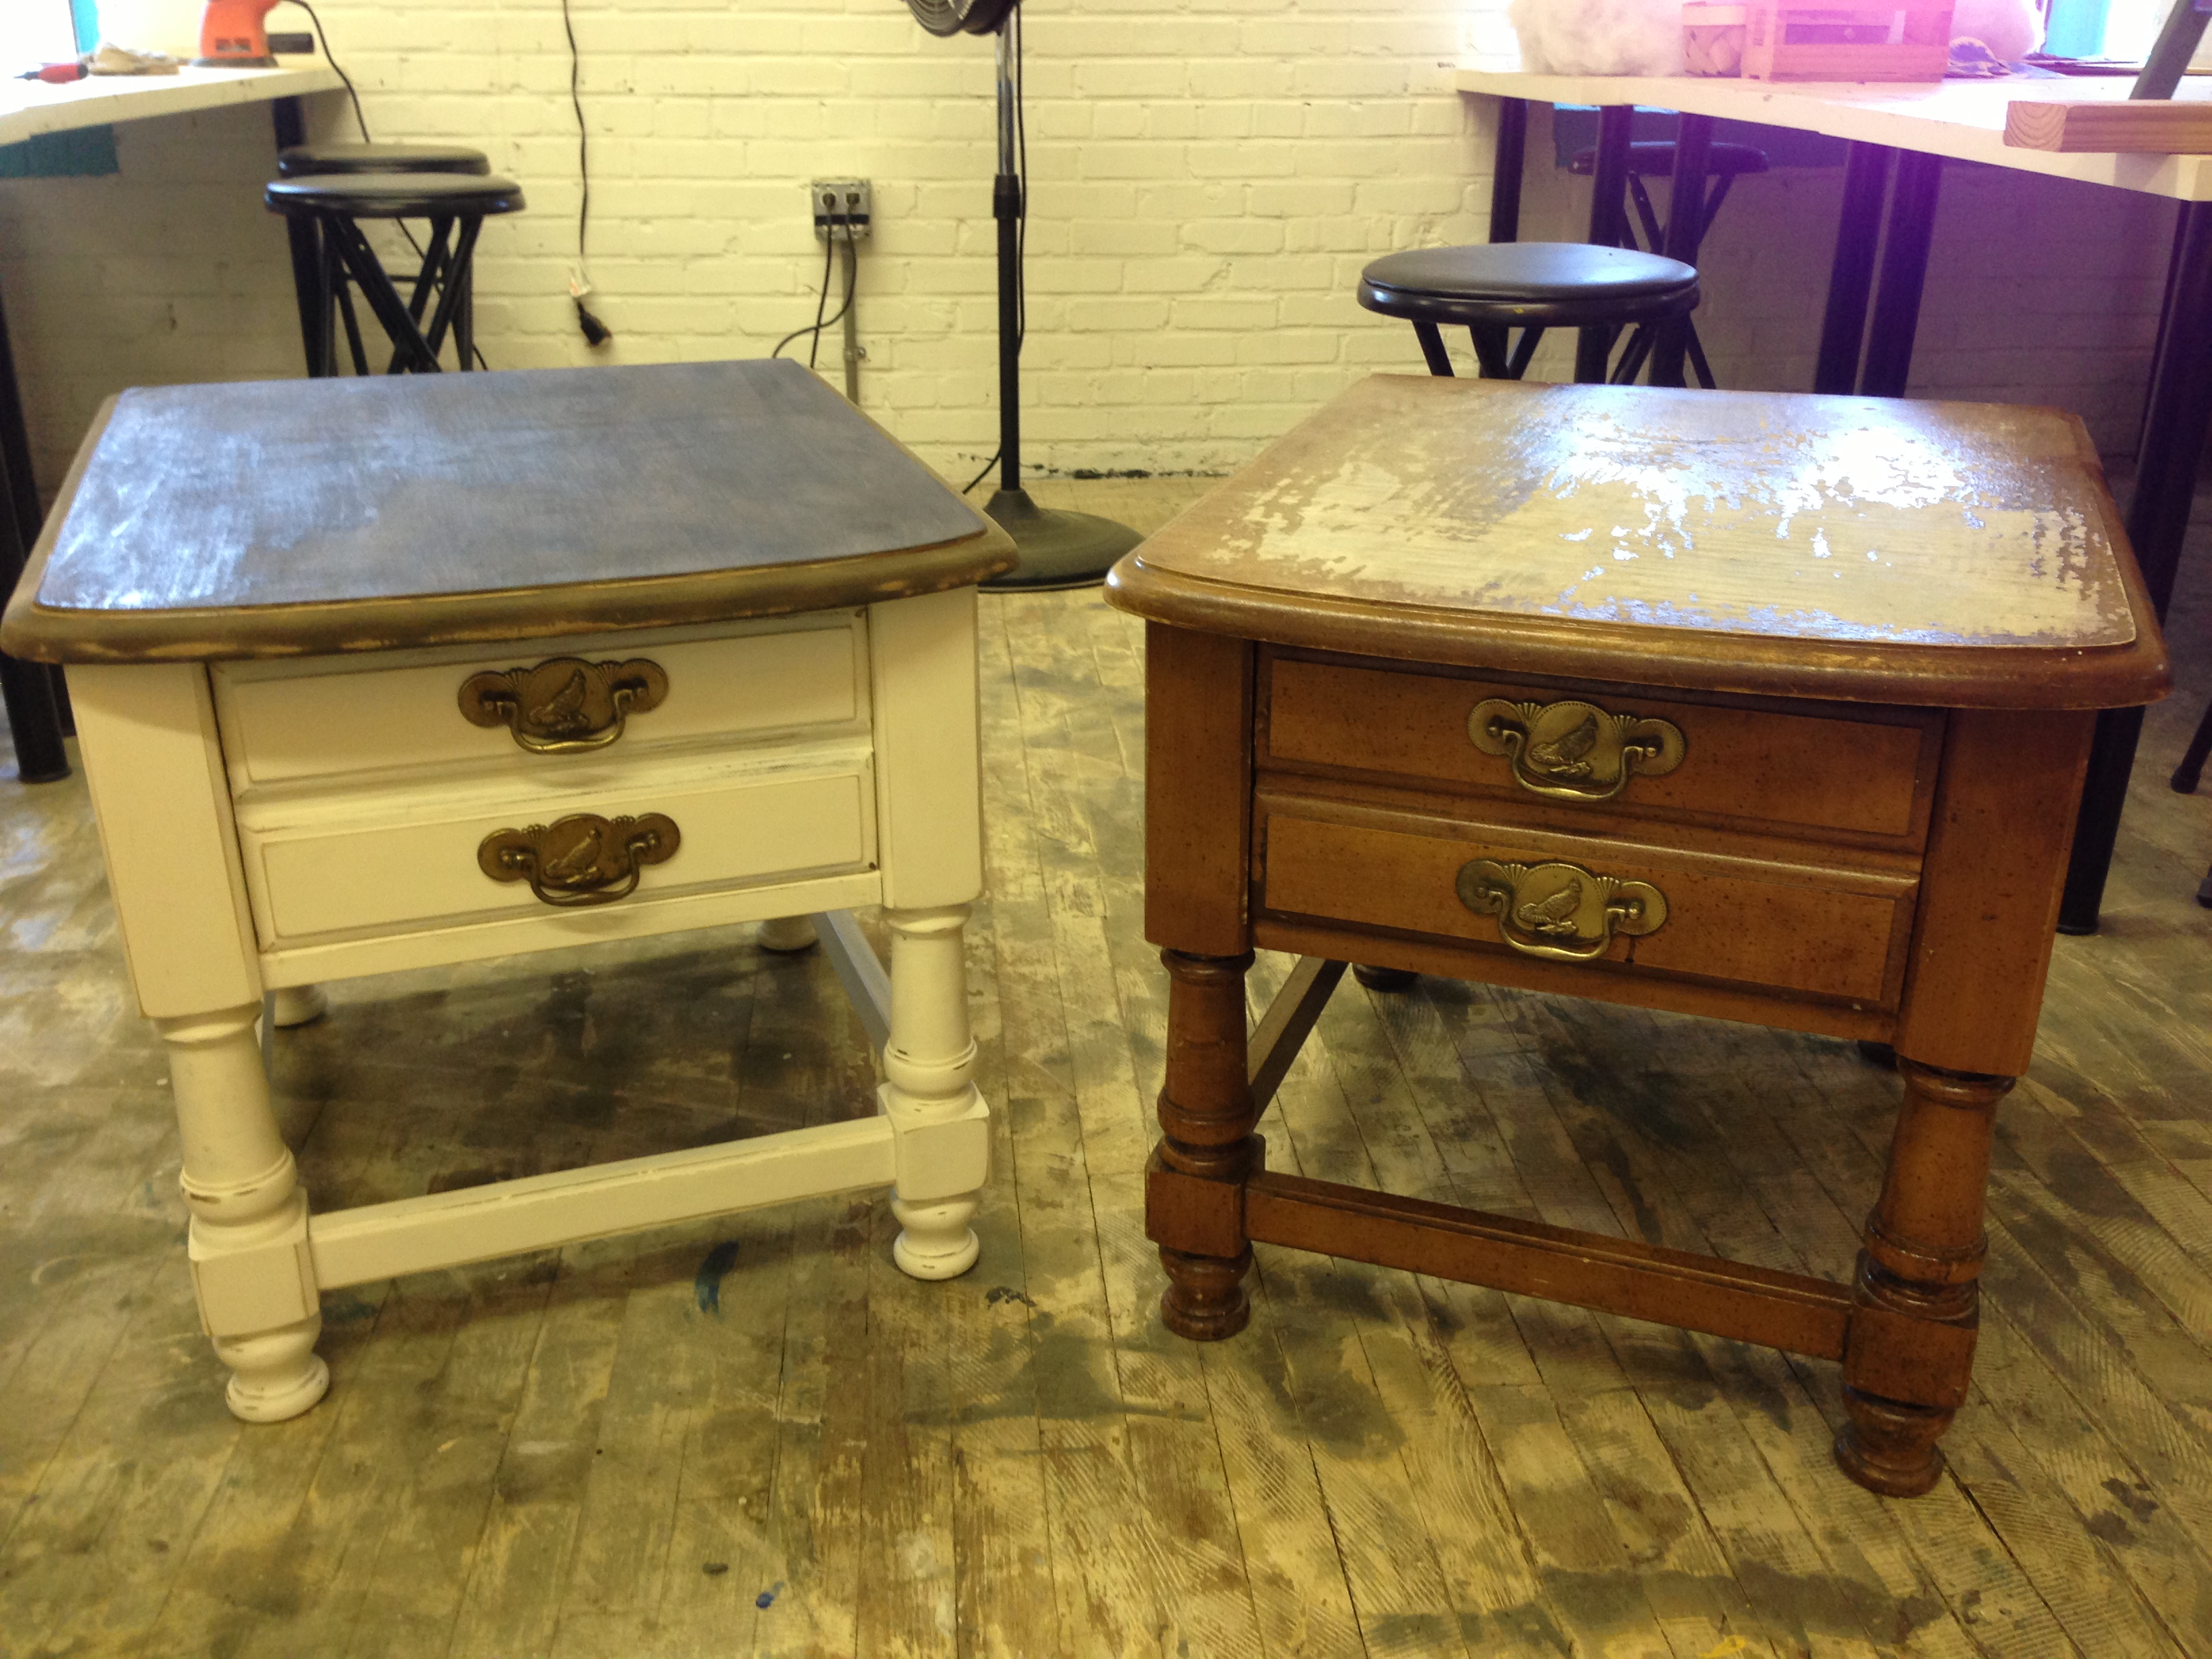
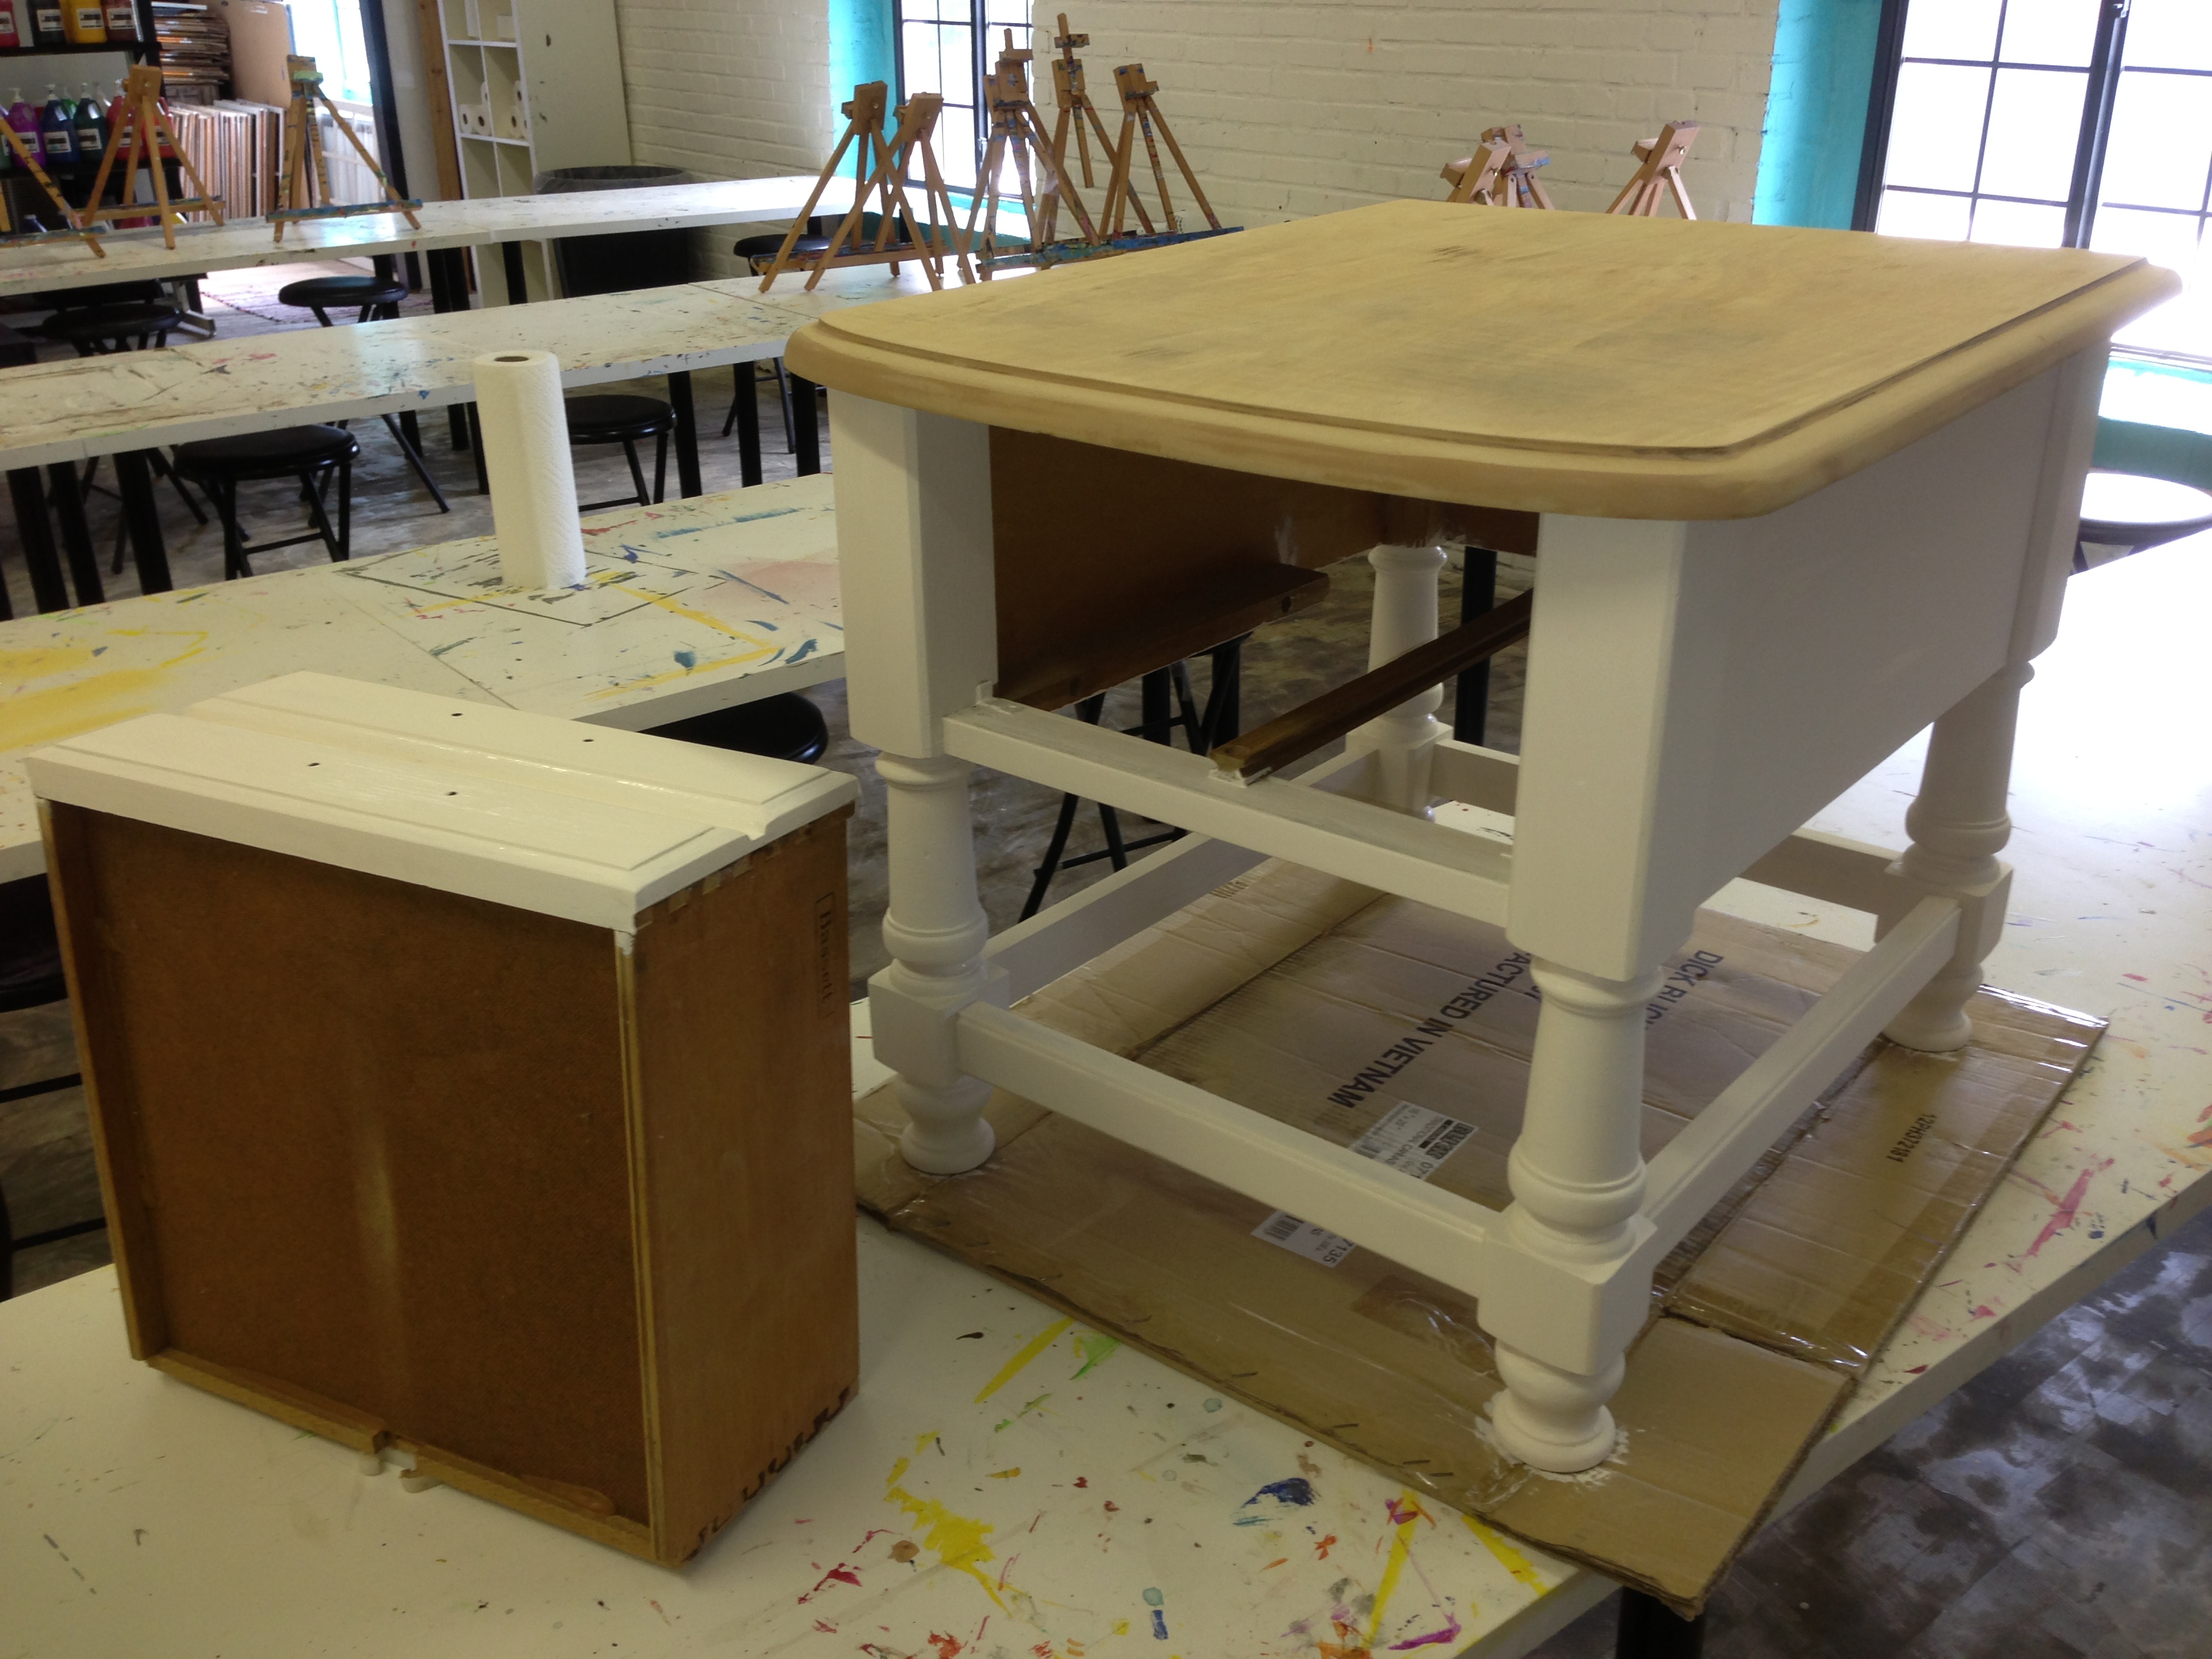
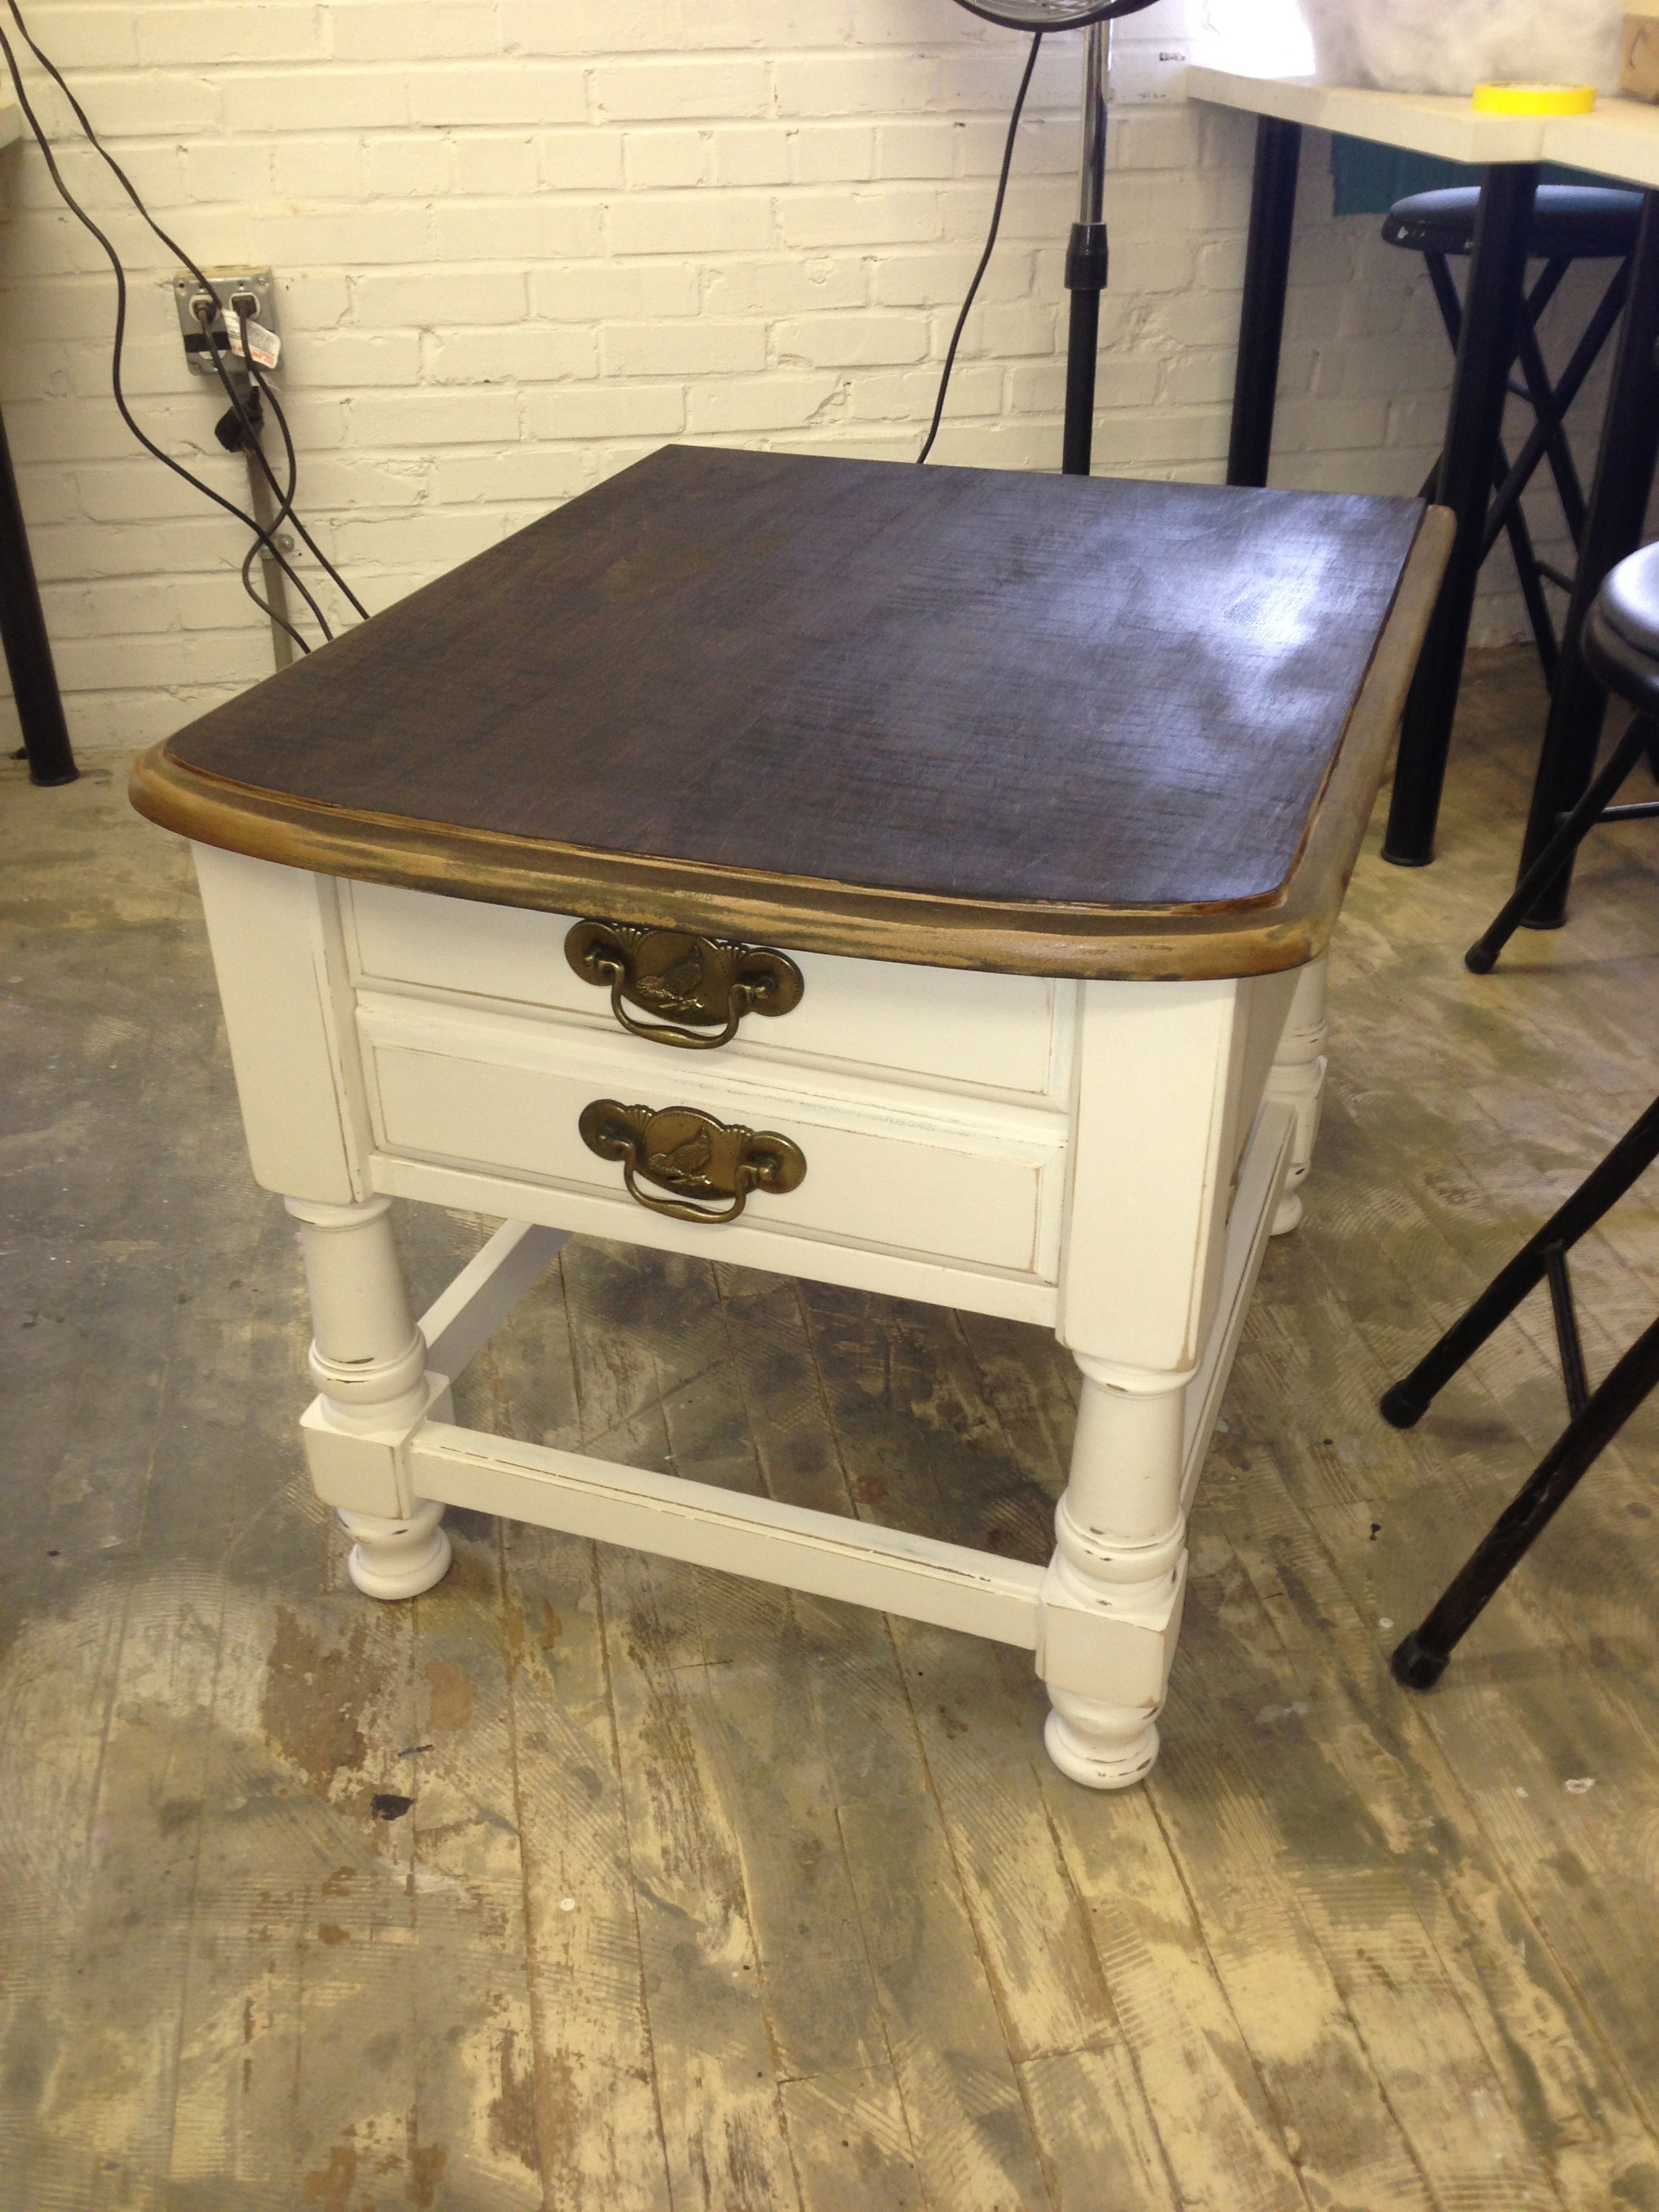
In this “How to” I will take you through each step in the process of taking the just plain shabby to the Shabby Chic. Here we have two end tables from a once very popular furniture maker. The one on the left is two steps away from completion while the one on the right has yet to be touched. We will follow the latter on it’s journey from worn to reborn. (Keep in mind that this is MY process, there are many variations out there.)
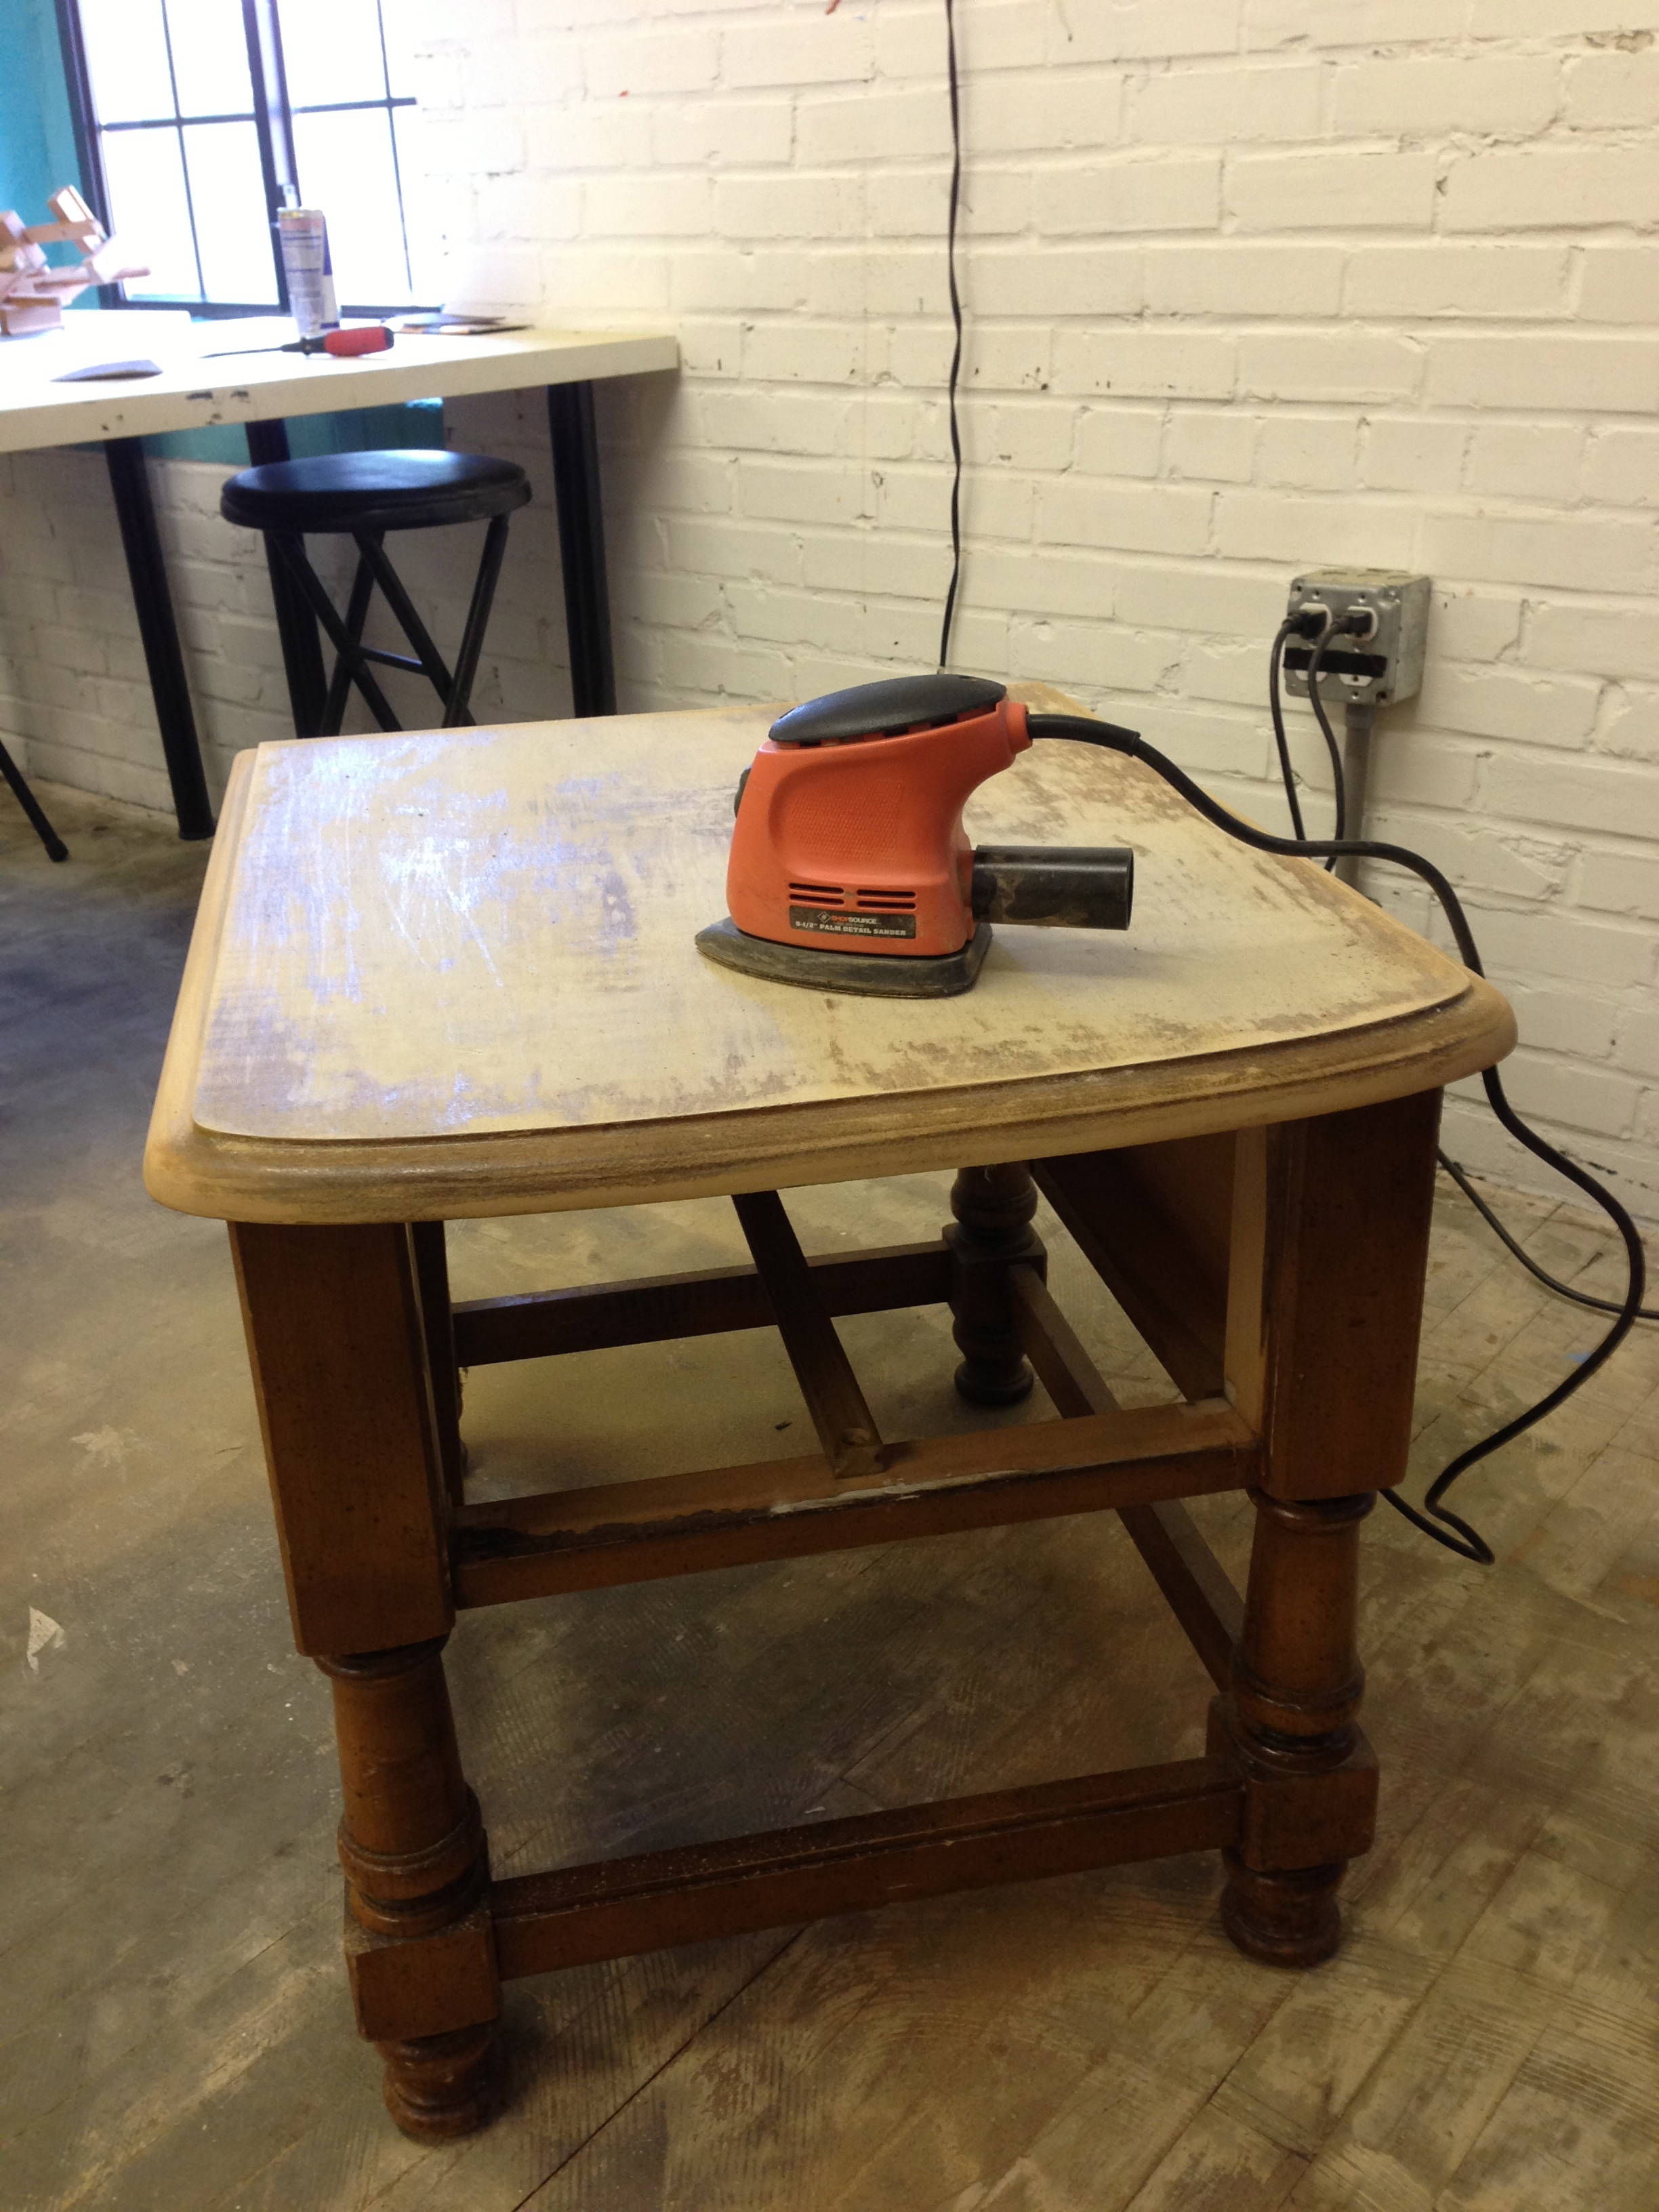
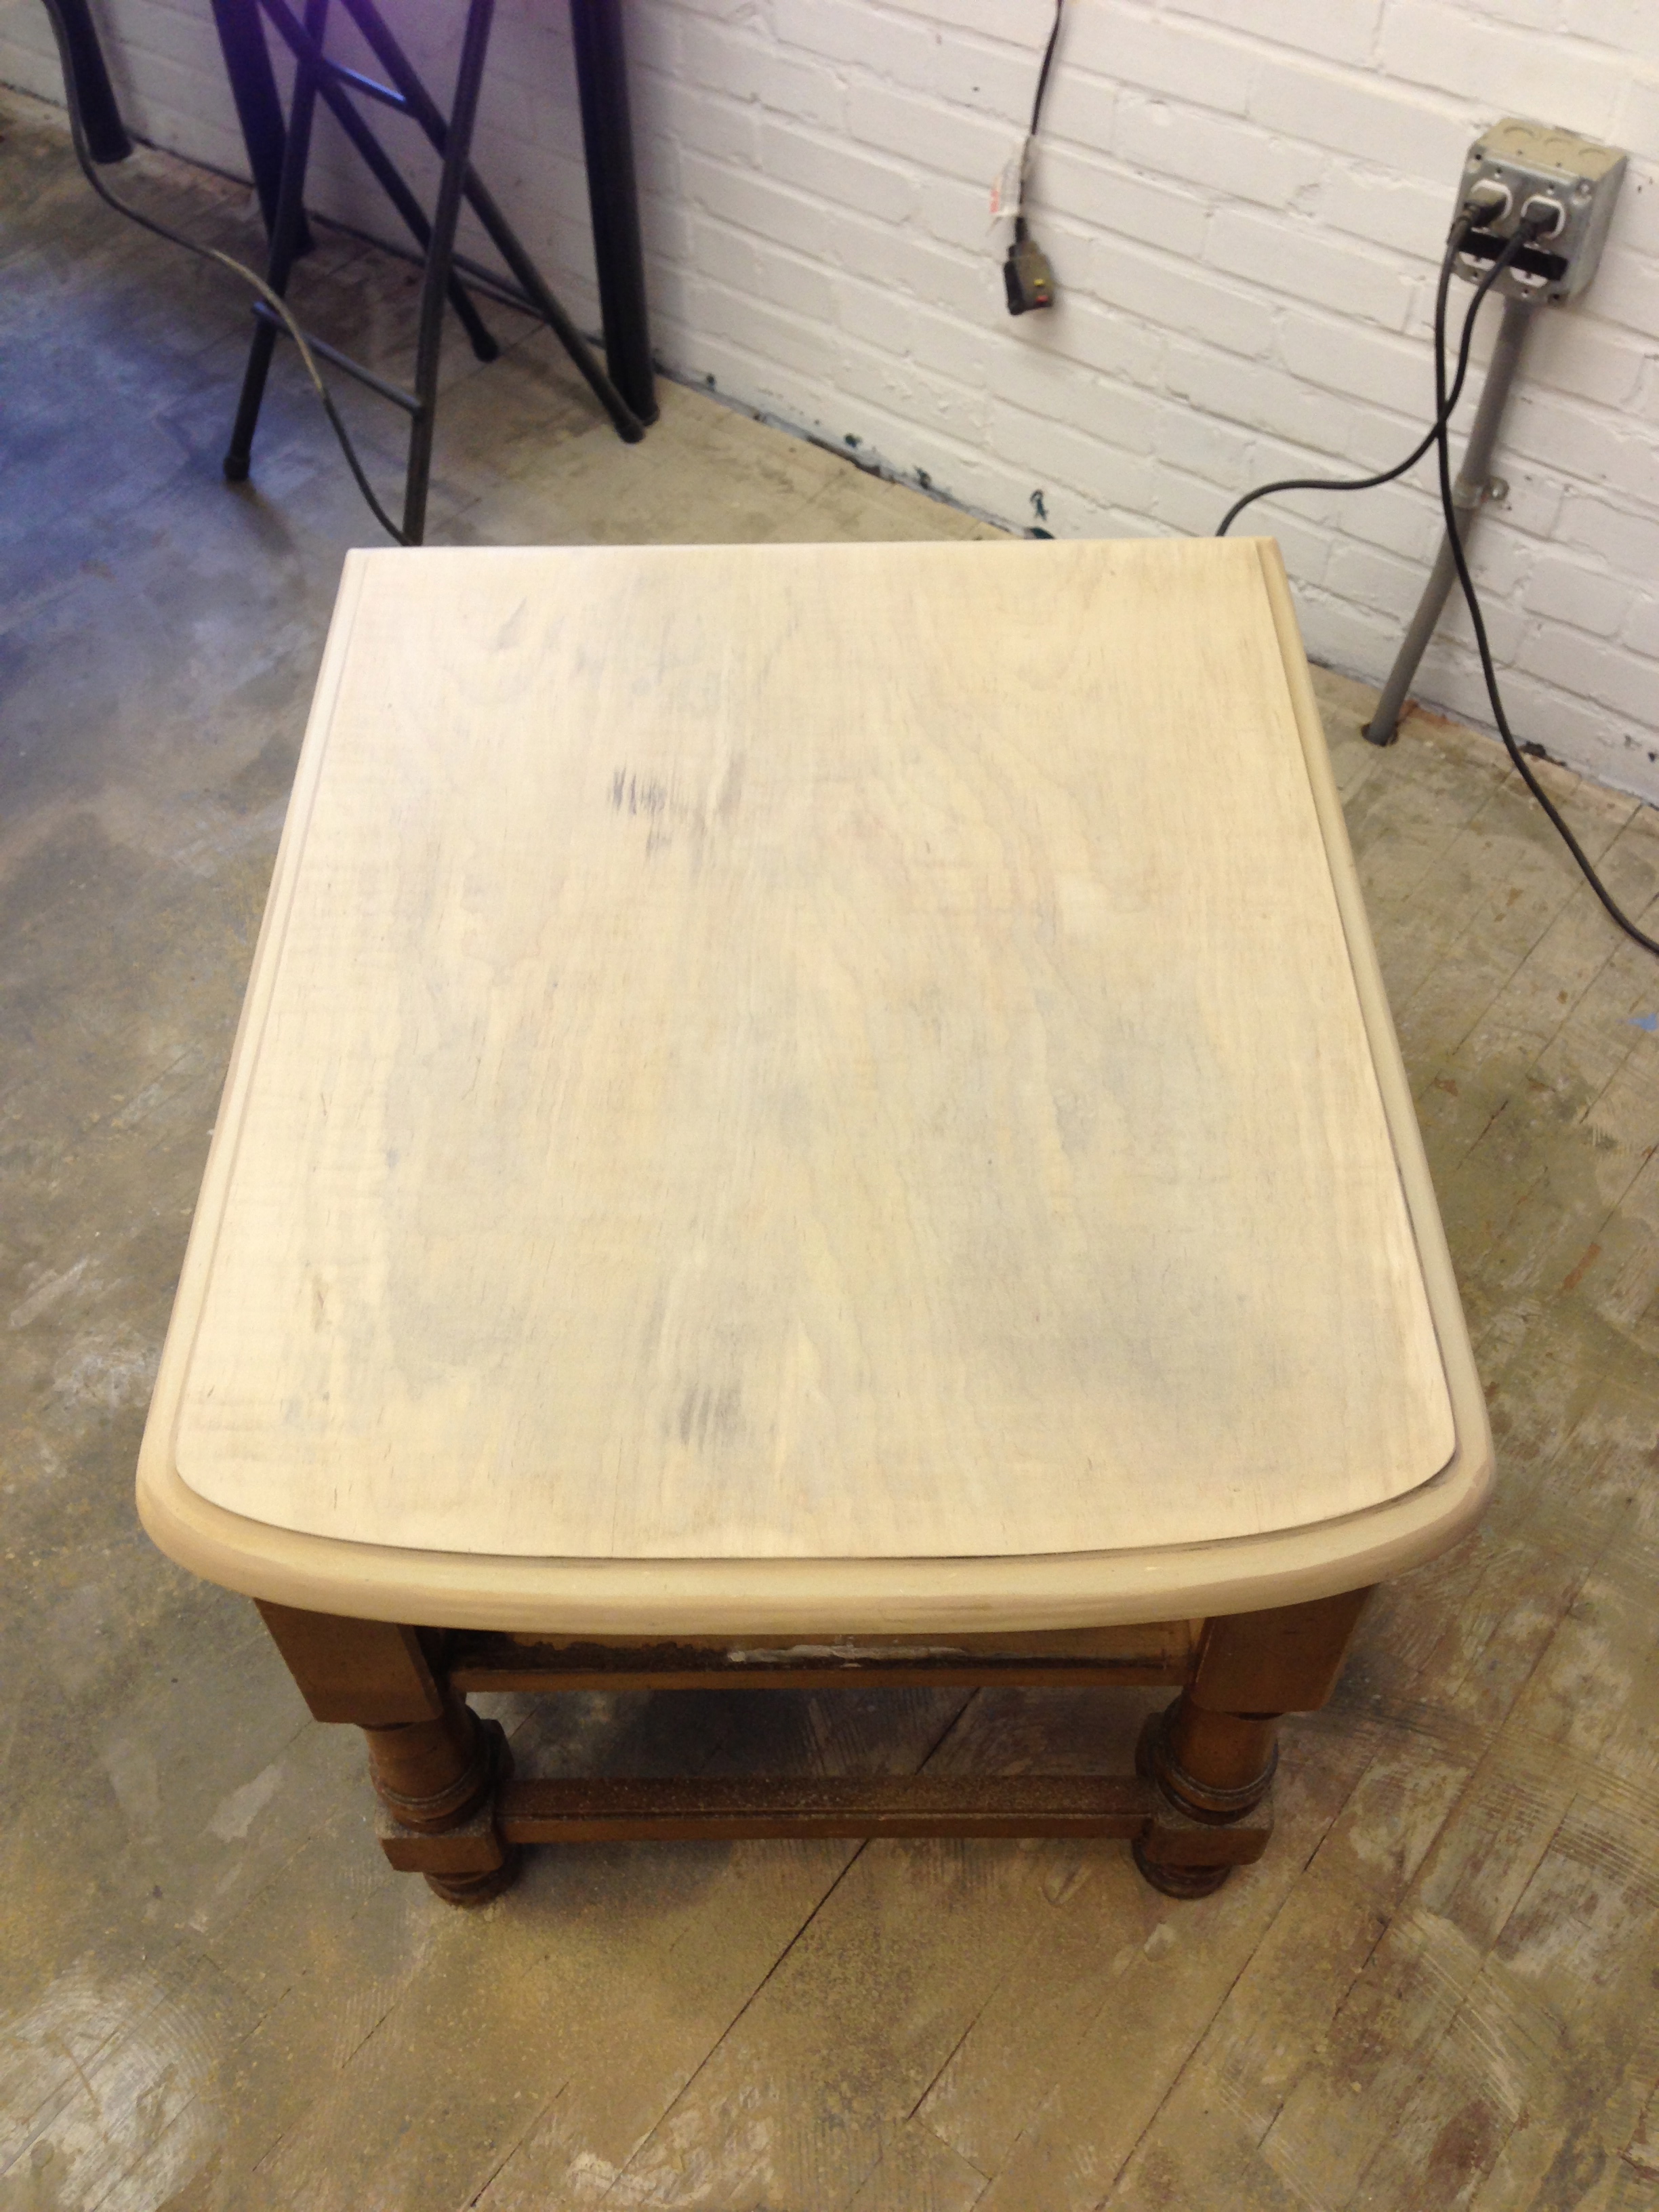
Step one: Sanding. I am using a small electric sander (pictured above) with a 60 grit sandpaper. The finish on these pieces was extremely thick and there were many imperfections on the top wood so I needed a coarse sandpaper to do the job easier and save some time. (Your particular project may not require such a heavy grit sandpaper to achieve the desired result.) The first part I sanded was the top. I took it all the way down to the wood so that there was no finish whatsoever leftover. I did this, as you will see later, because my intention was to stain this portion. Next I moved to the rest of the piece. Using the same grit paper I sanded down the sides, back, legs and drawer. I sanded these parts less because my only intention was to remove the original lacquer finish so that I could paint this portion. Some paints will not adhere properly to a heavily lacquered finish, it is always best to give anything a light sanding if you intend to repaint it.
Next I transitioned to a much finer grit sandpaper, 220. The heavy grits will really tear into the wood and leave it feeling rough to the touch. Going over the entire piece with a lighter sandpaper will sand the wood back down to a silky smooth surface texture. (If you have an open outdoor area to sand I highly recommend using it rather than indoors) This process will create a ton of dust for you to have to clean up indoors. When you have completed both steps of sanding it is time to move on.

Step Two: Dust clean up. The sanding process will accumulate tons of dust. It is very important to remove this excess dust during sanding as it will gunk up your sandpaper if you continually sand over it. It is especially important to remove all dust from your piece before moving on to the painting process. I used a hand held natural bristle broom to remove all of my dust during and after sanding (An air compressor blower is a much more effective method of removing sanding dust if you have access to one in your work area). After I removed all of the dust from the piece with my broom I then took a reasonably wet rag and wiped away the remaining excess dust (This step may take repeating at least once). After wiping my piece down with the wet rag I let it completely dry.
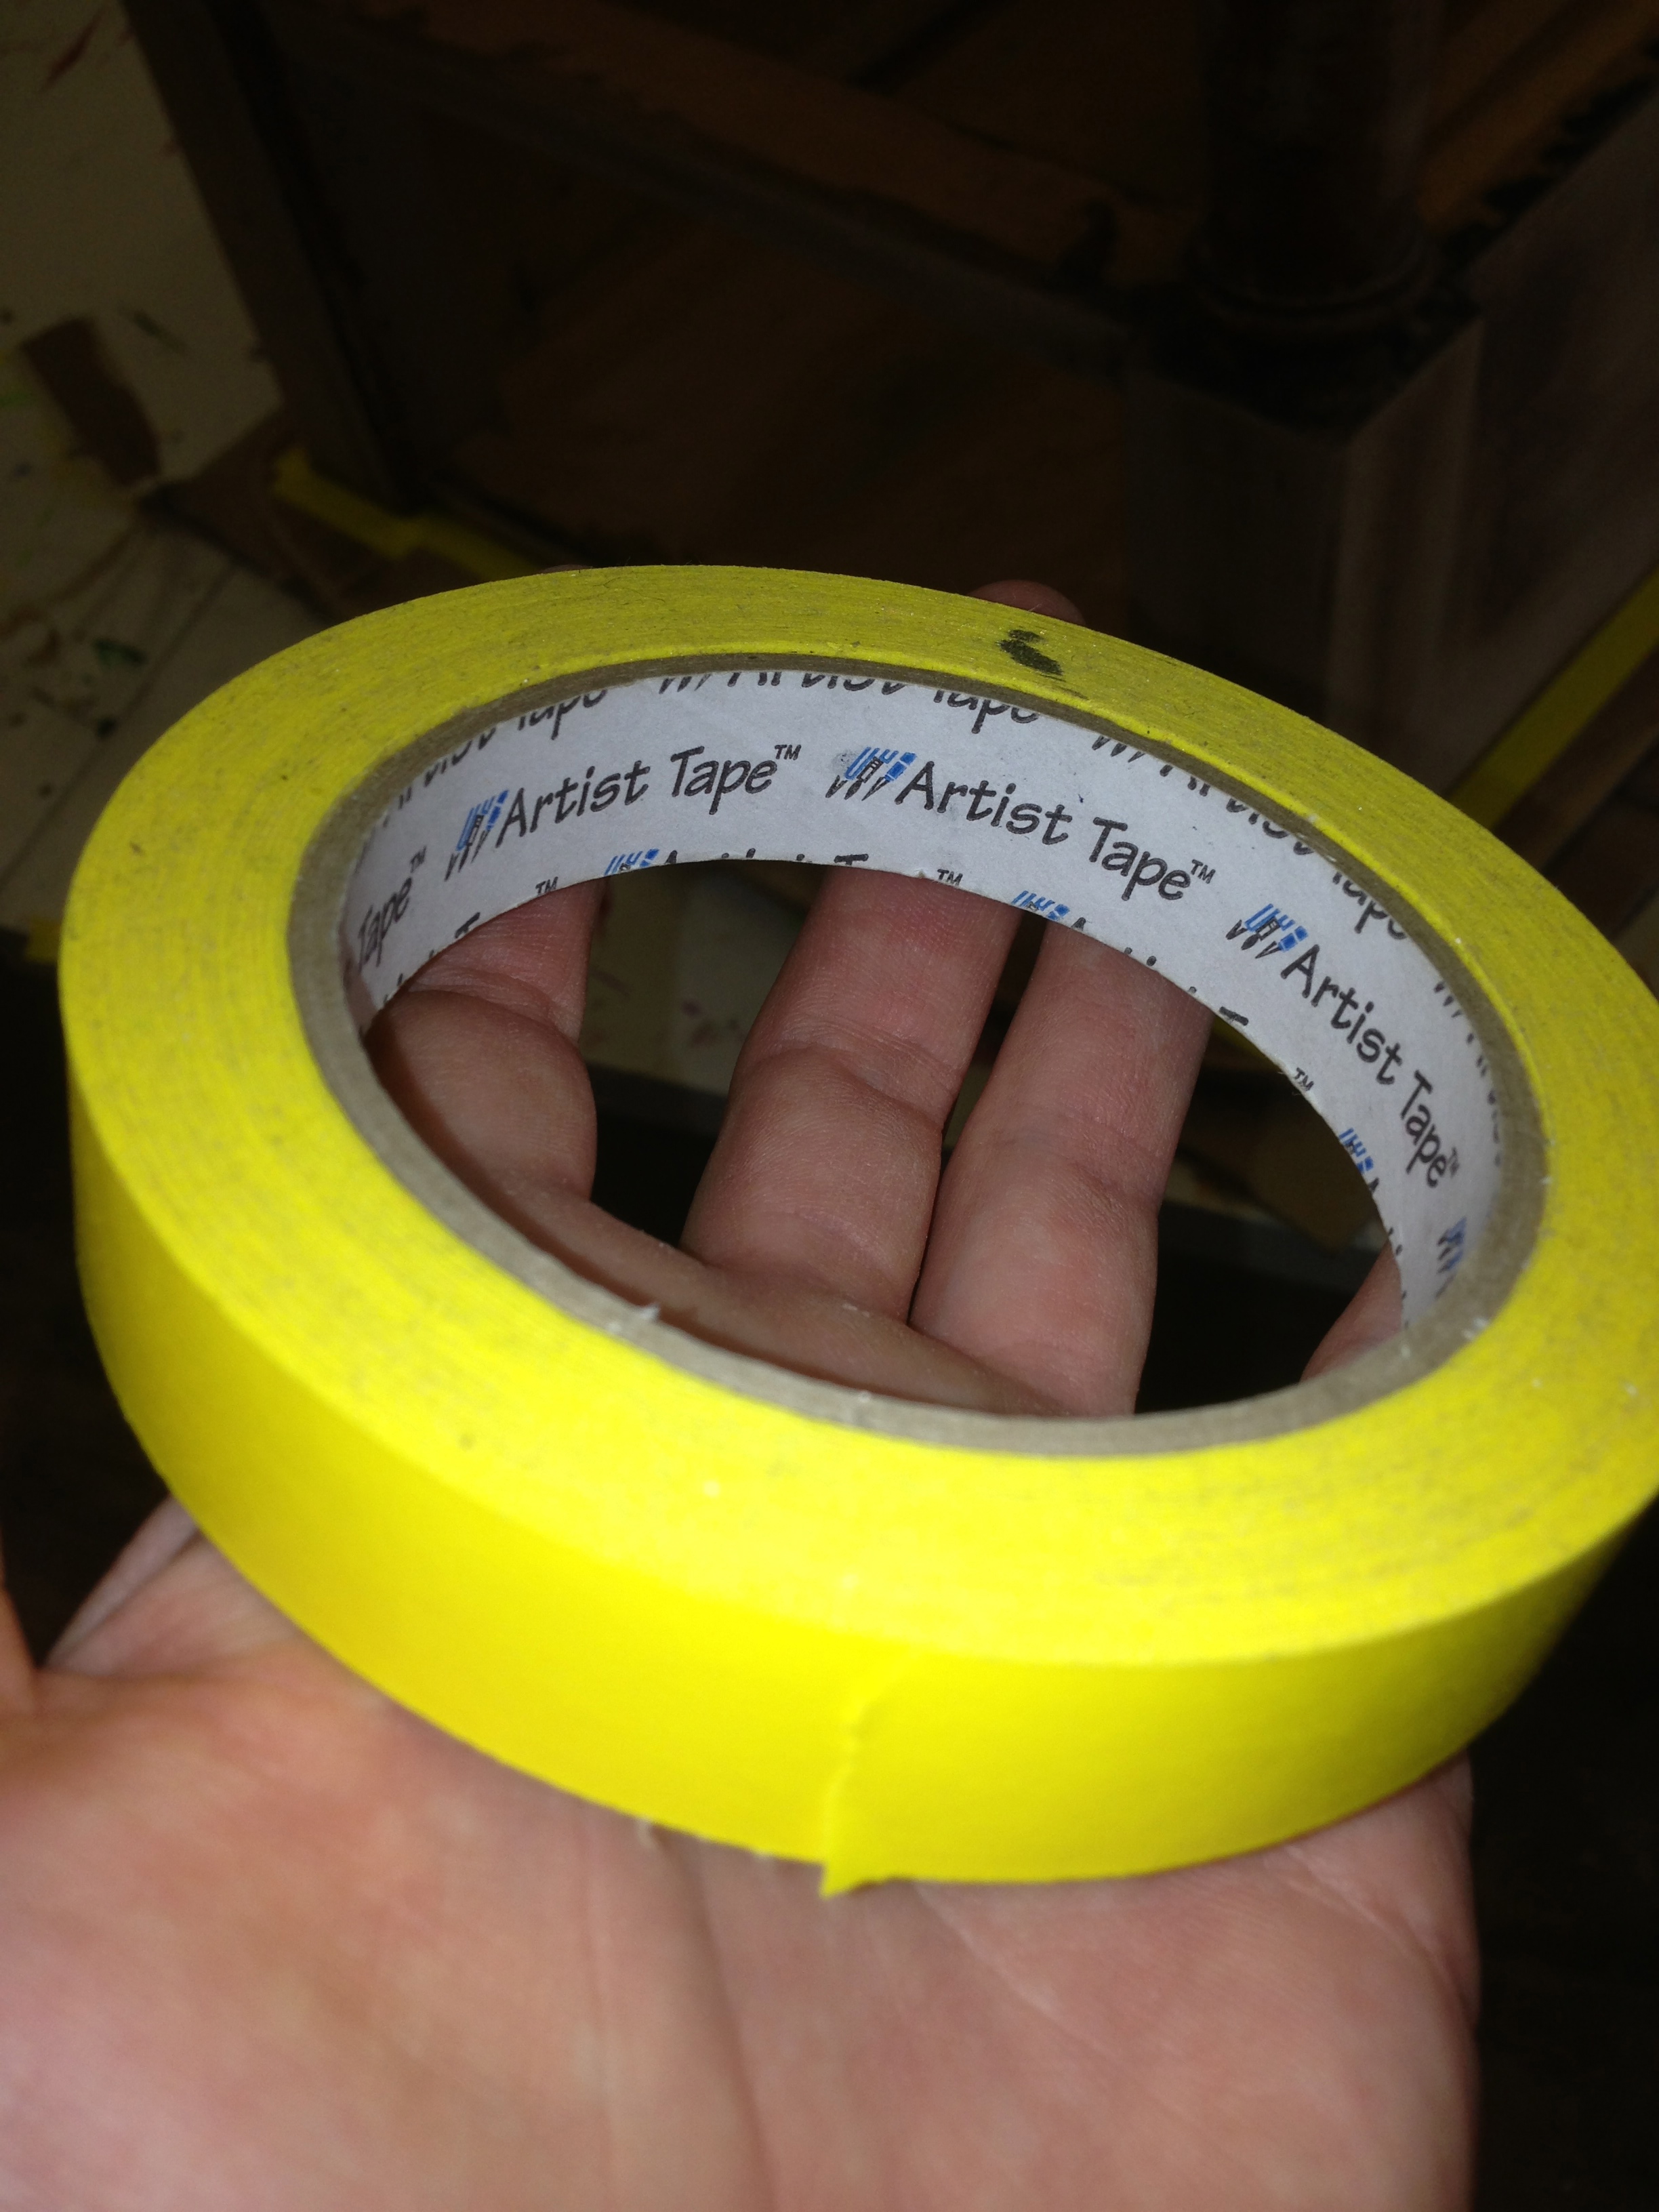
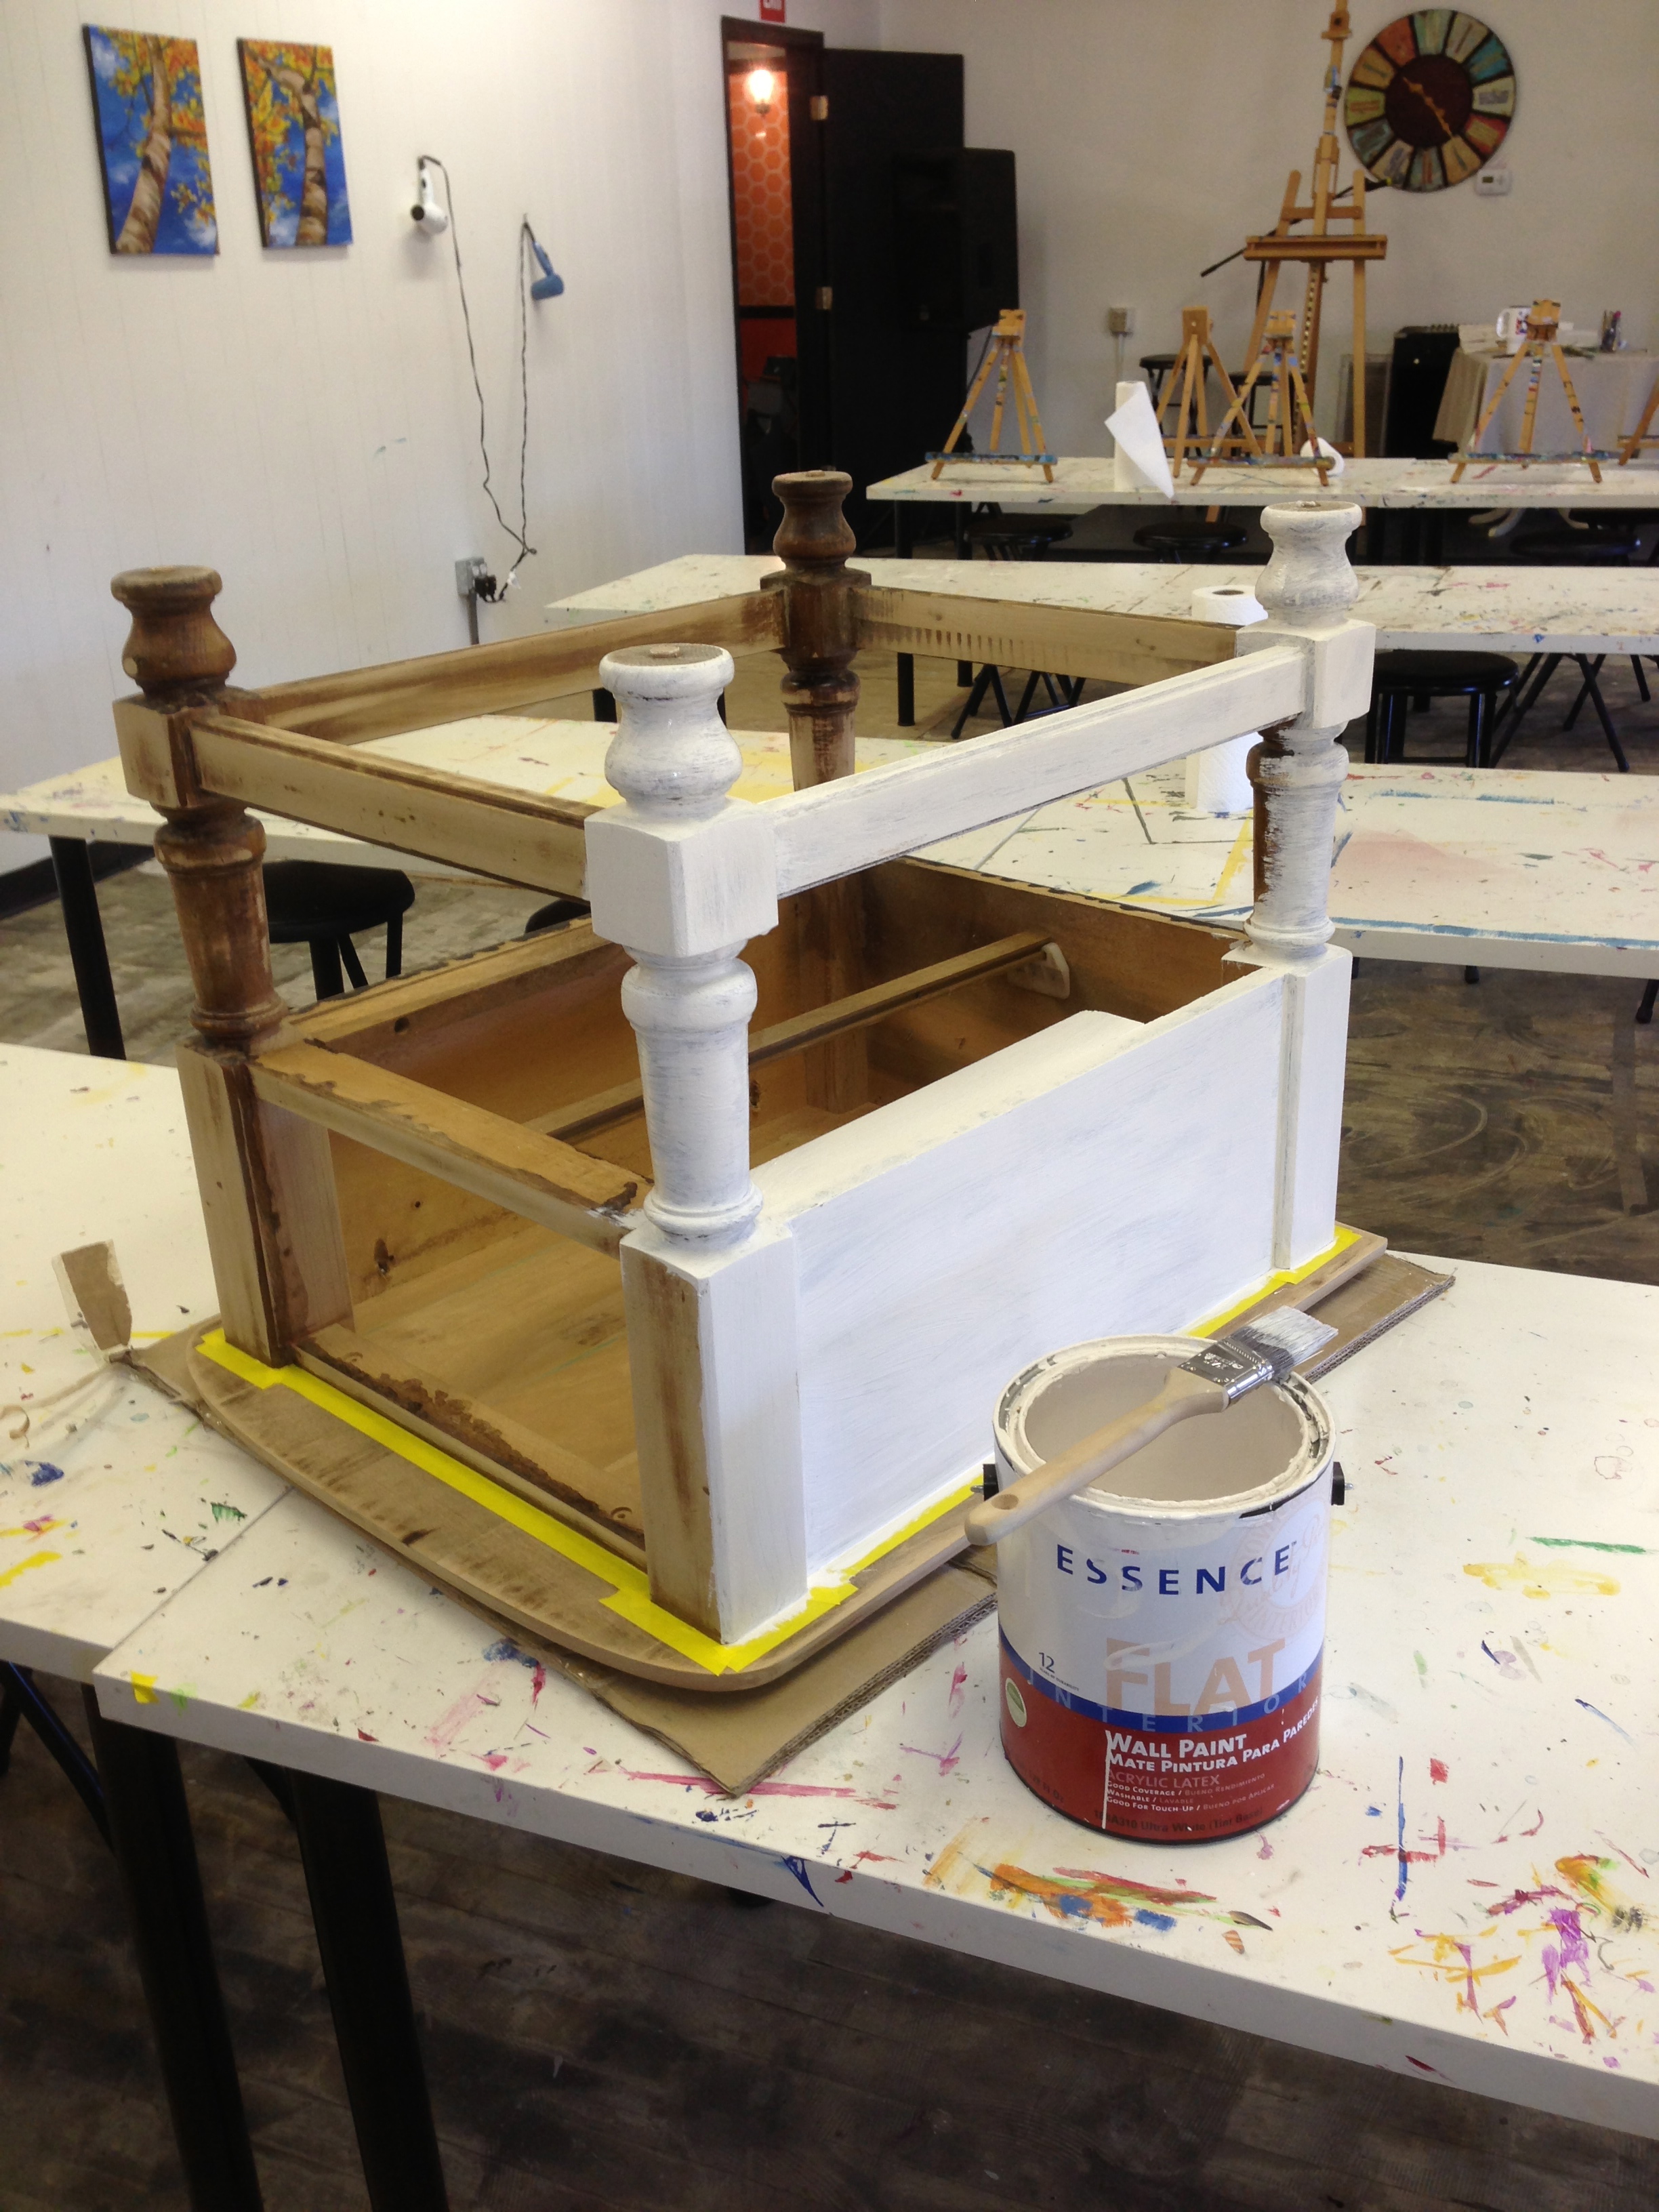
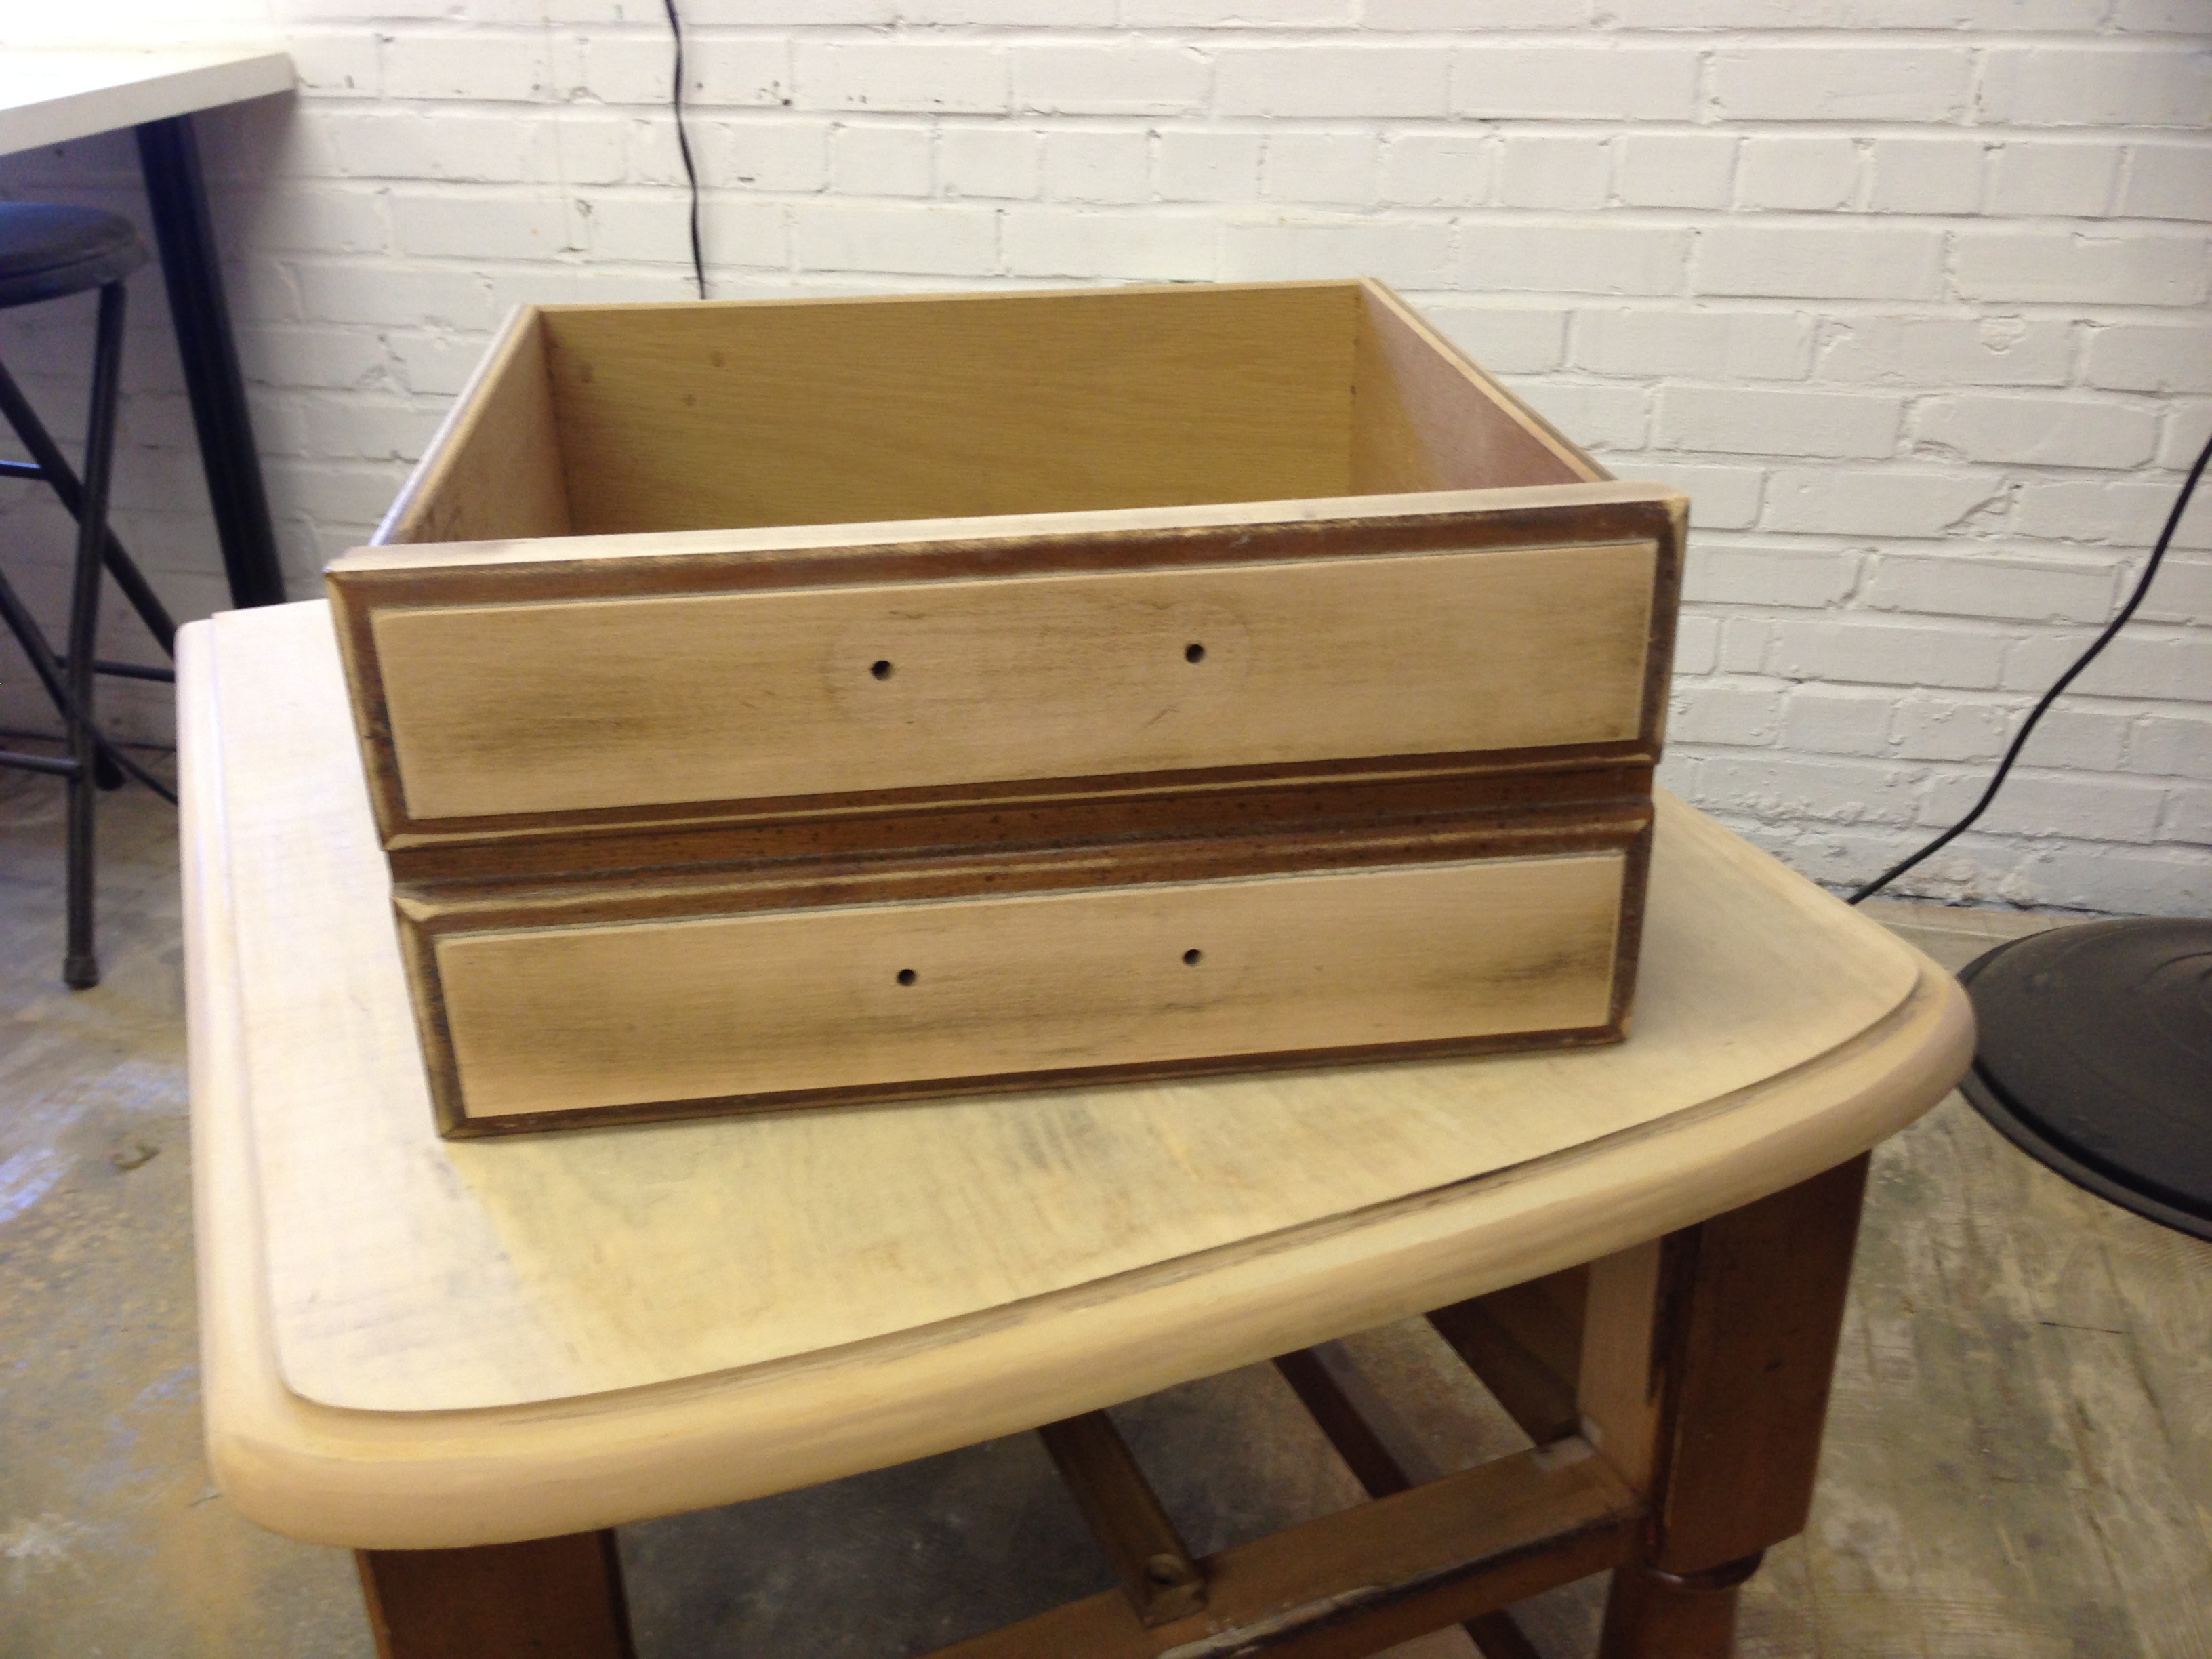
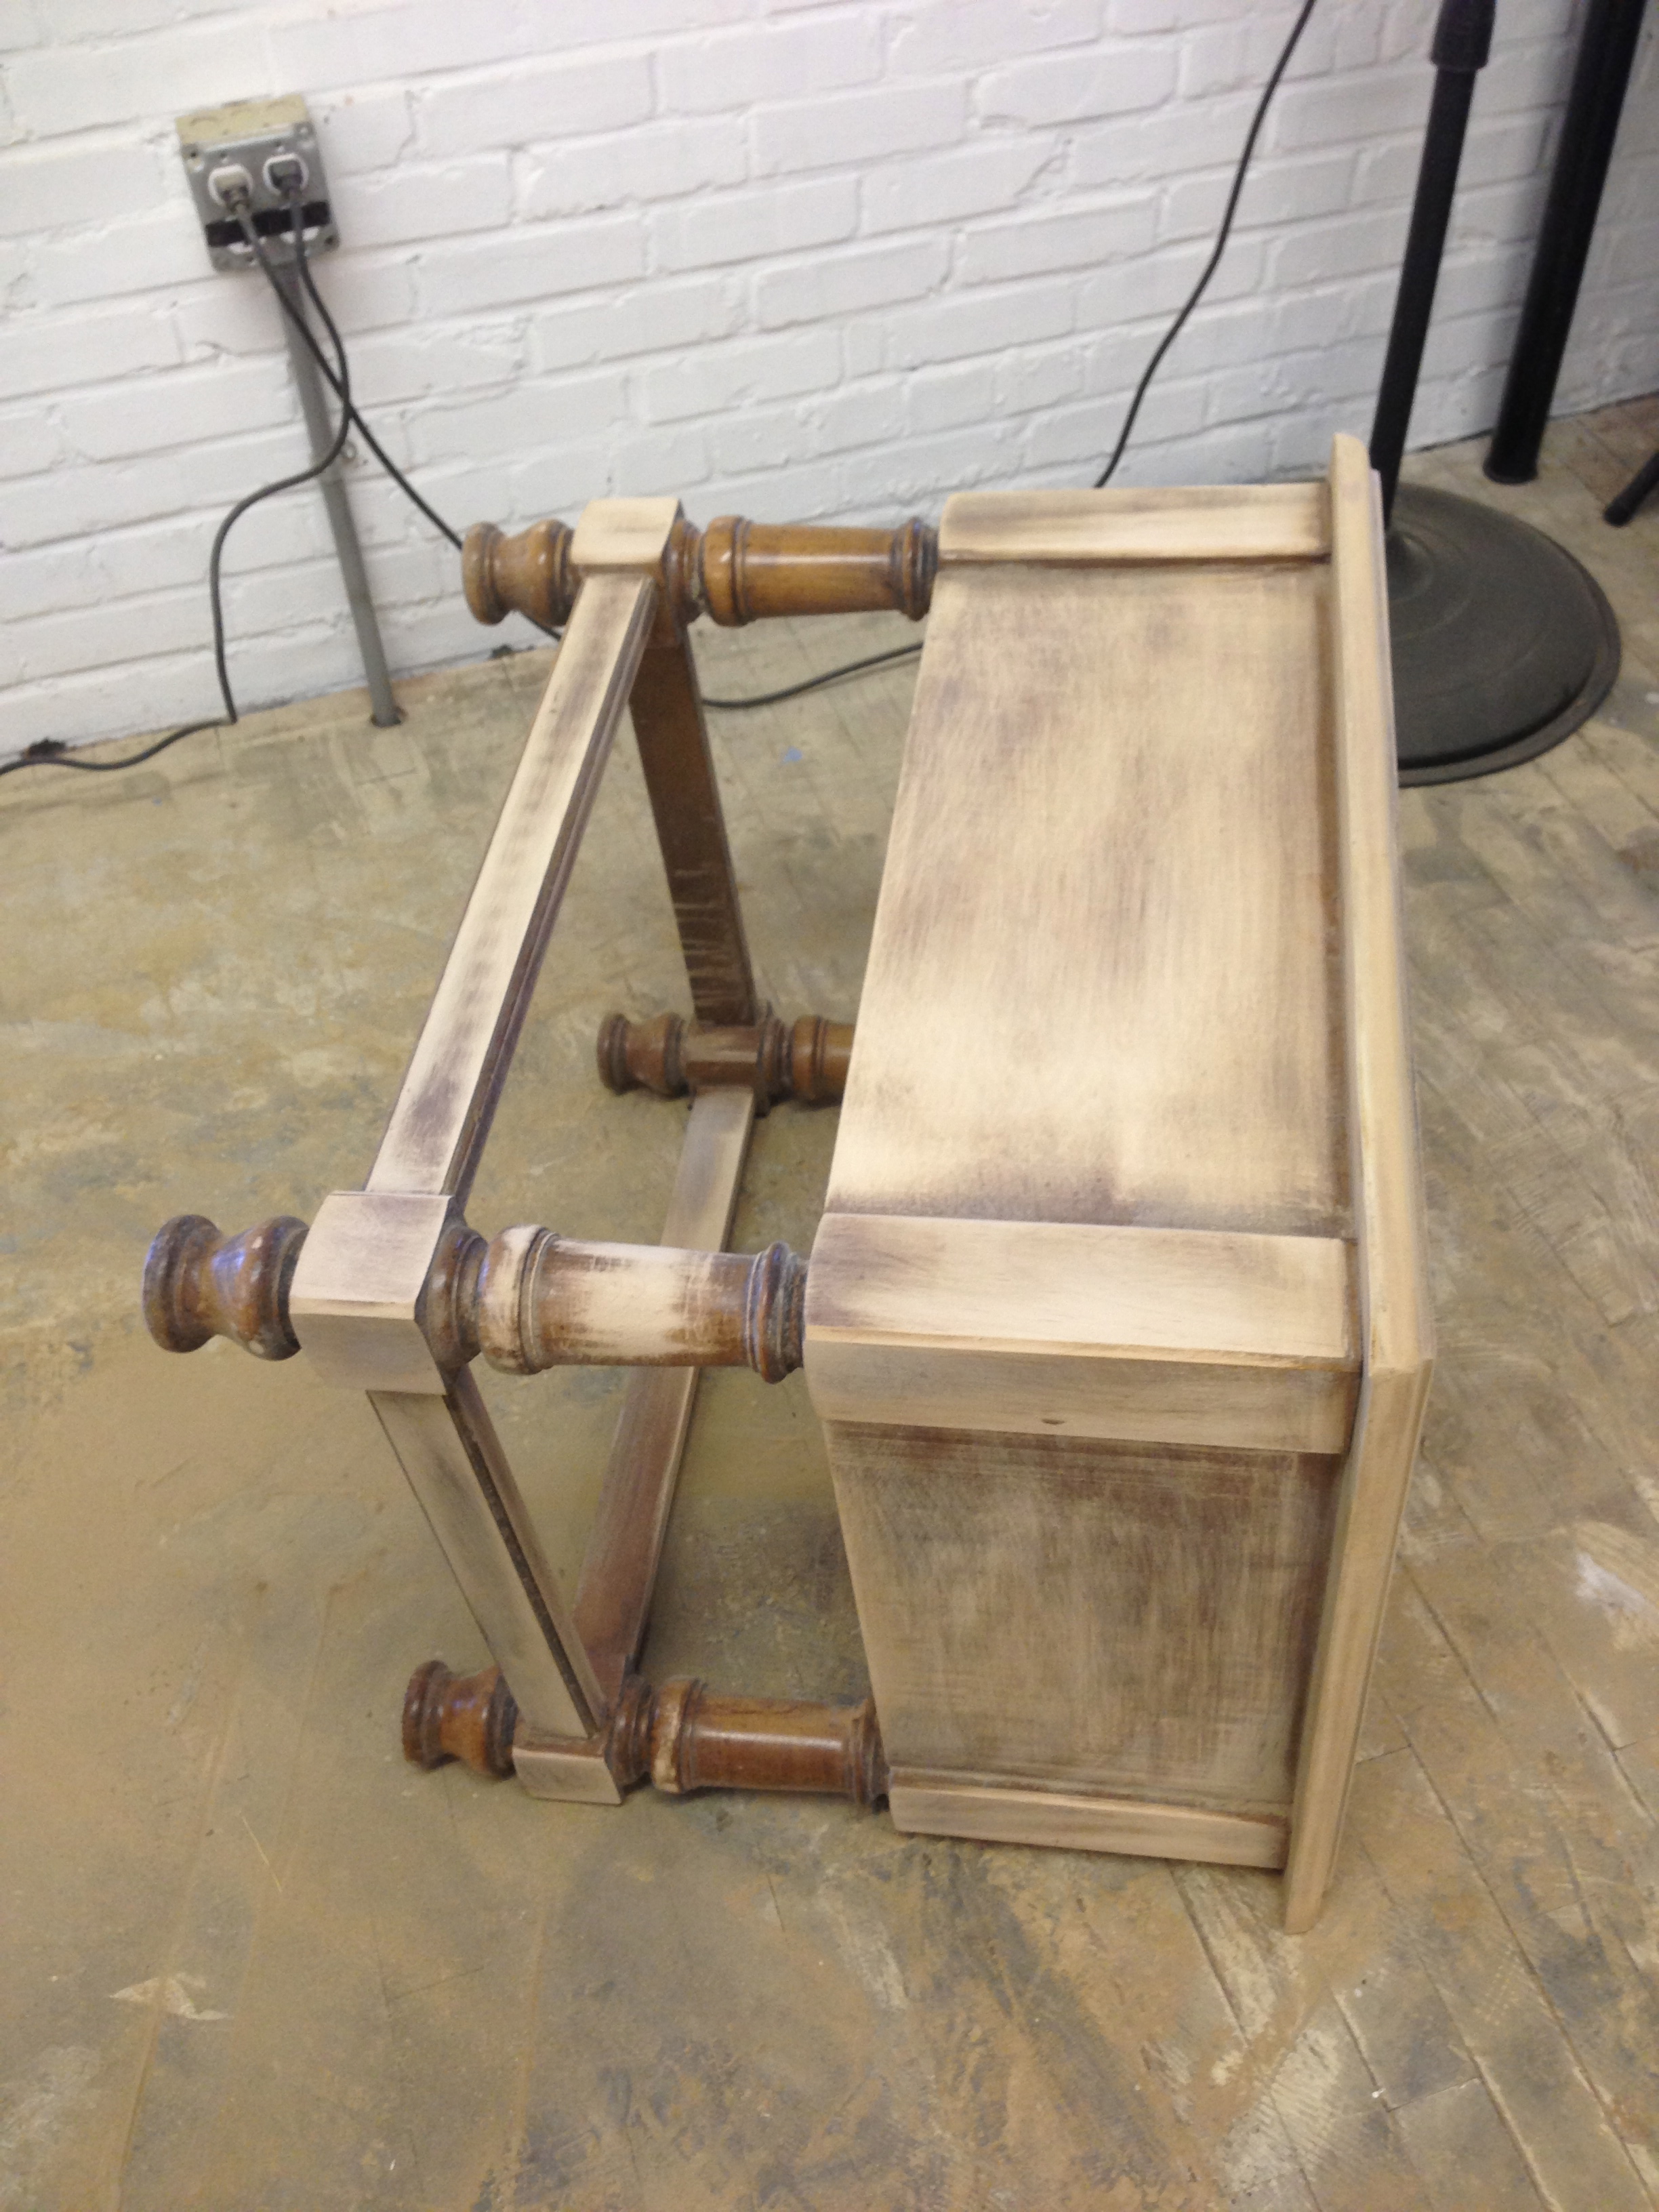
Step Three: Painting. After cleaning my piece of all excess sanding dust it’s time to start painting. The first step is taping off the edges of the piece from the top portion. This keeps the paint off the portion that I do not want painted. In this particular case I used Artist’s Tape. It is similar to painter’s tape, but I have found that it keeps much cleaner edges and is slightly thicker for easier removal without tearing. Now I am ready to begin painting. I chose a flat white interior paint for this particular project. I also used a 2 Inch Purdy brand paint brush (The better the paint brush you use the better your chances of having a smooth coating that does not look streaky). Take the time to cover the surface as evenly and as good as possible. One to two coats will more than likely be required to cover effectively. More coats may be needed if you are using a lesser quality paint (which I DO NOT recommend).Let each coat dry before painting the next, also clean out your brush so it doesn’t dry up while you wait. This paint requires only soap and water to clean up. You know your brush is clean when only clear water runs from it. When your piece is coated to your satisfaction and your brush is properly clean you have completed this step.
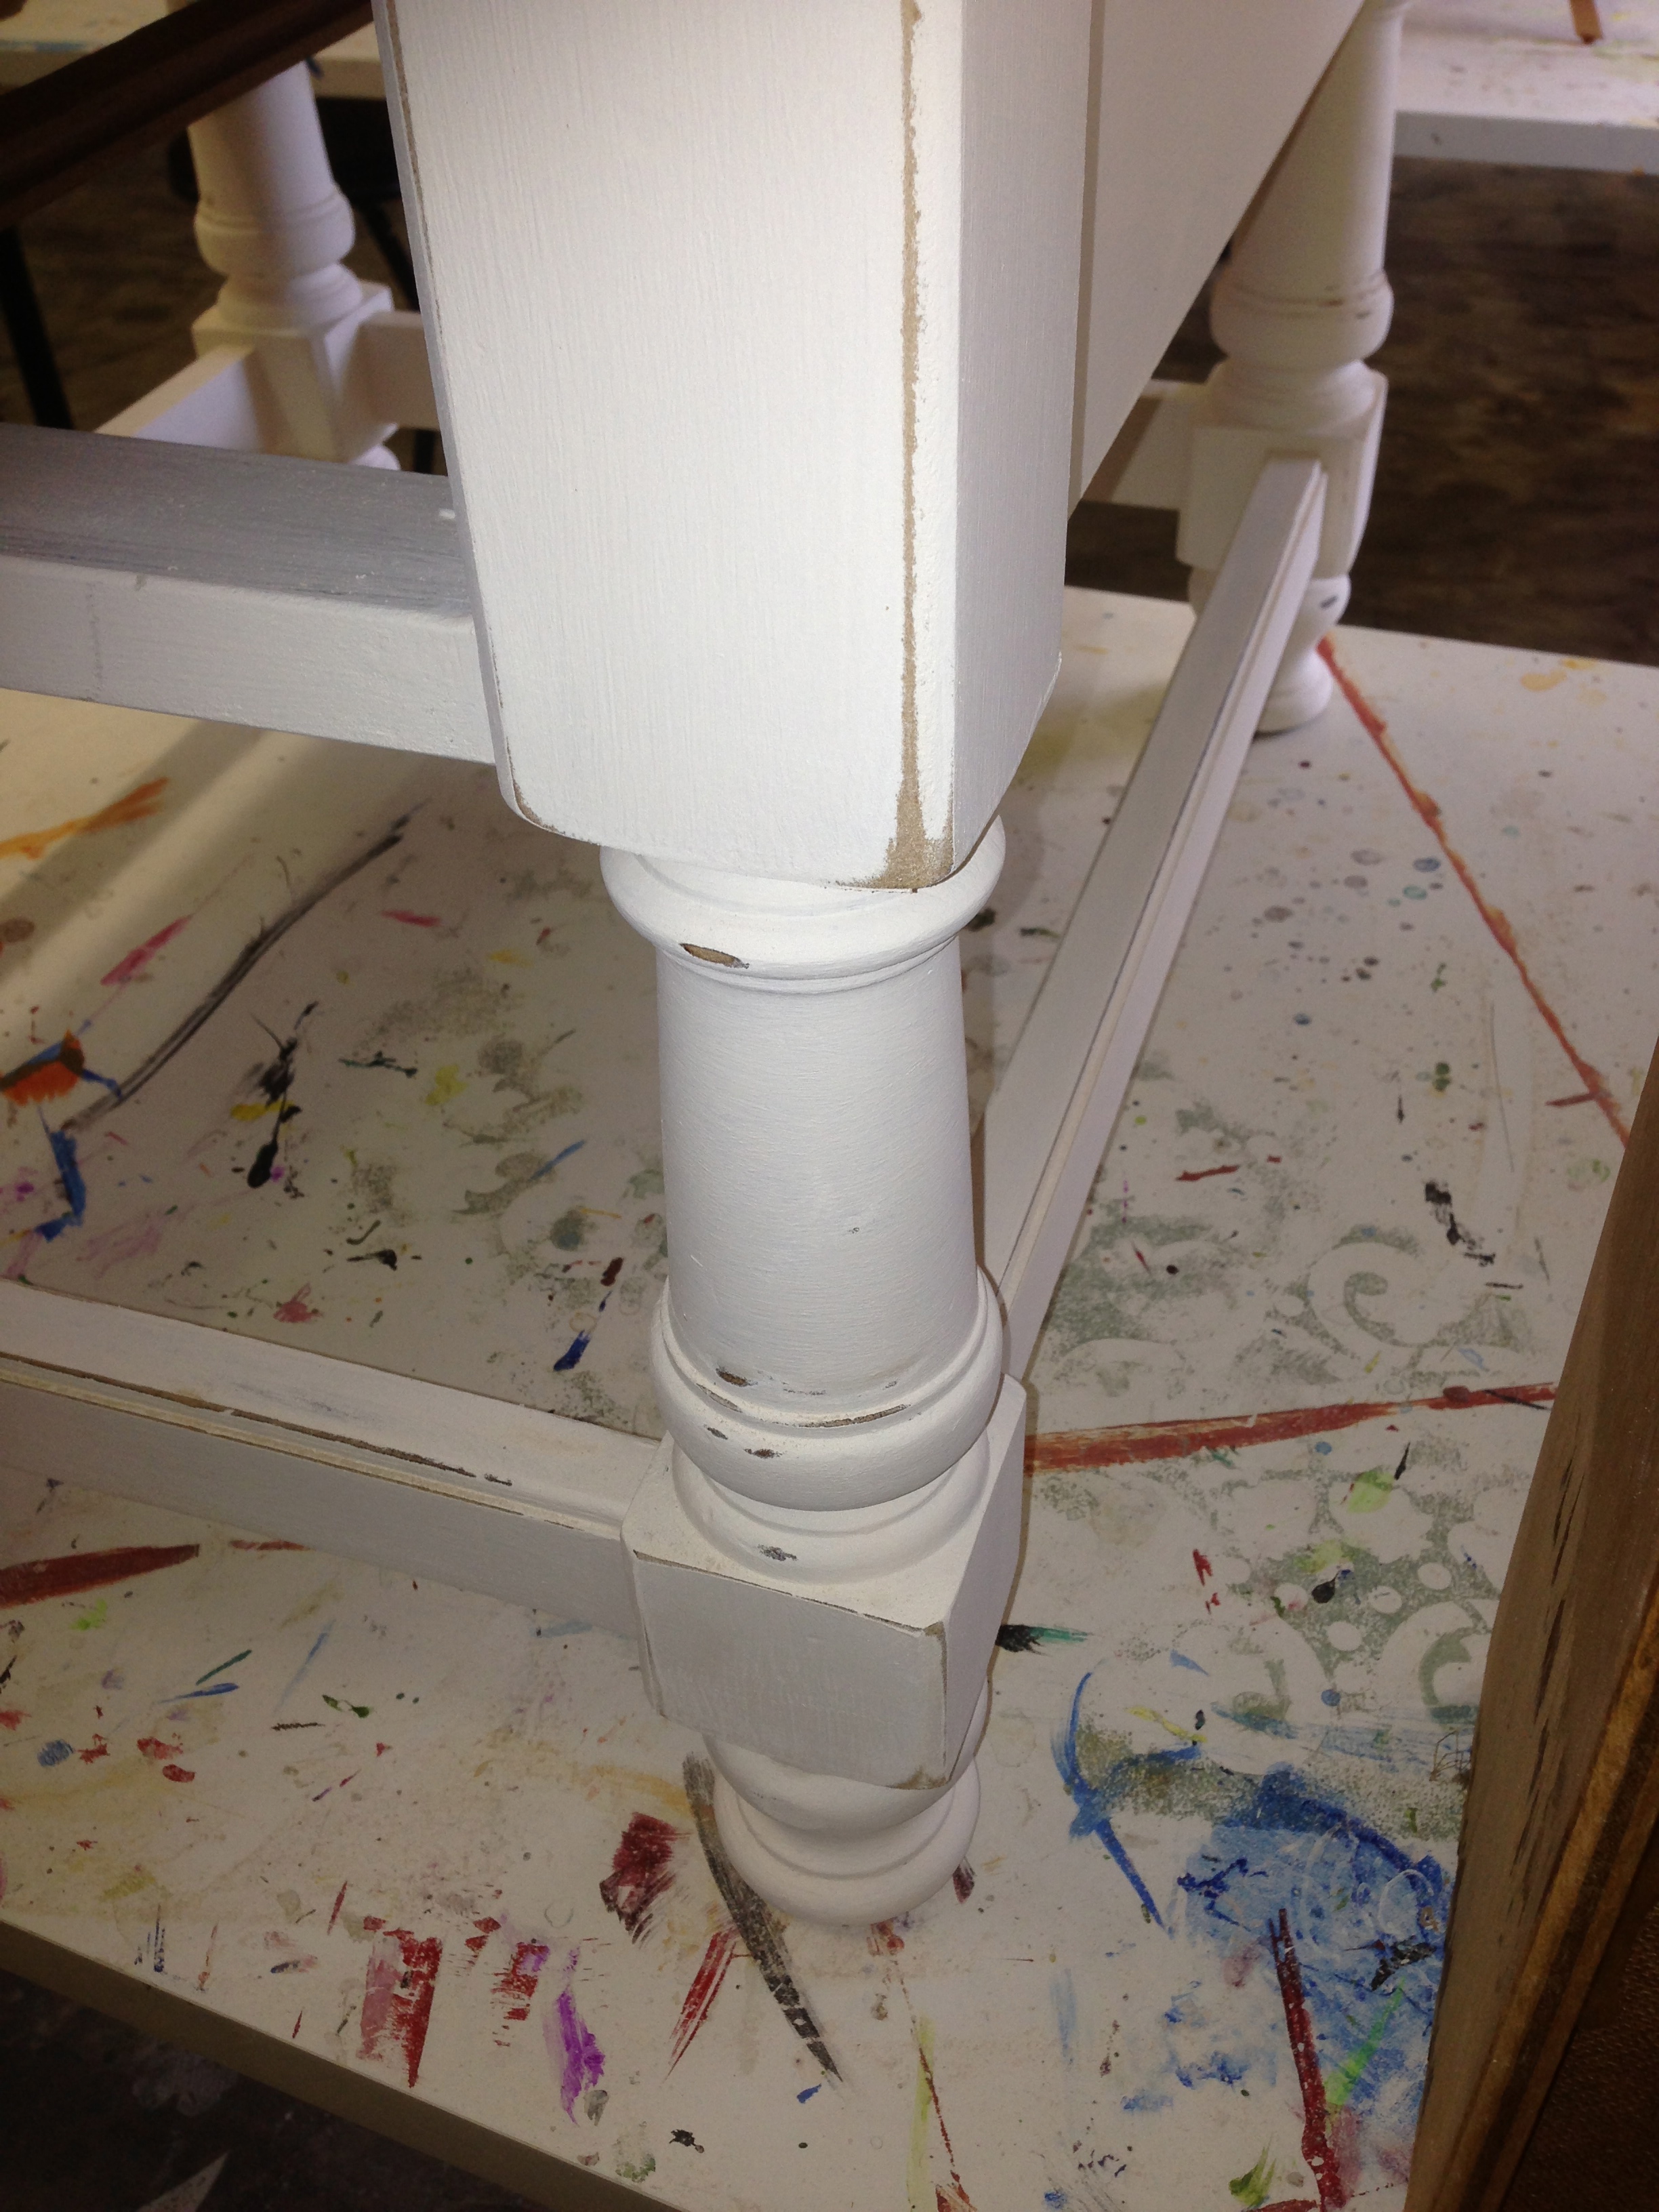
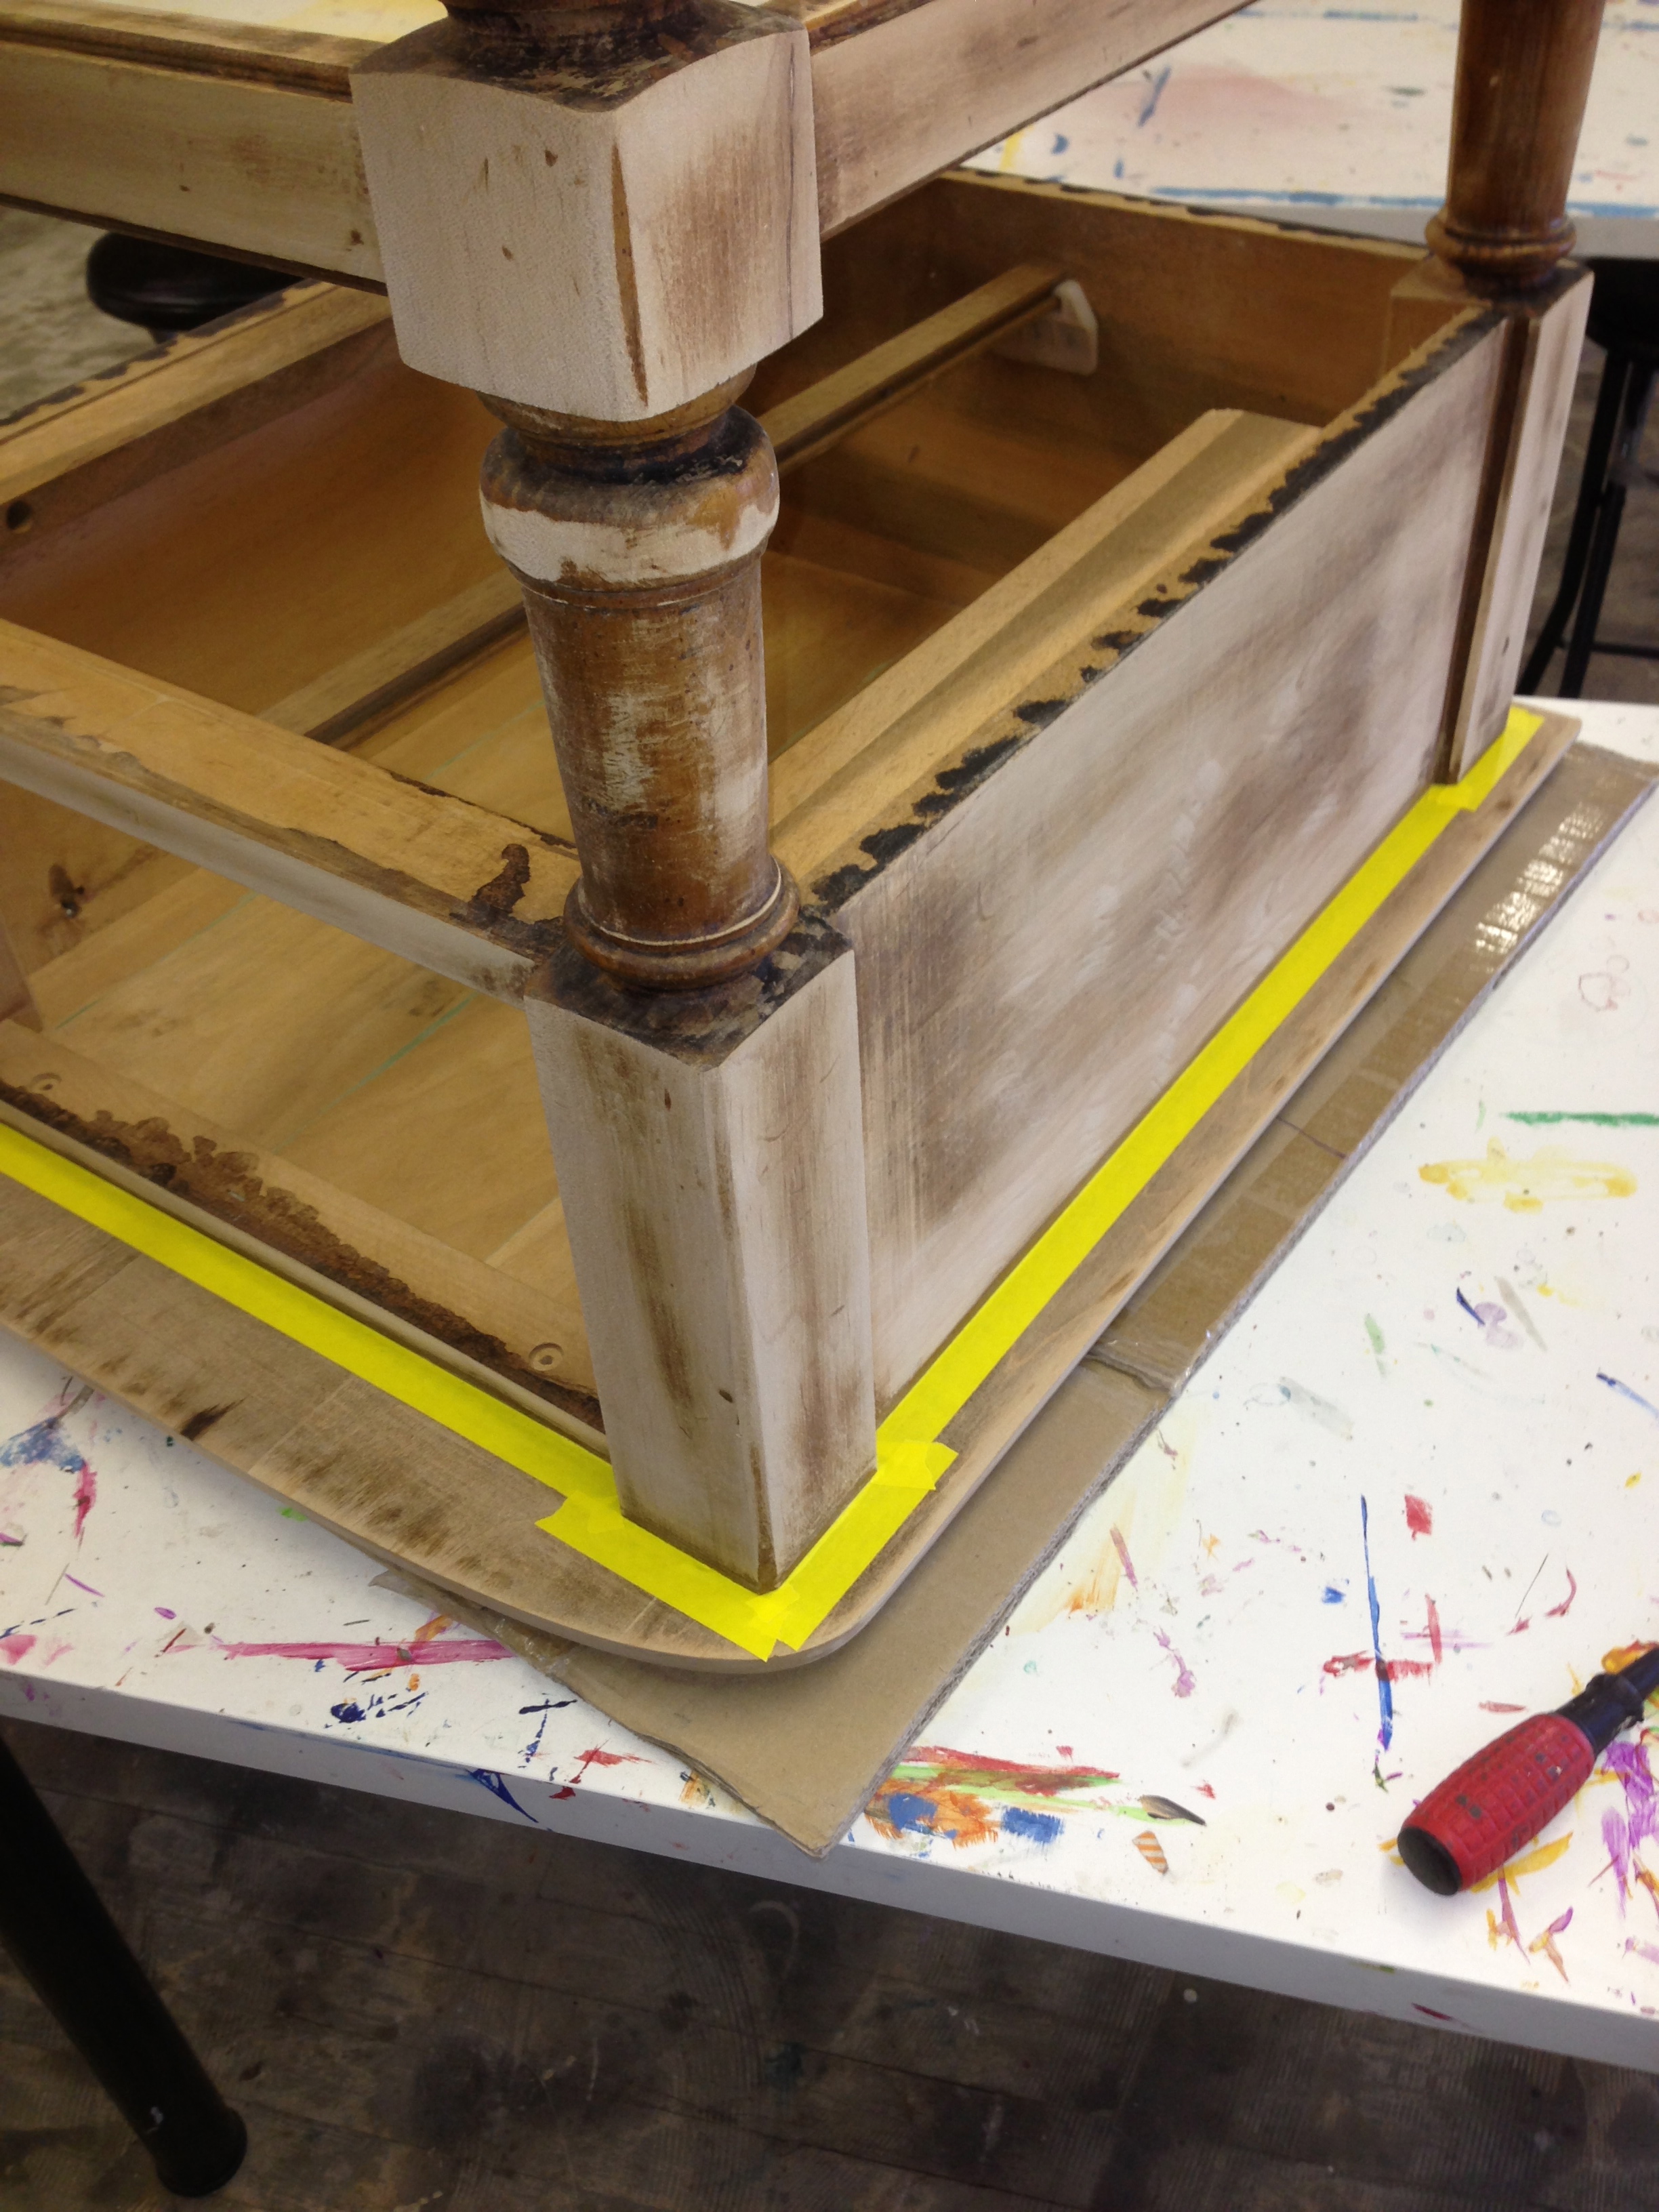
Step Four: The Shabby Chic. For this step I simply got out my sander with the 220 grit paper and sanded down the edges of the legs, drawer and other pieces. I also lightly sanded some of the higher points and larger surfaces. Your entire piece should have the effect of the detail picture above. Wipe down your piece of any excess dust again with a wet rag.
Steps Five and Six: Paste waxing and staining. For step five I used Minwax brand Paste Finishing wax. Paste wax can be used as an alternative to polyurethane (explained in detail below) for some pieces of furniture. I took a clean rag and rubbed it into the paste wax than rubbed it onto my painted surfaces. I made sure to cover every bit of what I had painted. This step will bring out the details of the sanding that you just did for the Shabby chic. It also provides a layer of protection for your piece.
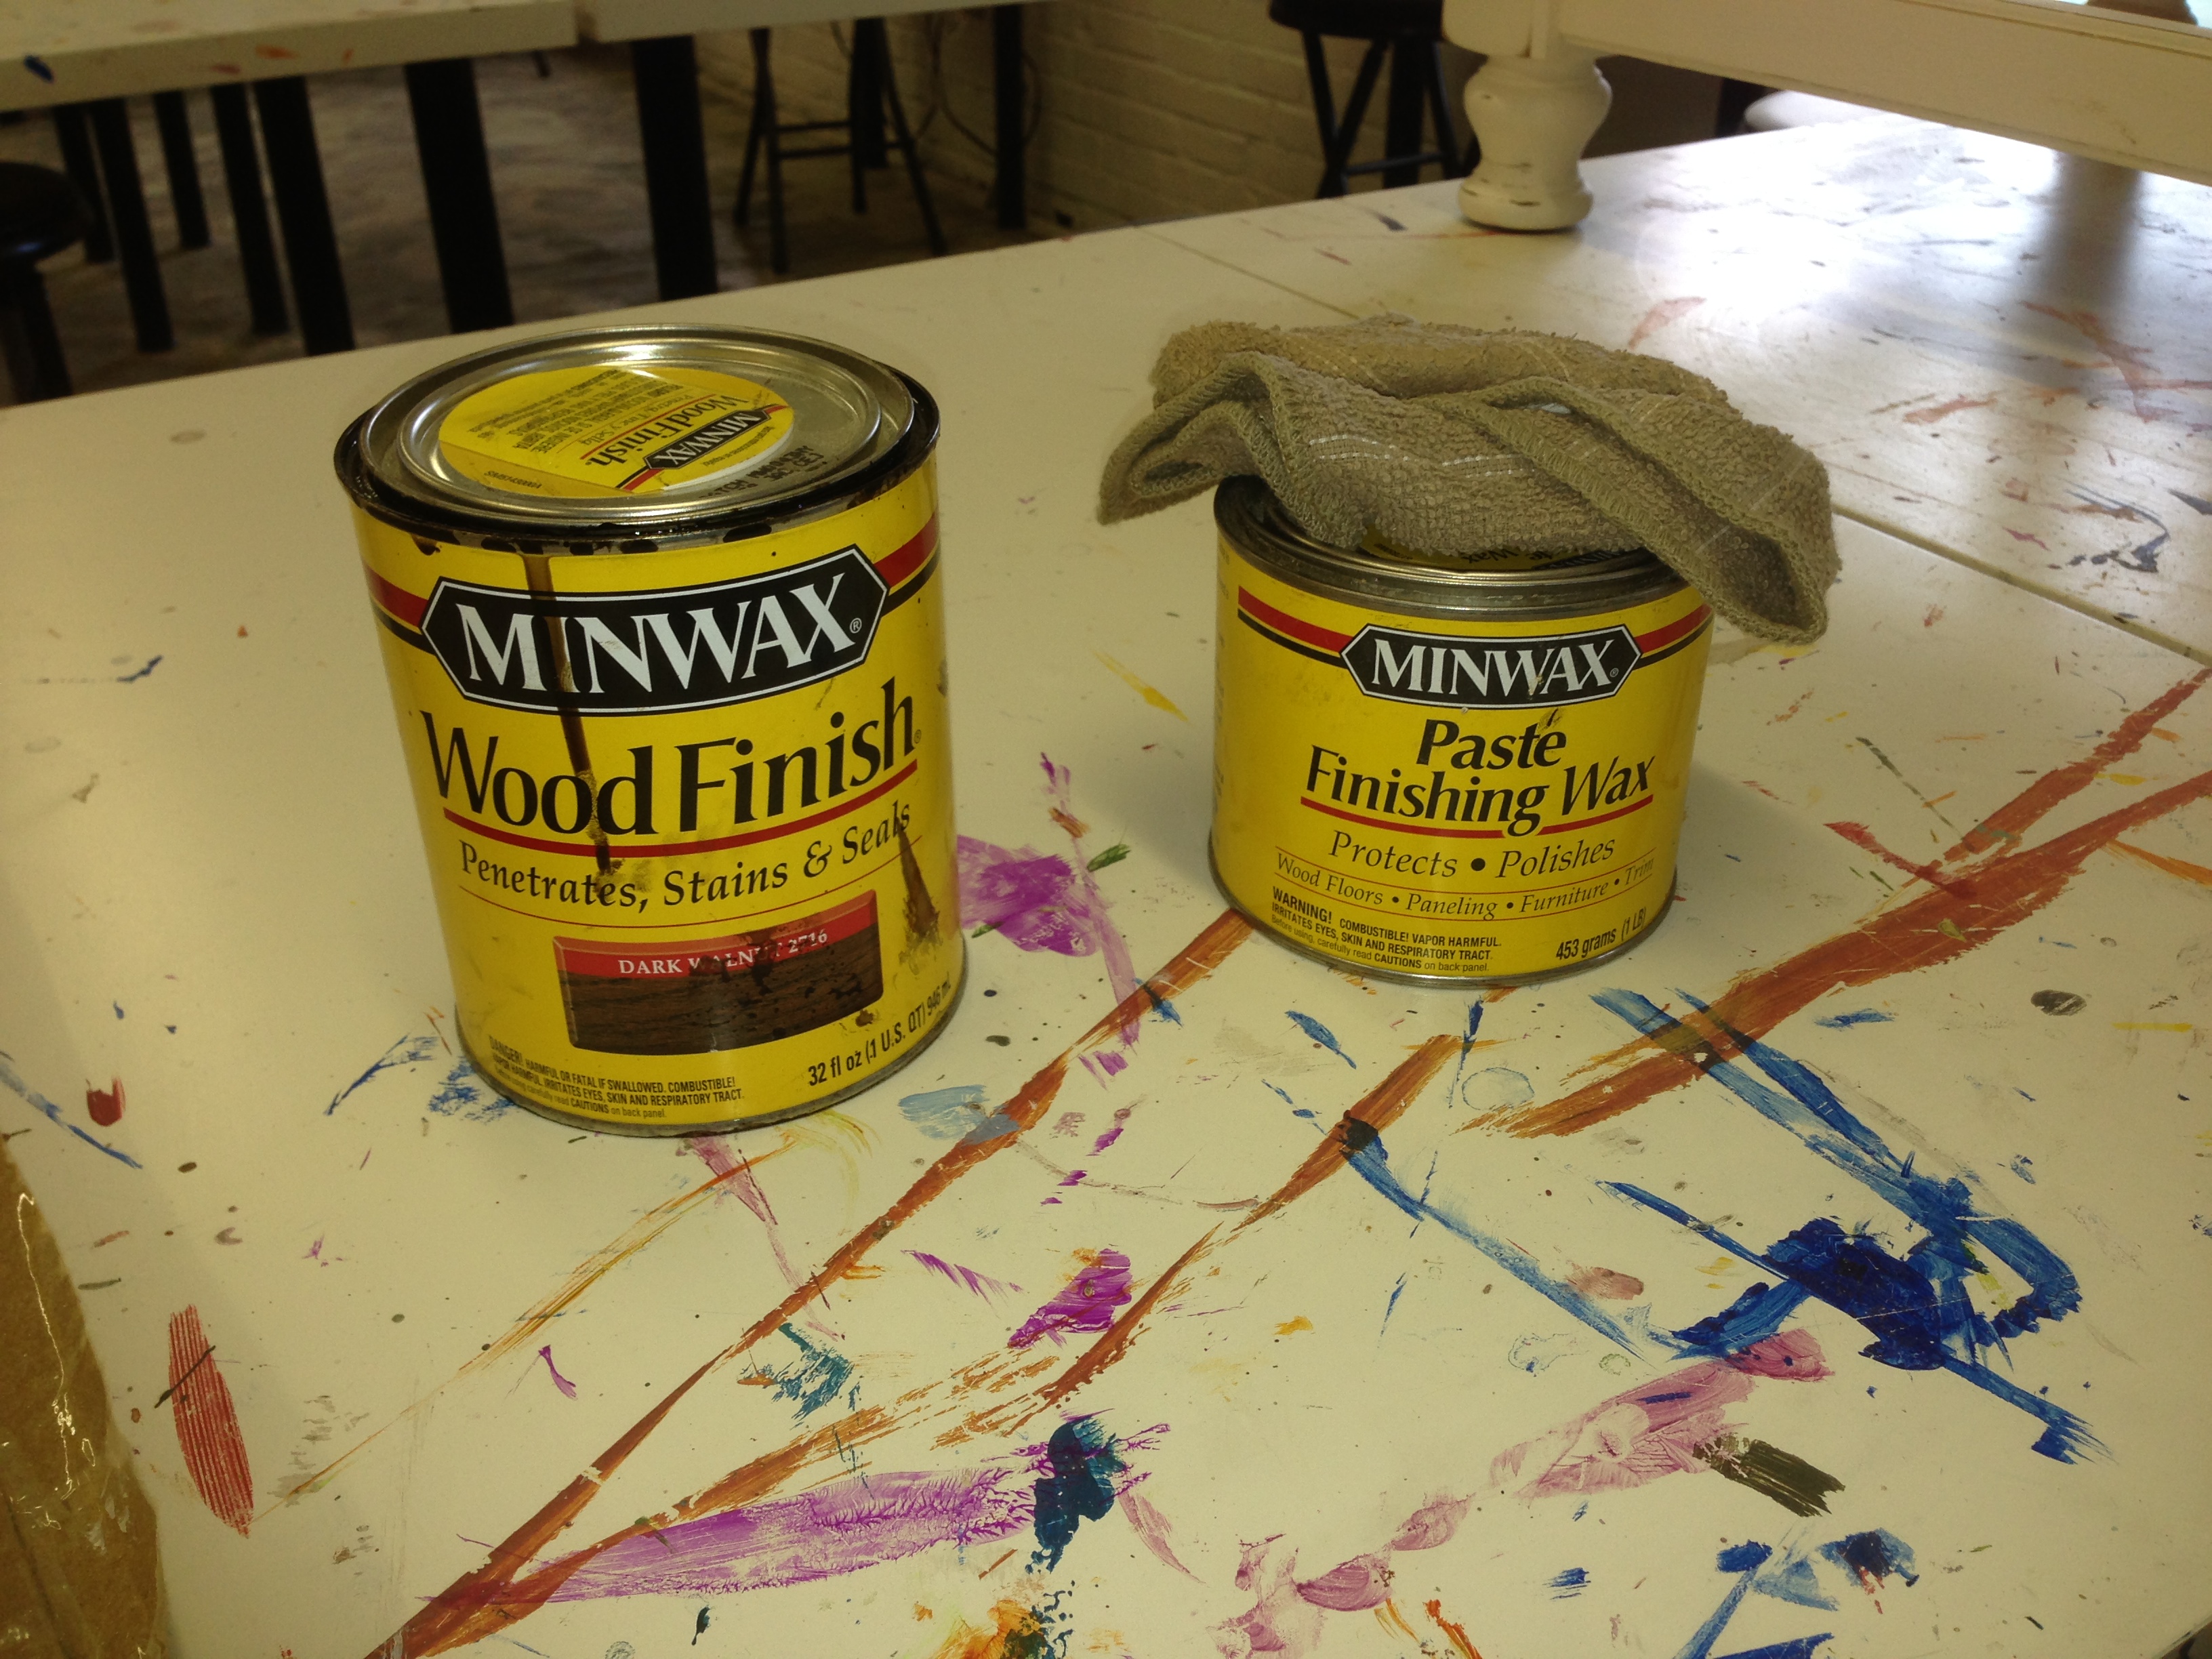
In step Six I used Minwax brand stain for the top of my piece. I used the color Dark Walnut but there are many to choose from to use on your project. I began on the underside of my top and used a small brush for this, carefully tracing around the edges of my paint job. For the top side I used a two inch natural bristle brush to put on the stain. Always remember to paint your stain on in the direction of the wood grain. (It is a good idea to always read the instructions of each product you use for each project before you even begin that particular step. Some materials require completely different techniques and work times). I then let the first coat dry thoroughly then reapplied a second coat to achieve the darkness I wanted. Always let the stain dry completely, the better ventilation you have the quicker the dry time. Stains such as this require mineral spirits to clean out your brushes. Place the mineral spirits in a glass or metal container (some plastics will work but it’s always safer to use the aforementioned). Soak your brush and drain by pressing against the side of your container to drain back into it. Use a paper towel and rub the excess out of the brush. Take caution to read the recommended way to discard of these materials.
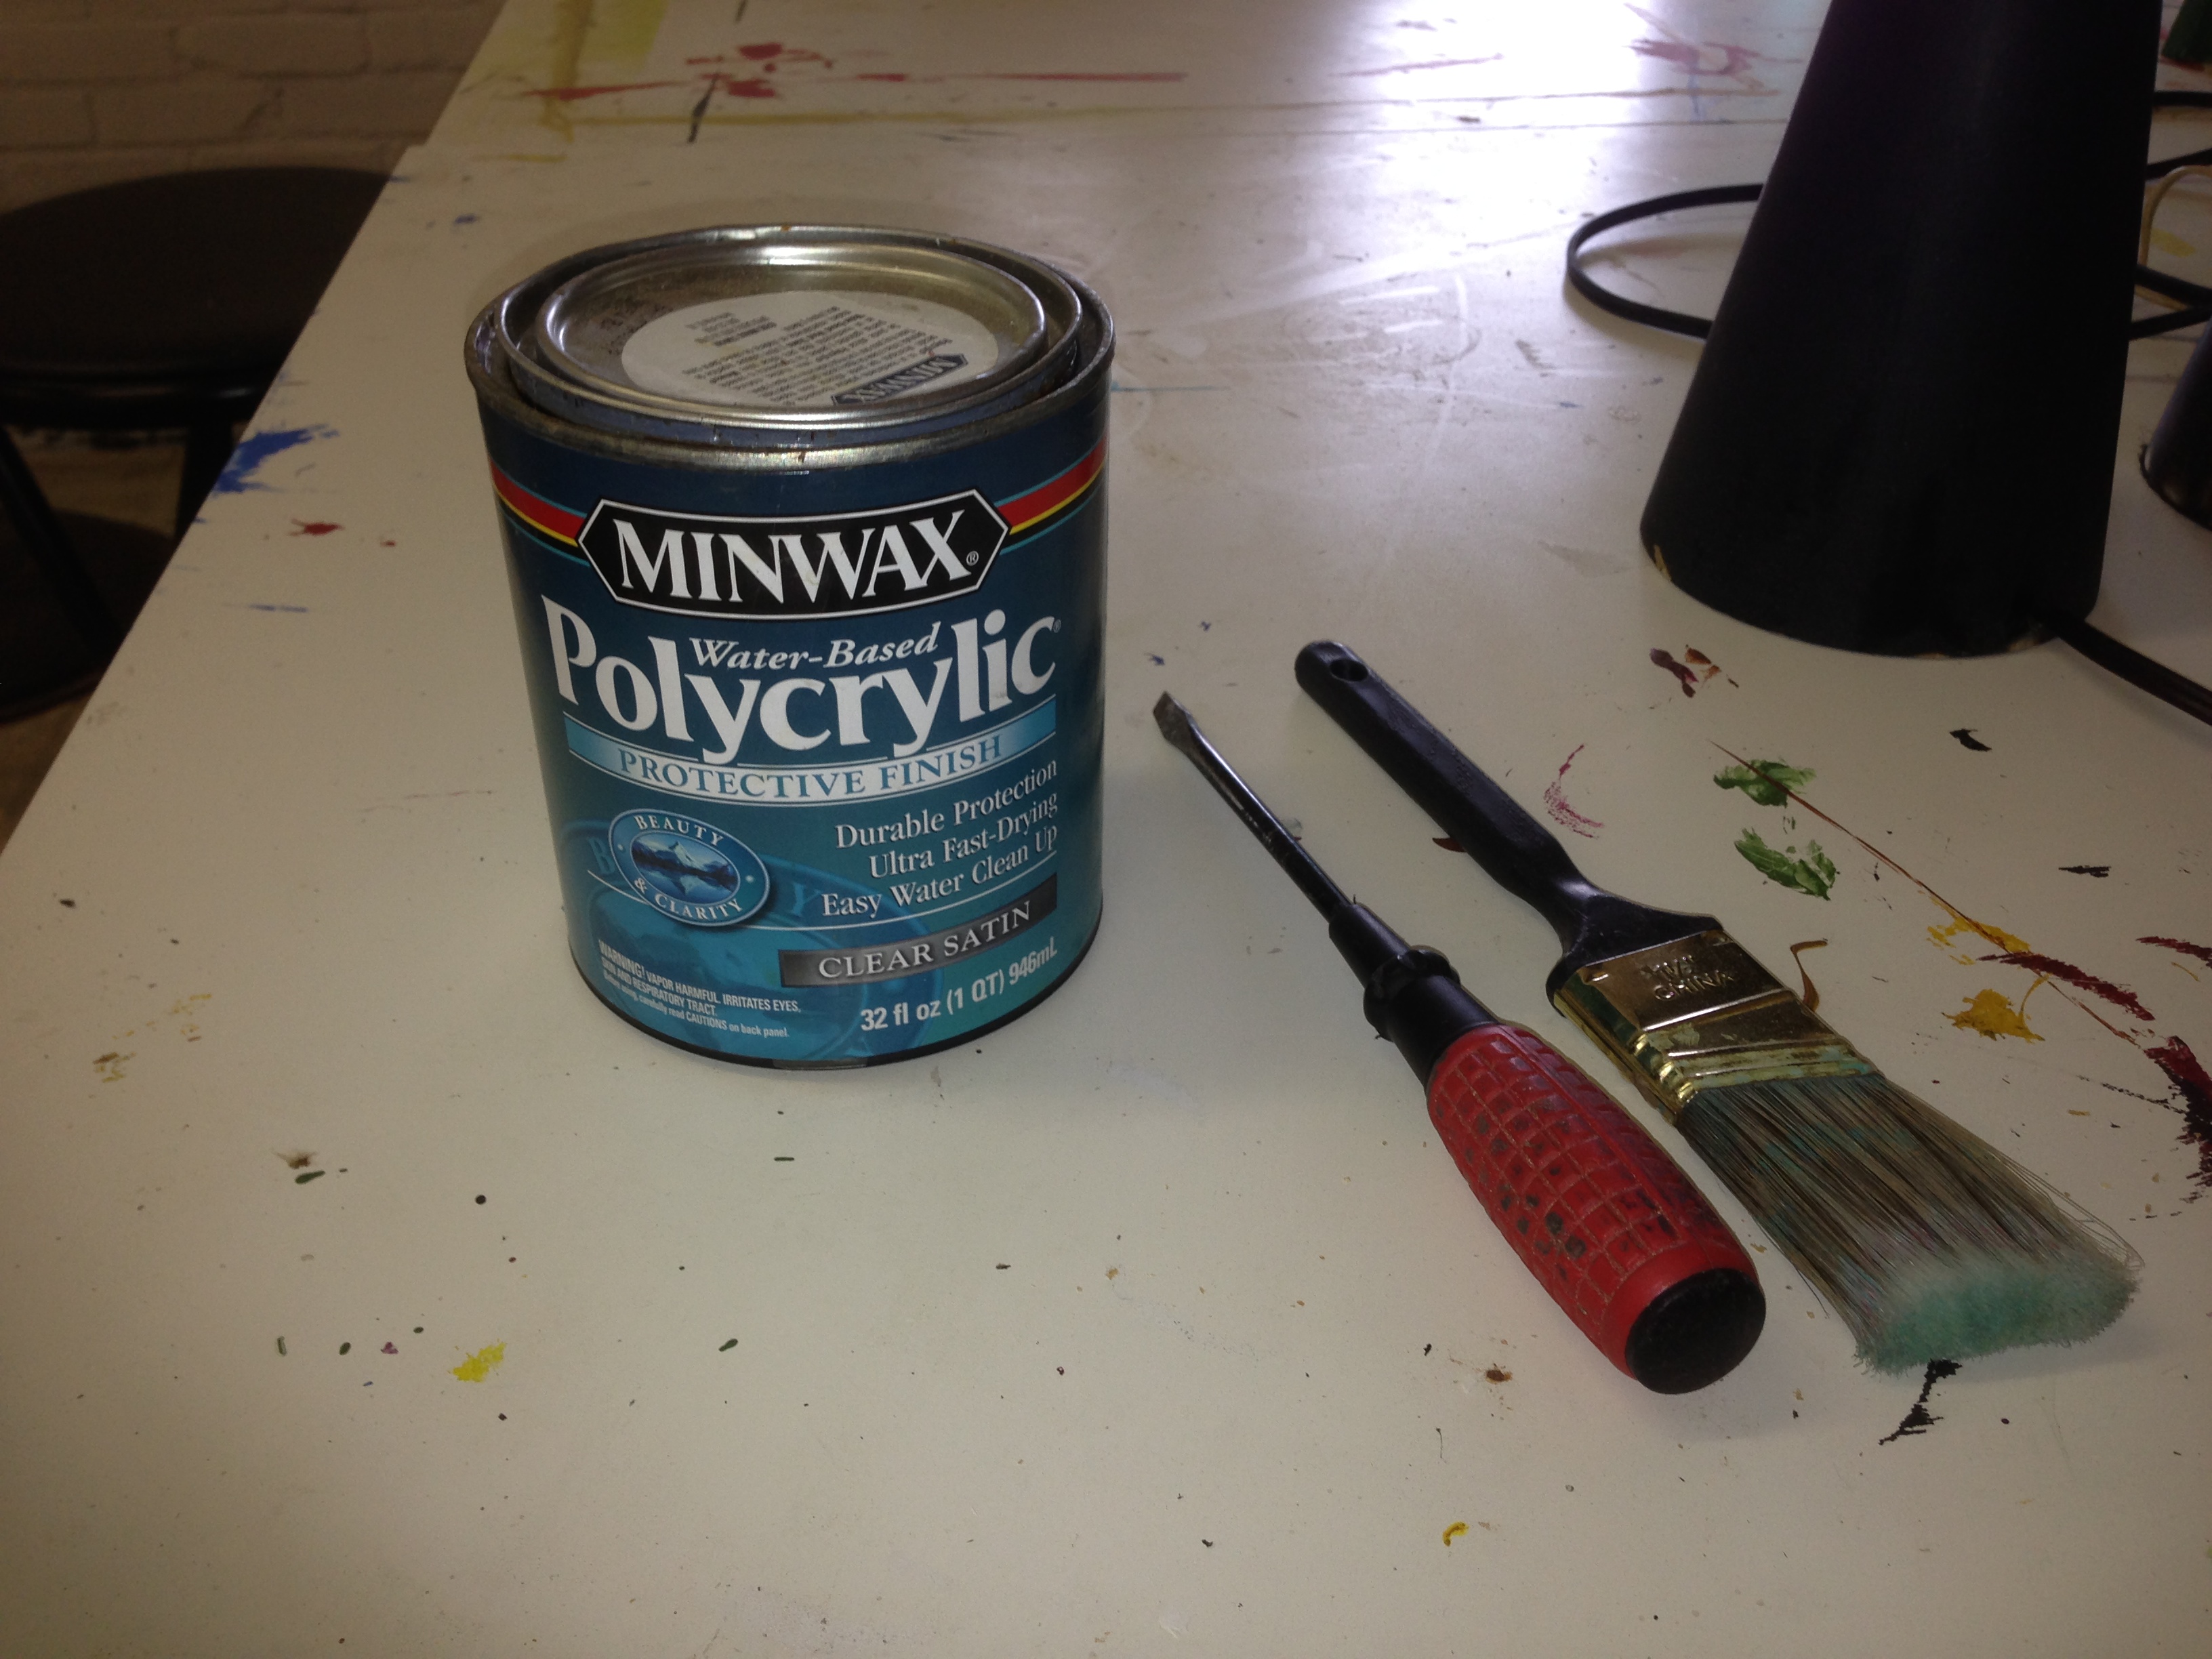
The Final Step: Poly coating. The last step in this pieces adventure is getting a protective poly coating on the top stained surface. Poly is short for polyurethane. Poly provides a sealant as well as a nice protective coating for your piece. I use Minwax brand Polycrylic that is a water based poly that requires only soap and water to clean up. Normal polyurethane will require mineral spirits(or stronger cleaning solution) to clean your brushes which is more work and in my opinion not necessary for smaller projects. There are different sheens available High gloss, Gloss, Semi-Gloss, and Satin finish. I used the satin finish for this project. It was what I thought would work the best for my pieces. When applying the Polycrylic it is important to go with the grain of the wood and do not over brush. If you over brush your poly it can dry cloudy and look bad. If you desire you can put as many as three coats of this poly on the piece. You must lightly sand and clean between each coat if so. I find that I can achieve my desired look in one to two coats normally. Let your poly dry and within eight hours yours furniture is ready to be used!
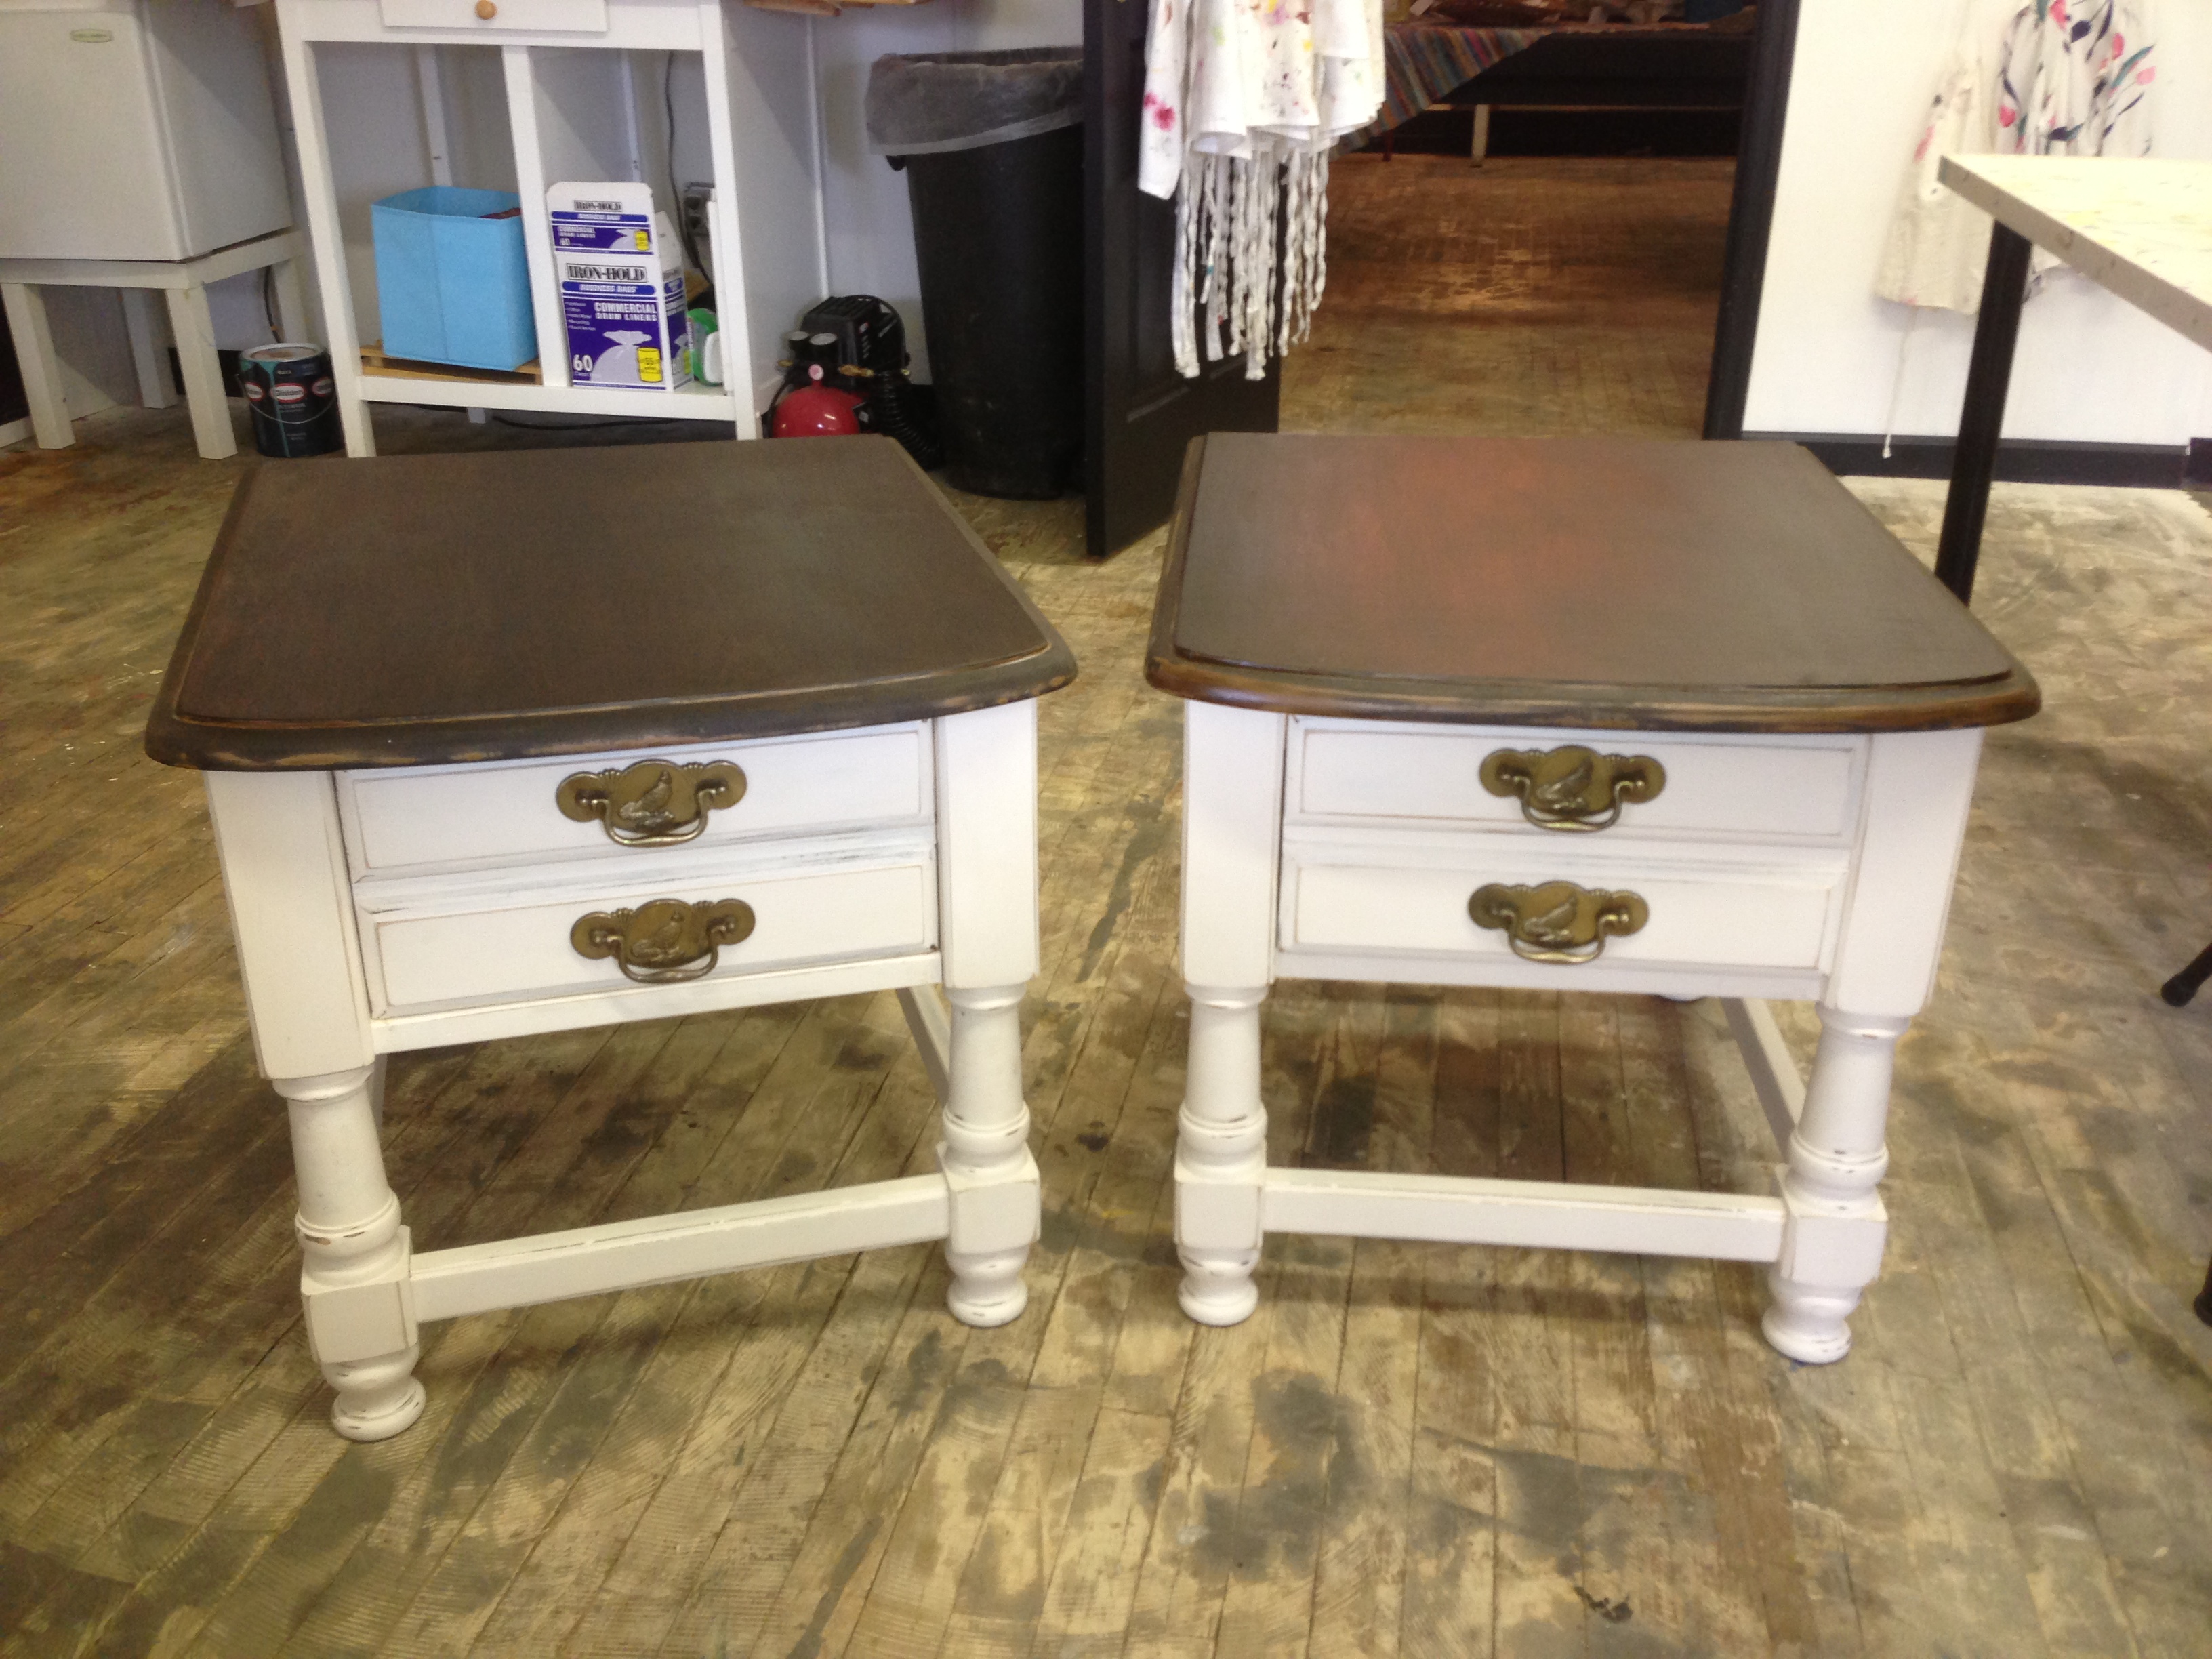

Now that you have finished your project you will have an old favorite with a brand spanking new look and feel. Keep in mind that projects like this take time, patience, and little sweat equity. My work time was over 72 hours for these two nightstands. Of course, that is allowing for dry time for my paint, stain and poly coatings. Each piece you work on will be different in job time and each will present it’s own unique set of difficulties. If this wasn’t the case then I personally think it would get boring and not be half as much fun.
I hope that you have enjoyed this journey as much as I have and I also hope you learned something. Remember that throwing it out isn’t always the best option. A little TLC can go a long way in making something old new again. Stay tuned to the site for more “How to” posts.
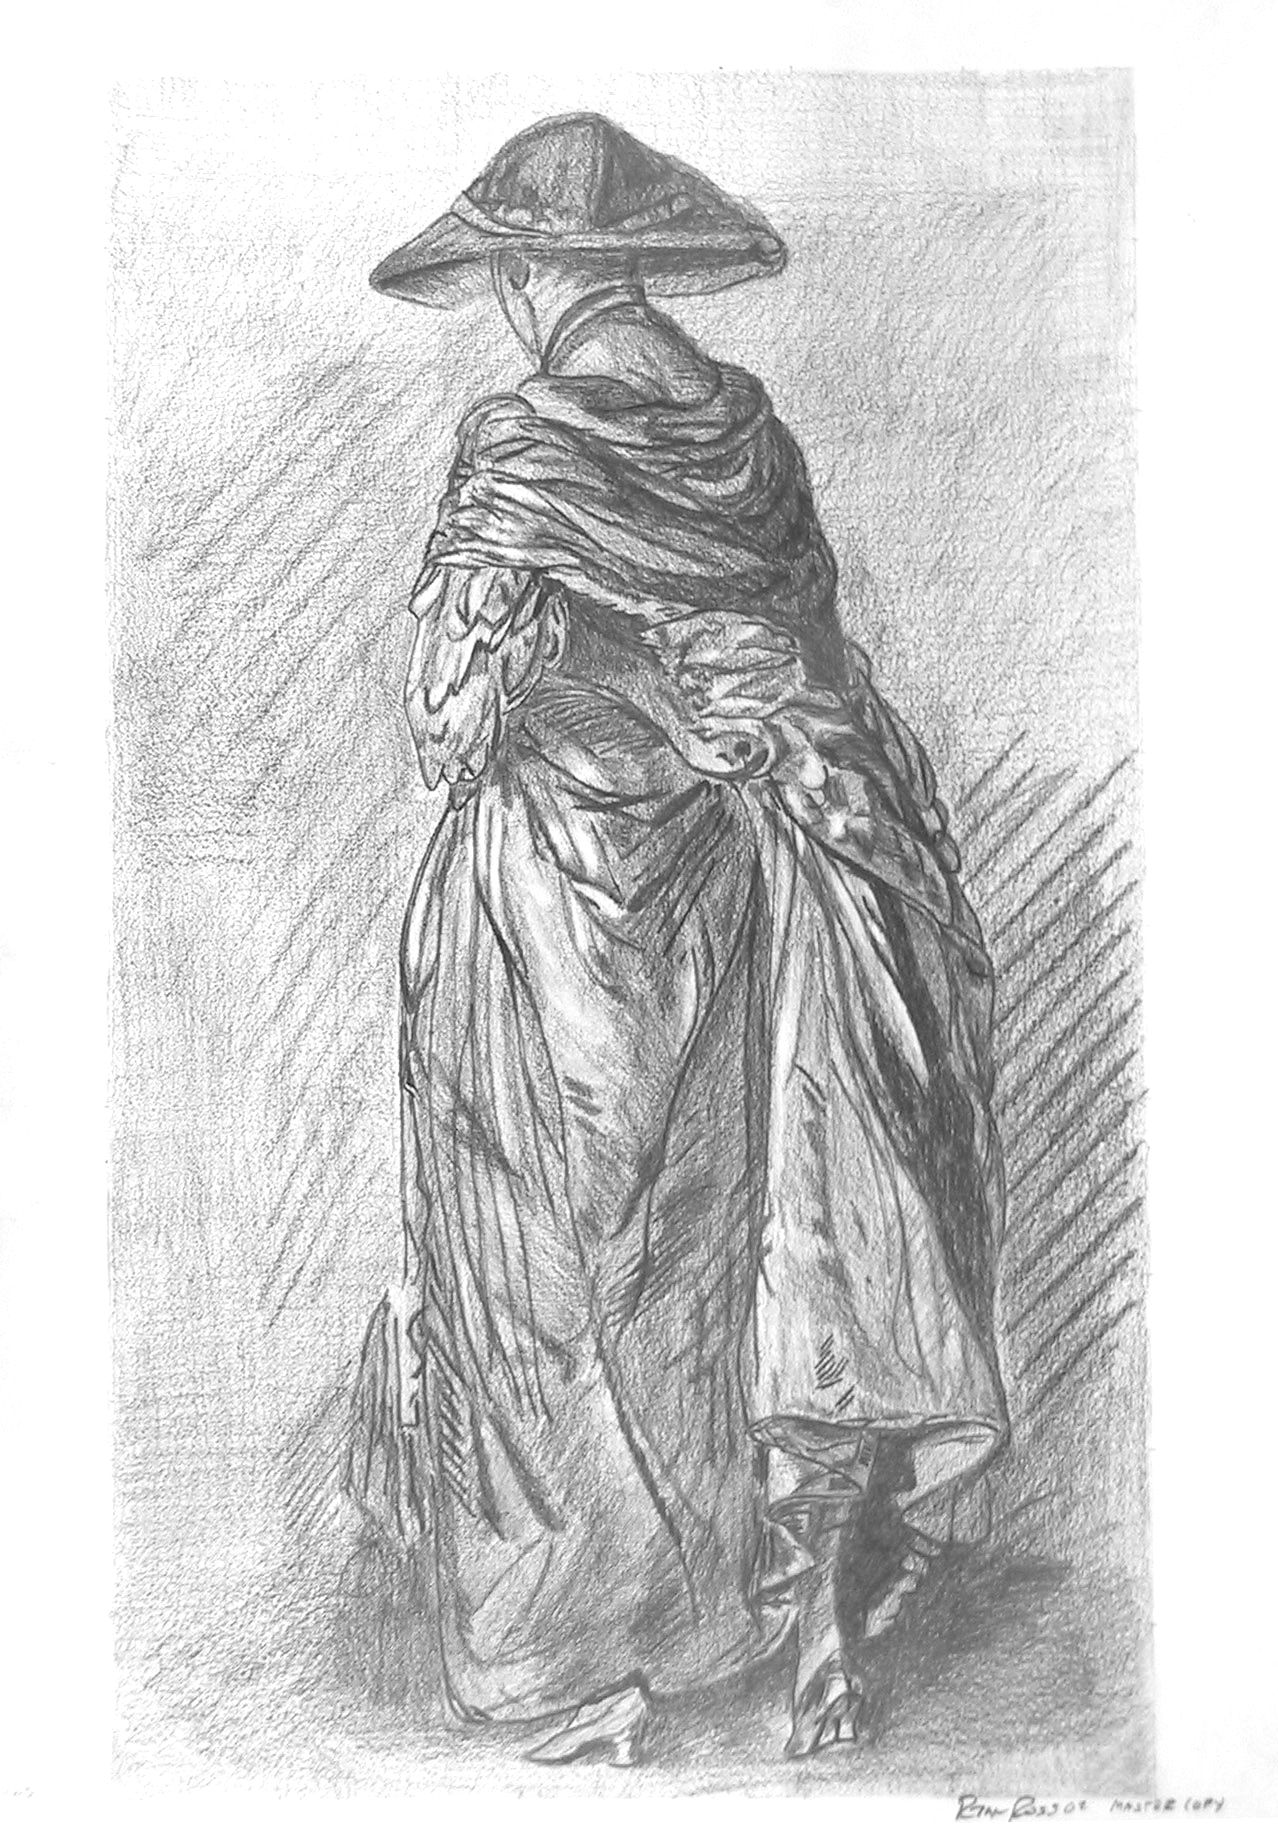
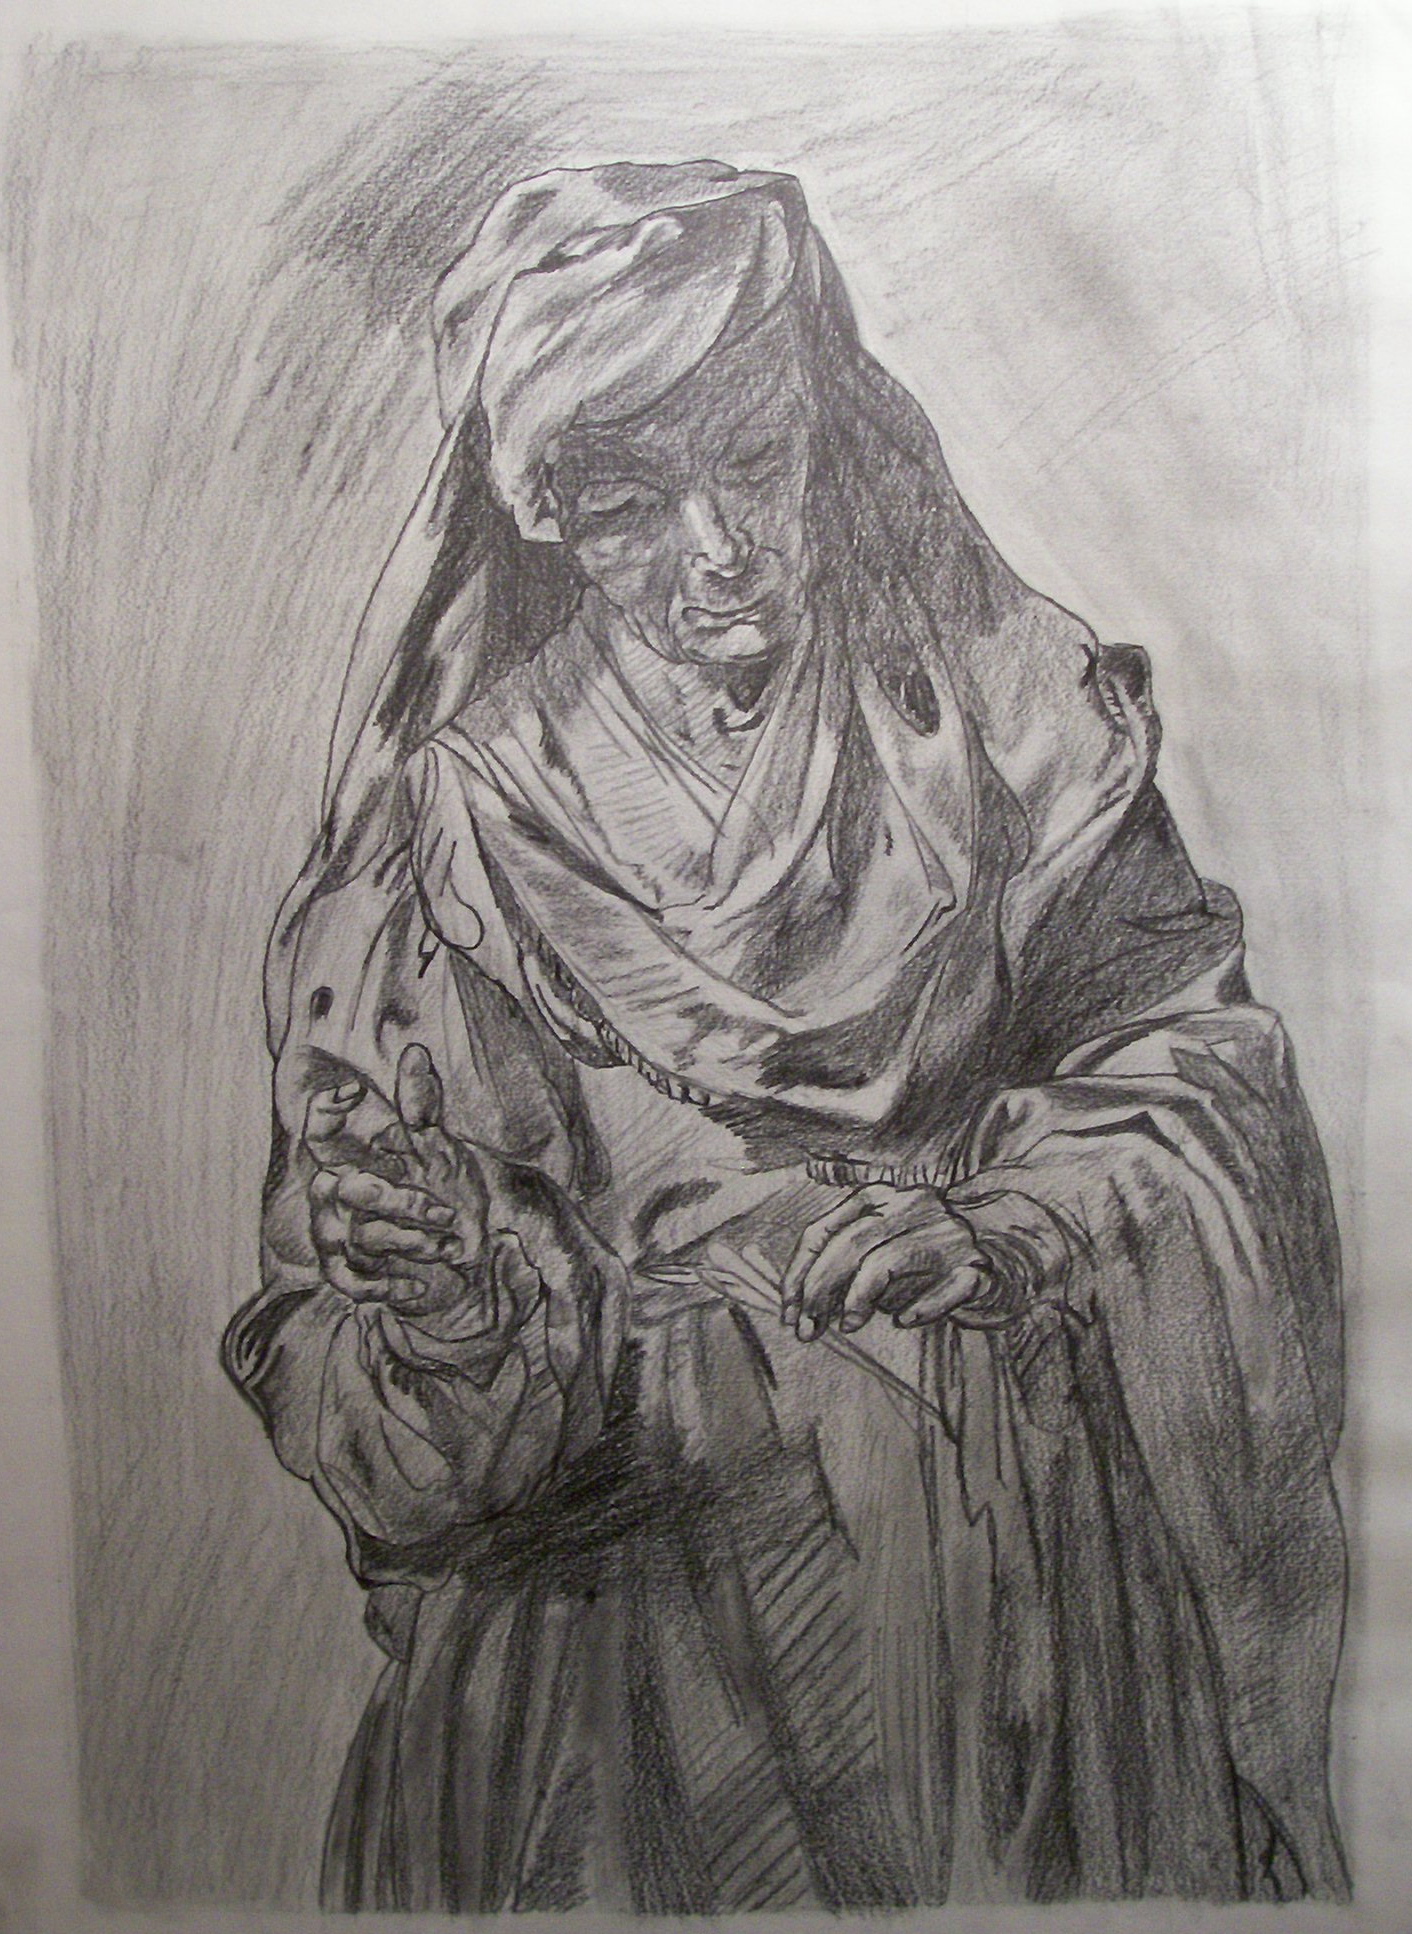
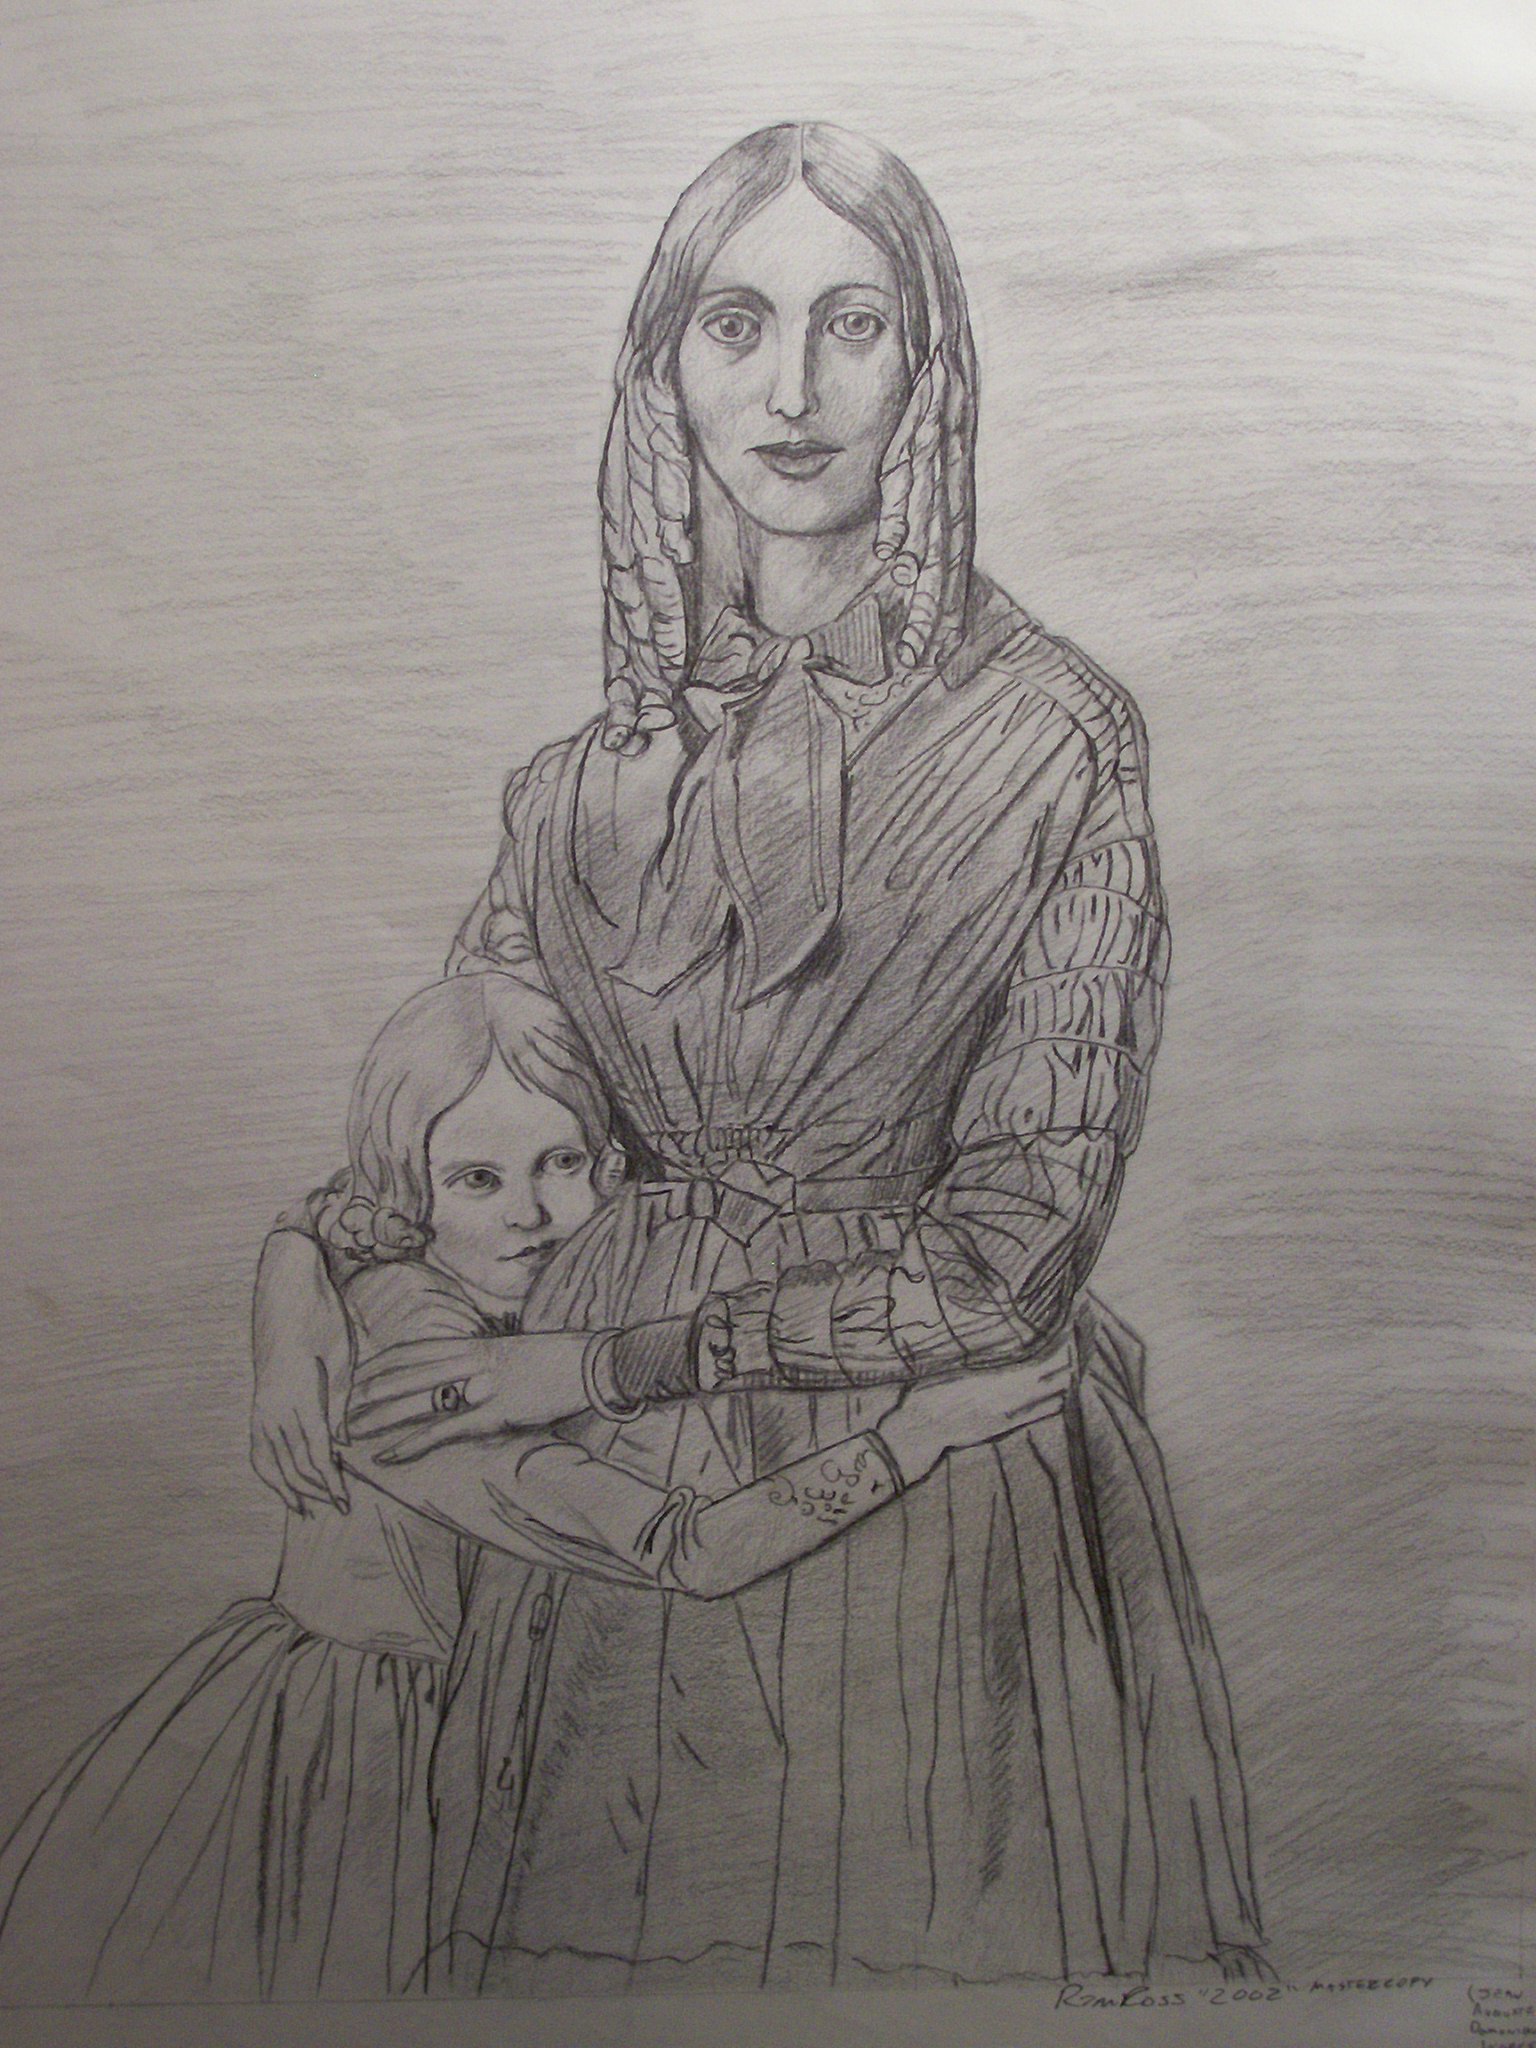
These first three were master copies that I completed for a drawing course at Gordon College. With the first two I stayed true to the original pieces, on the third I had to change the woman’s face to a “prettier” version.
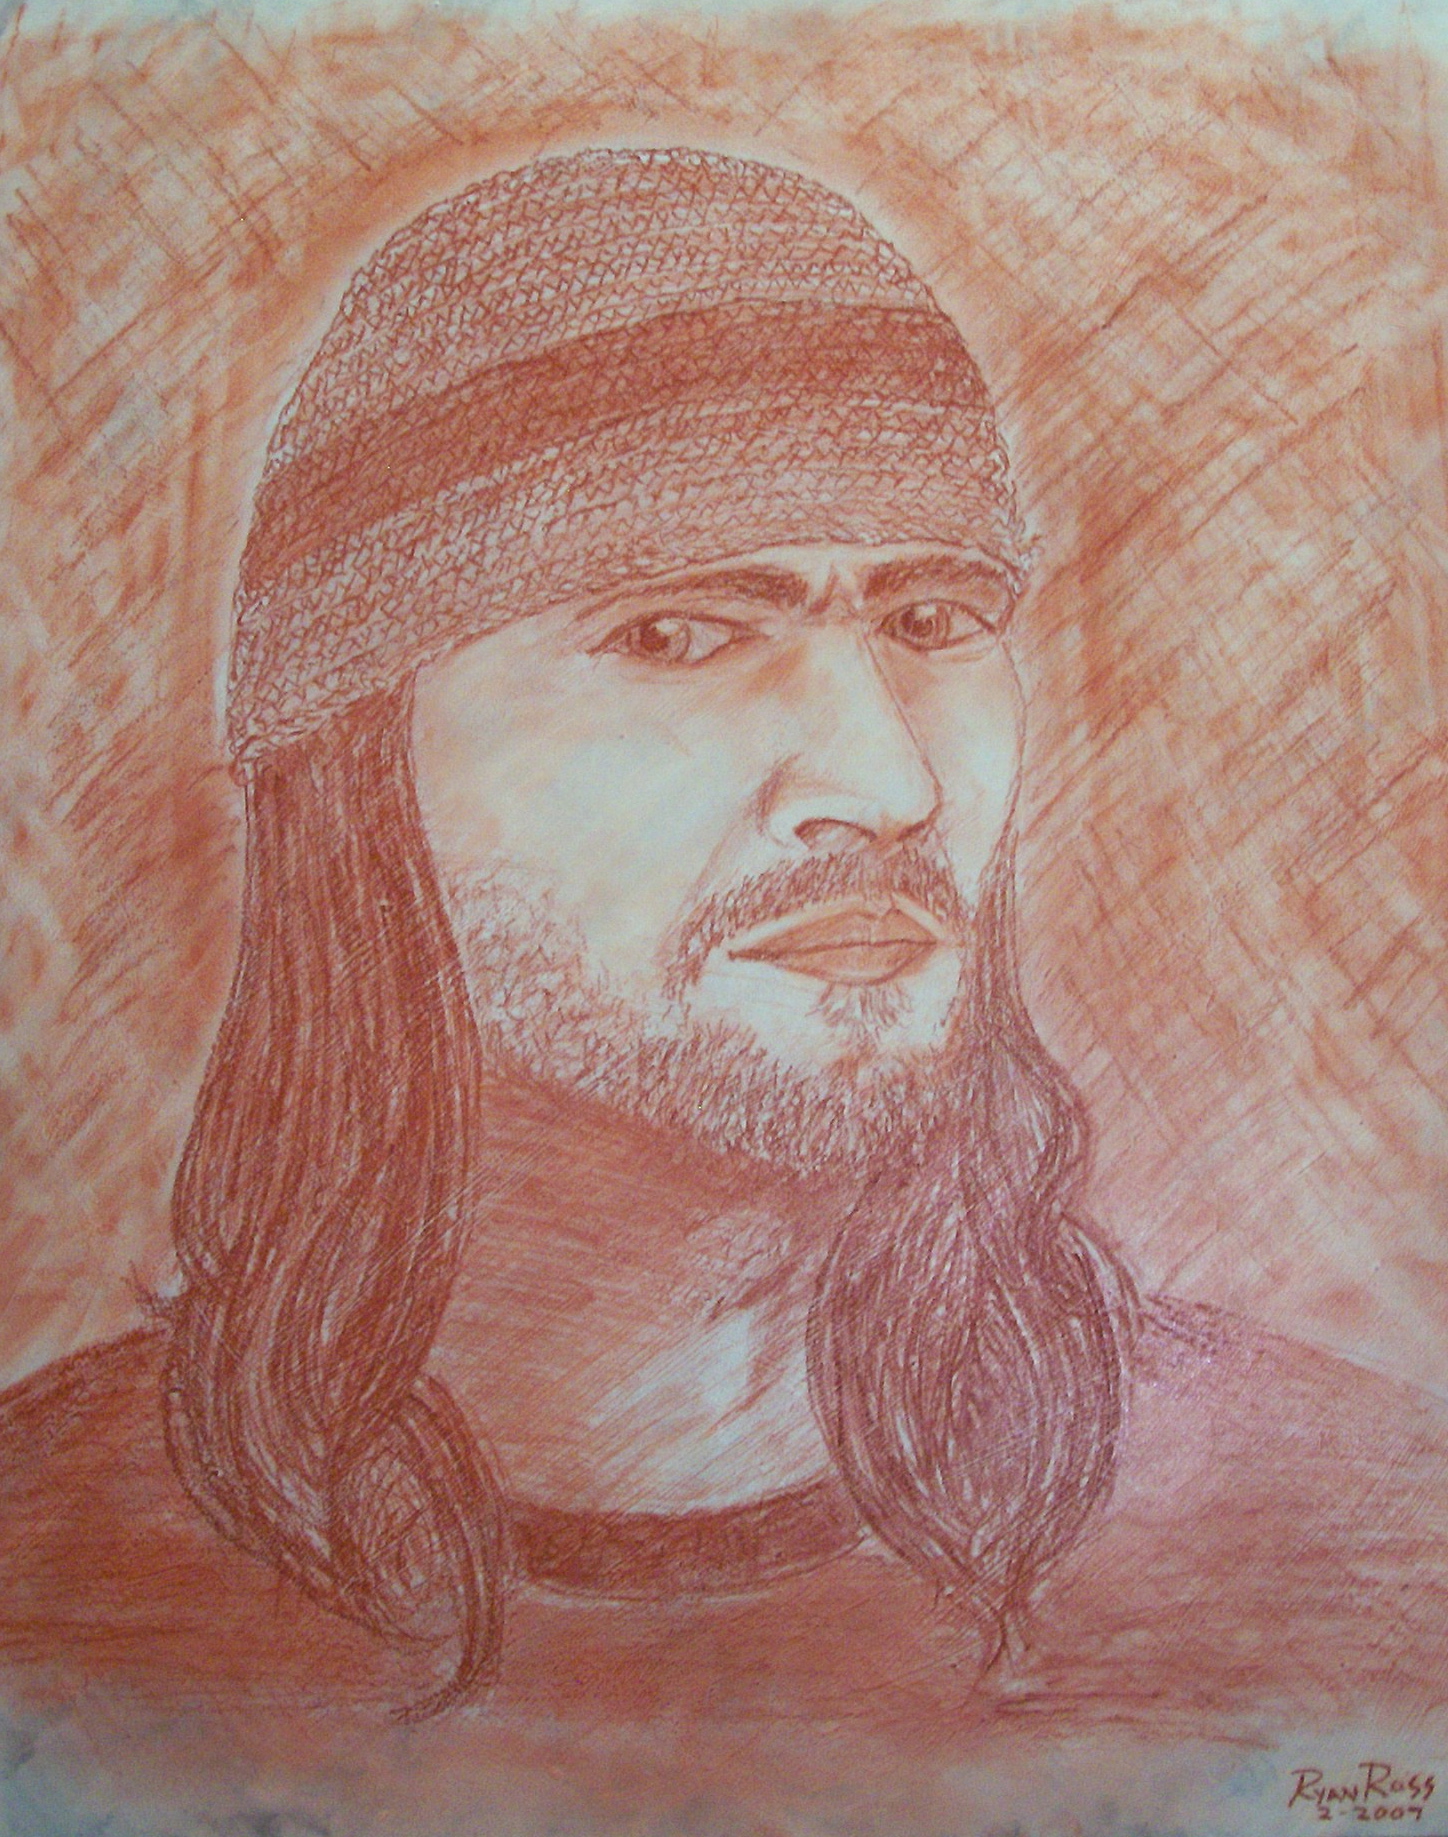
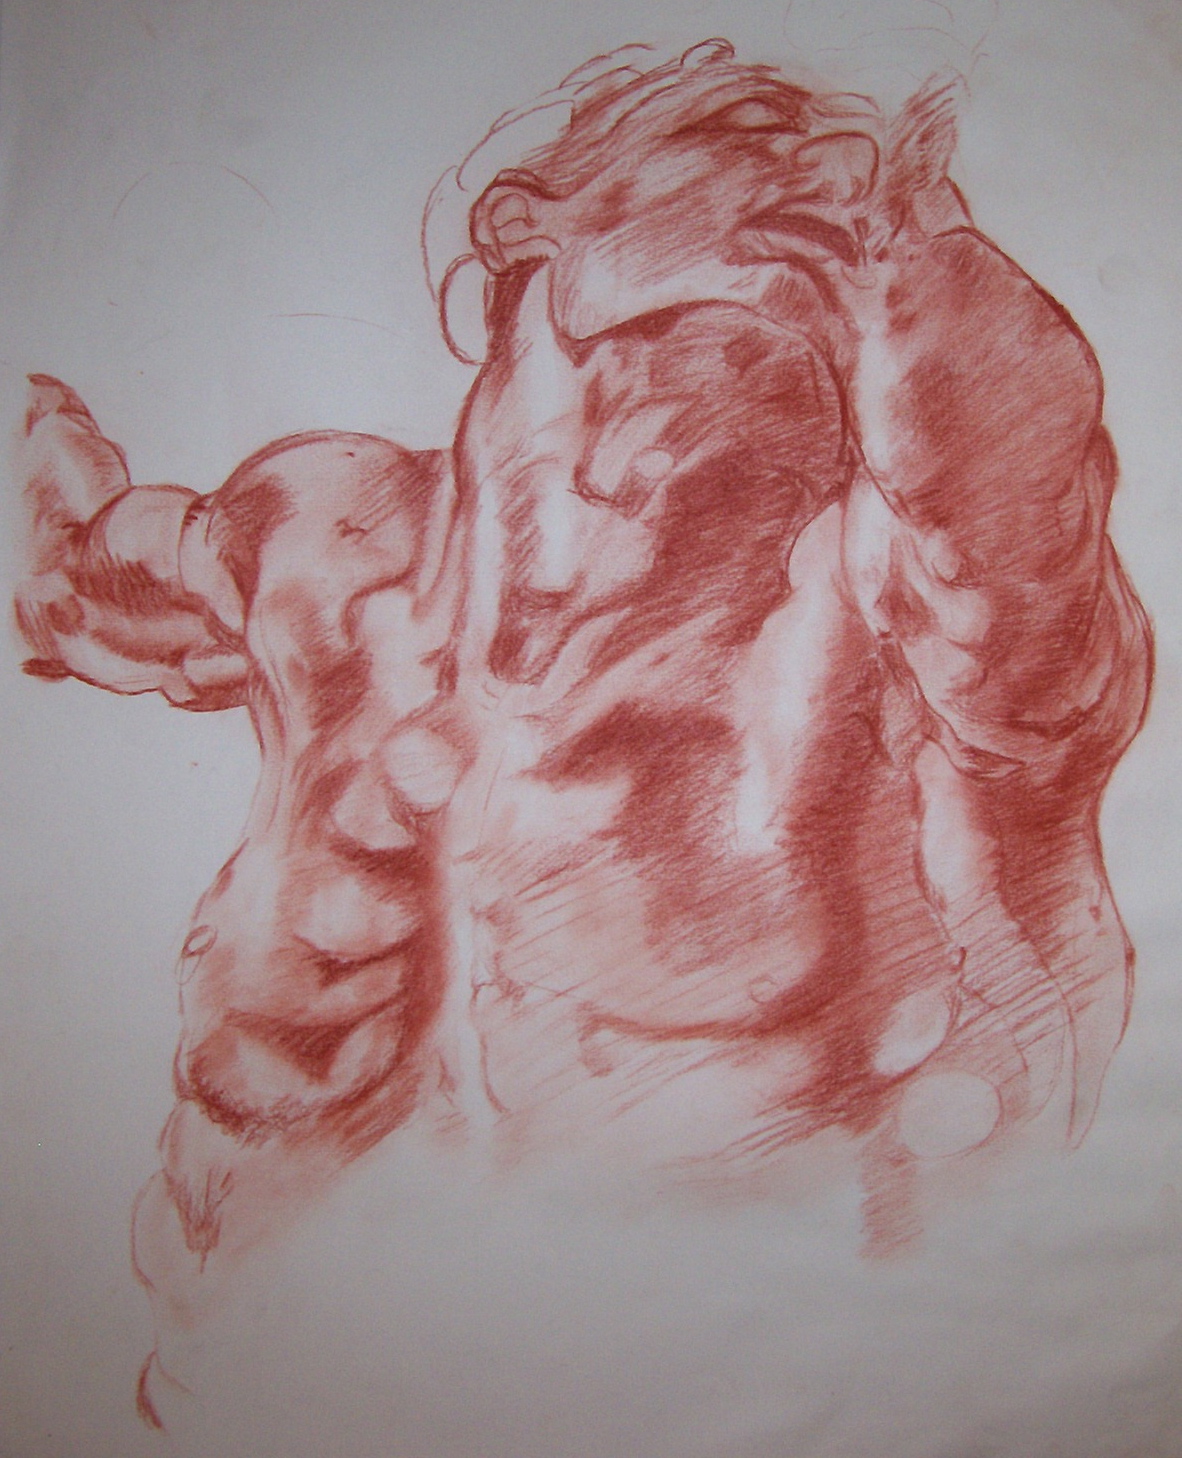
These two were done in conte pencil. One is a self portrait I drew out on the lawn in the bright sun light. I spent less than an hour on this one because it was just a little too warm out. The second, as the previous three, is a master copy drawing.
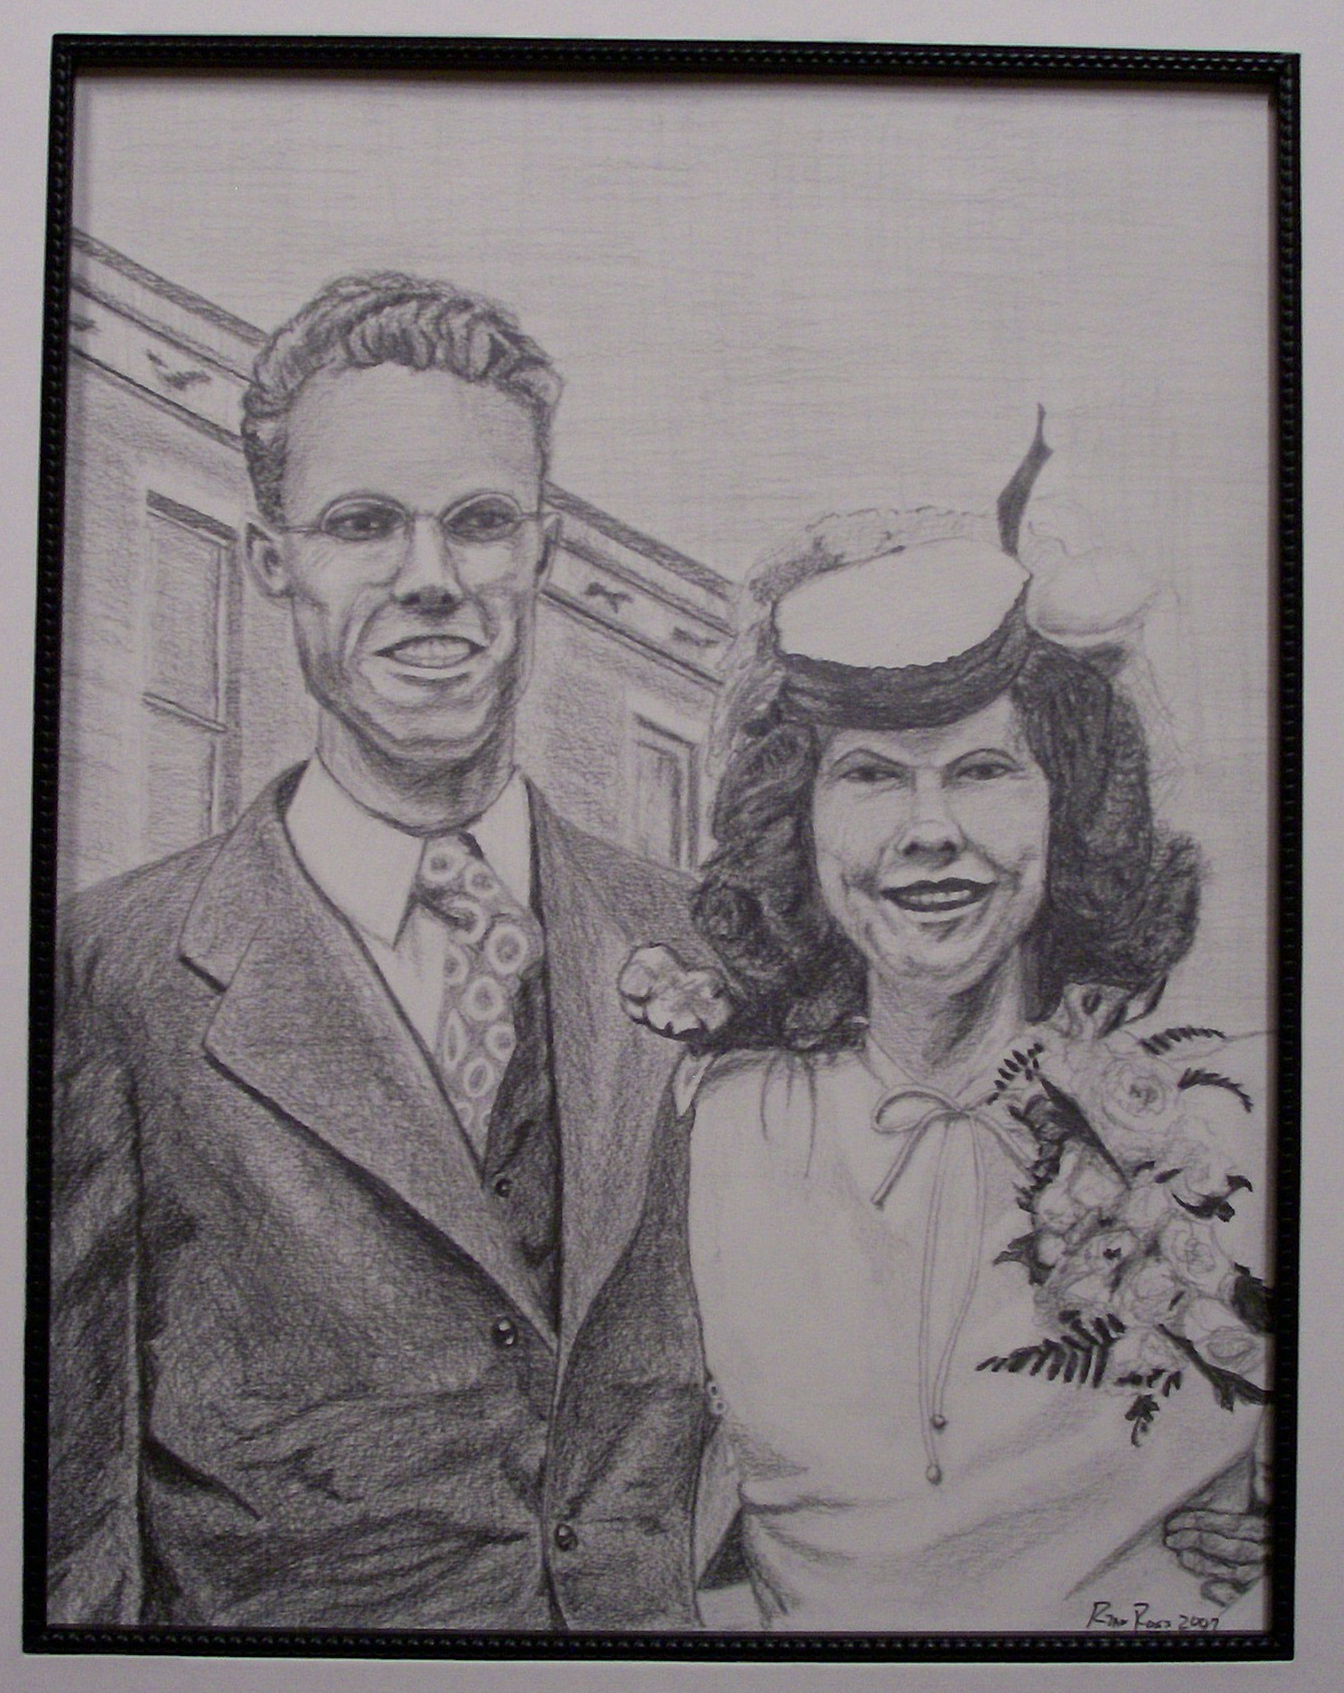


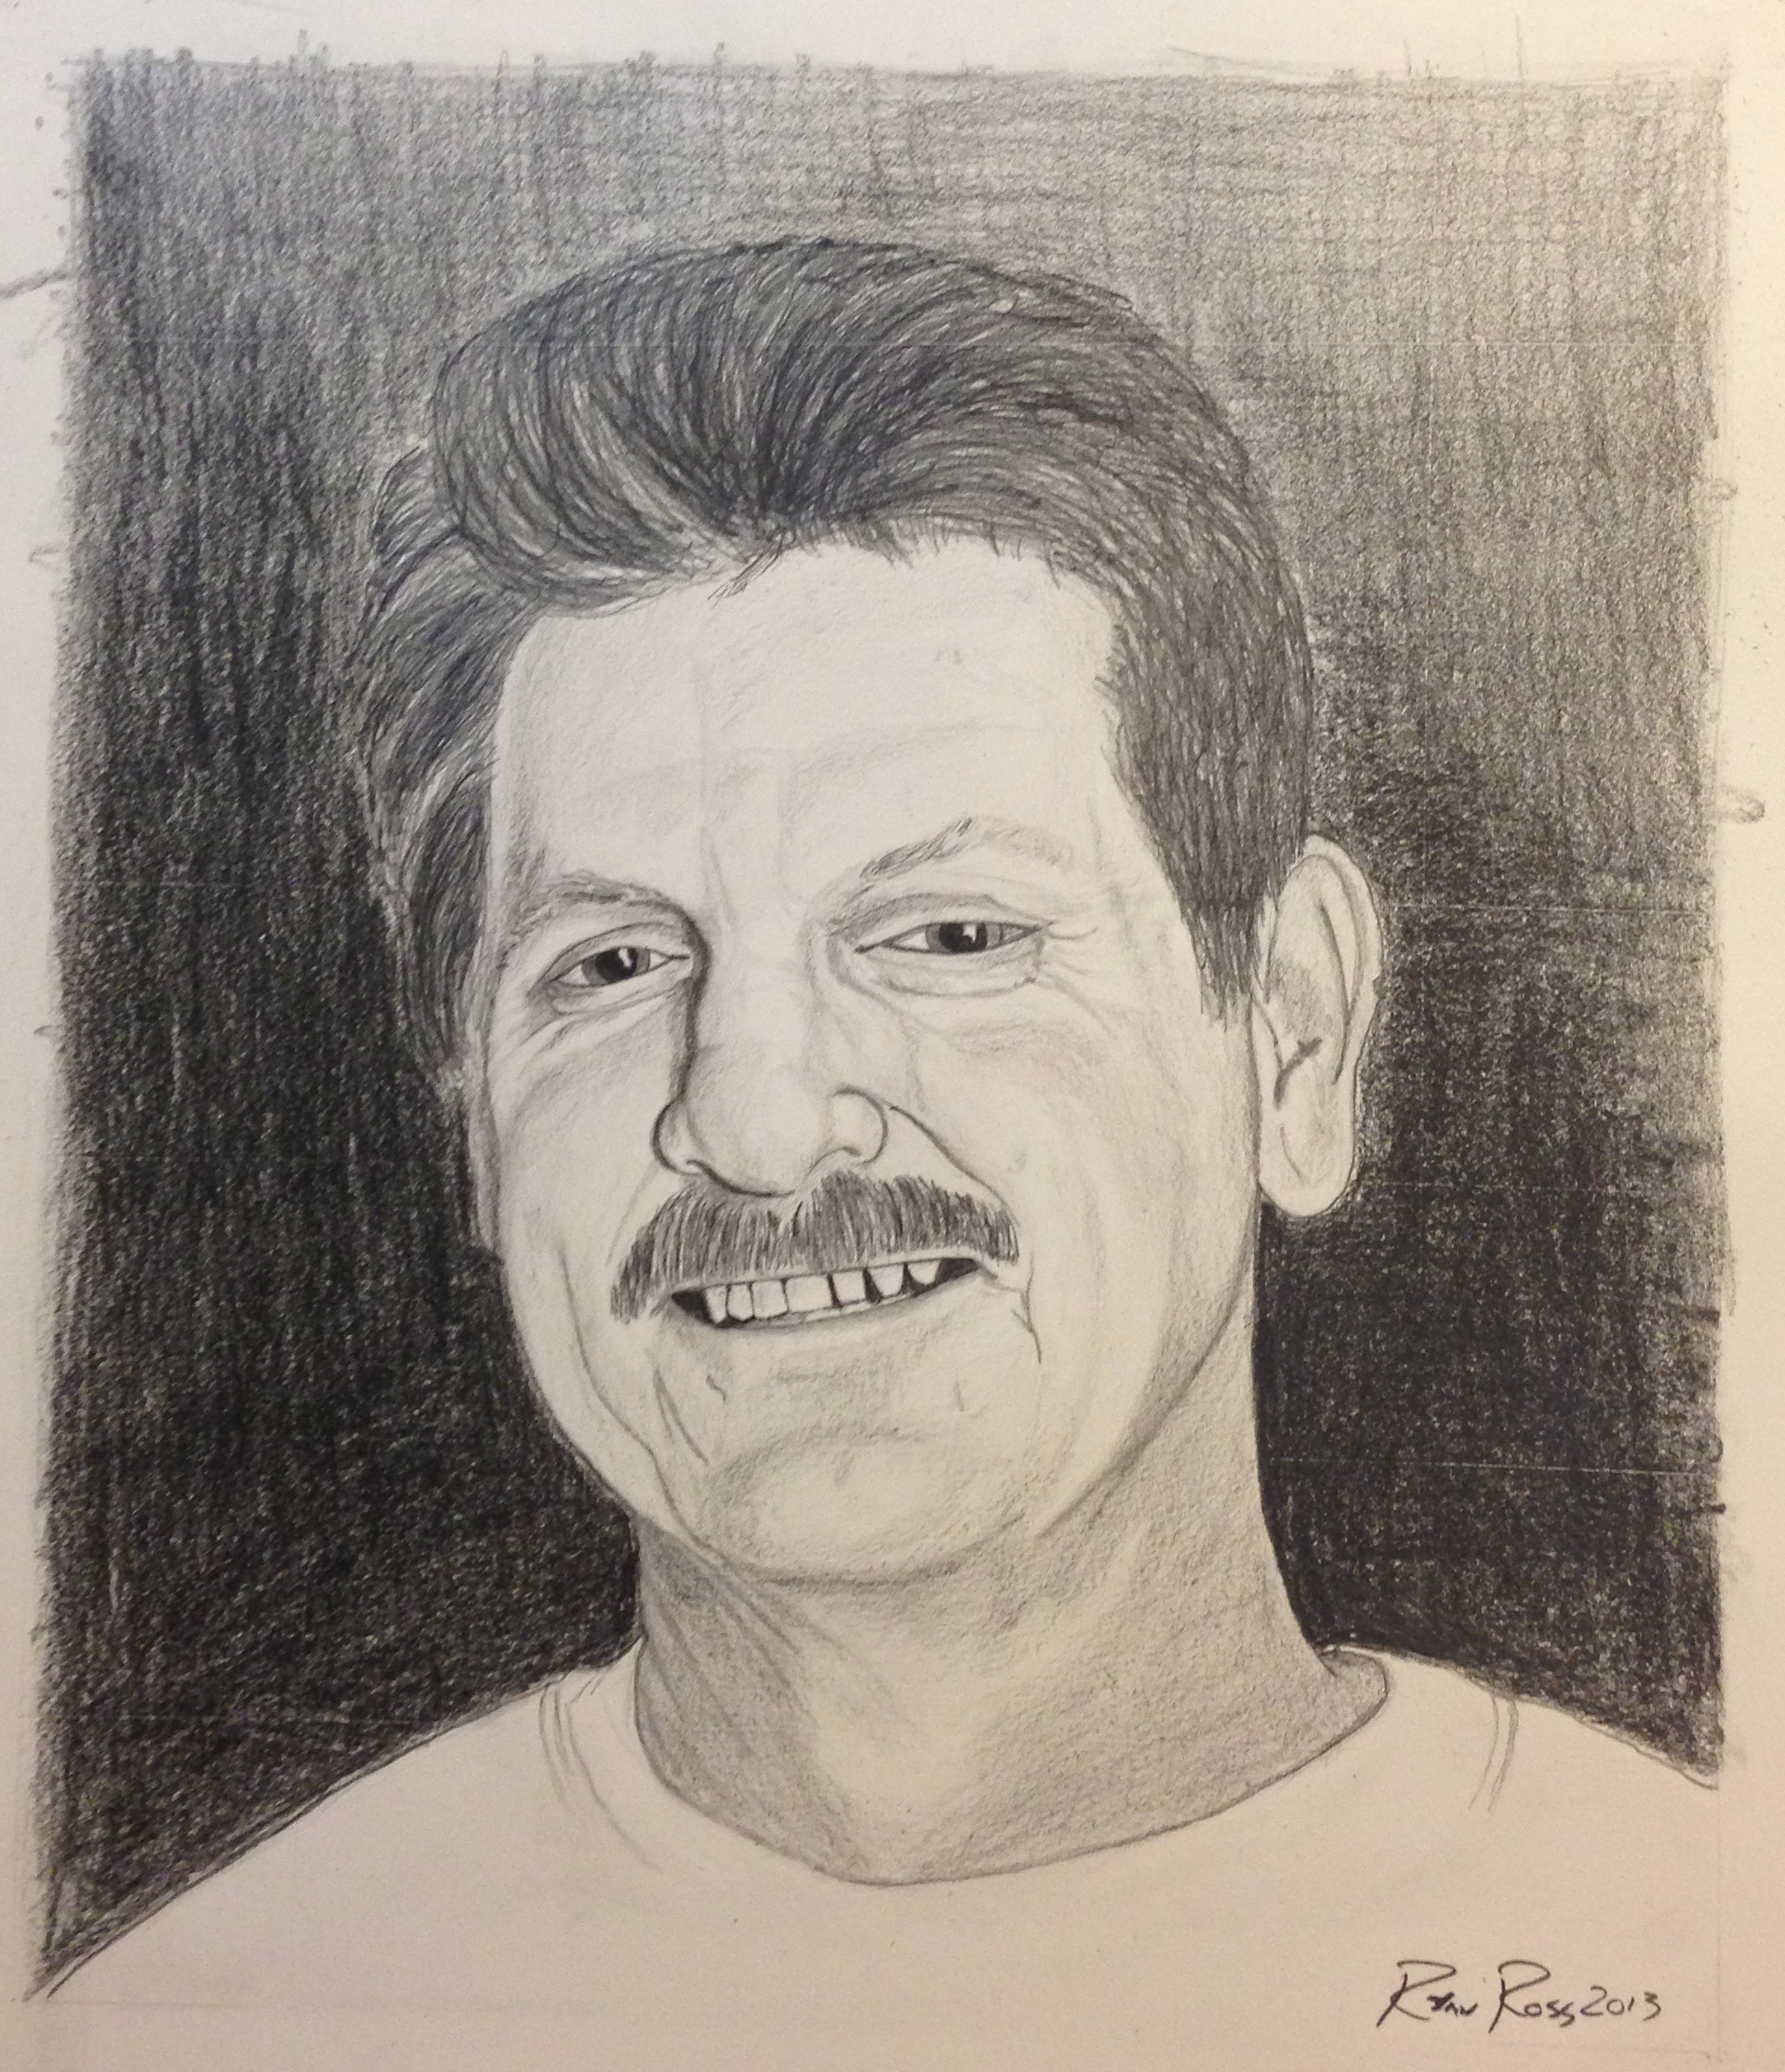
Here are a few examples of portraits drawings that I have done over the years. All of these were drawn with graded graphite pencils, a medium that is one of my personal favorites.
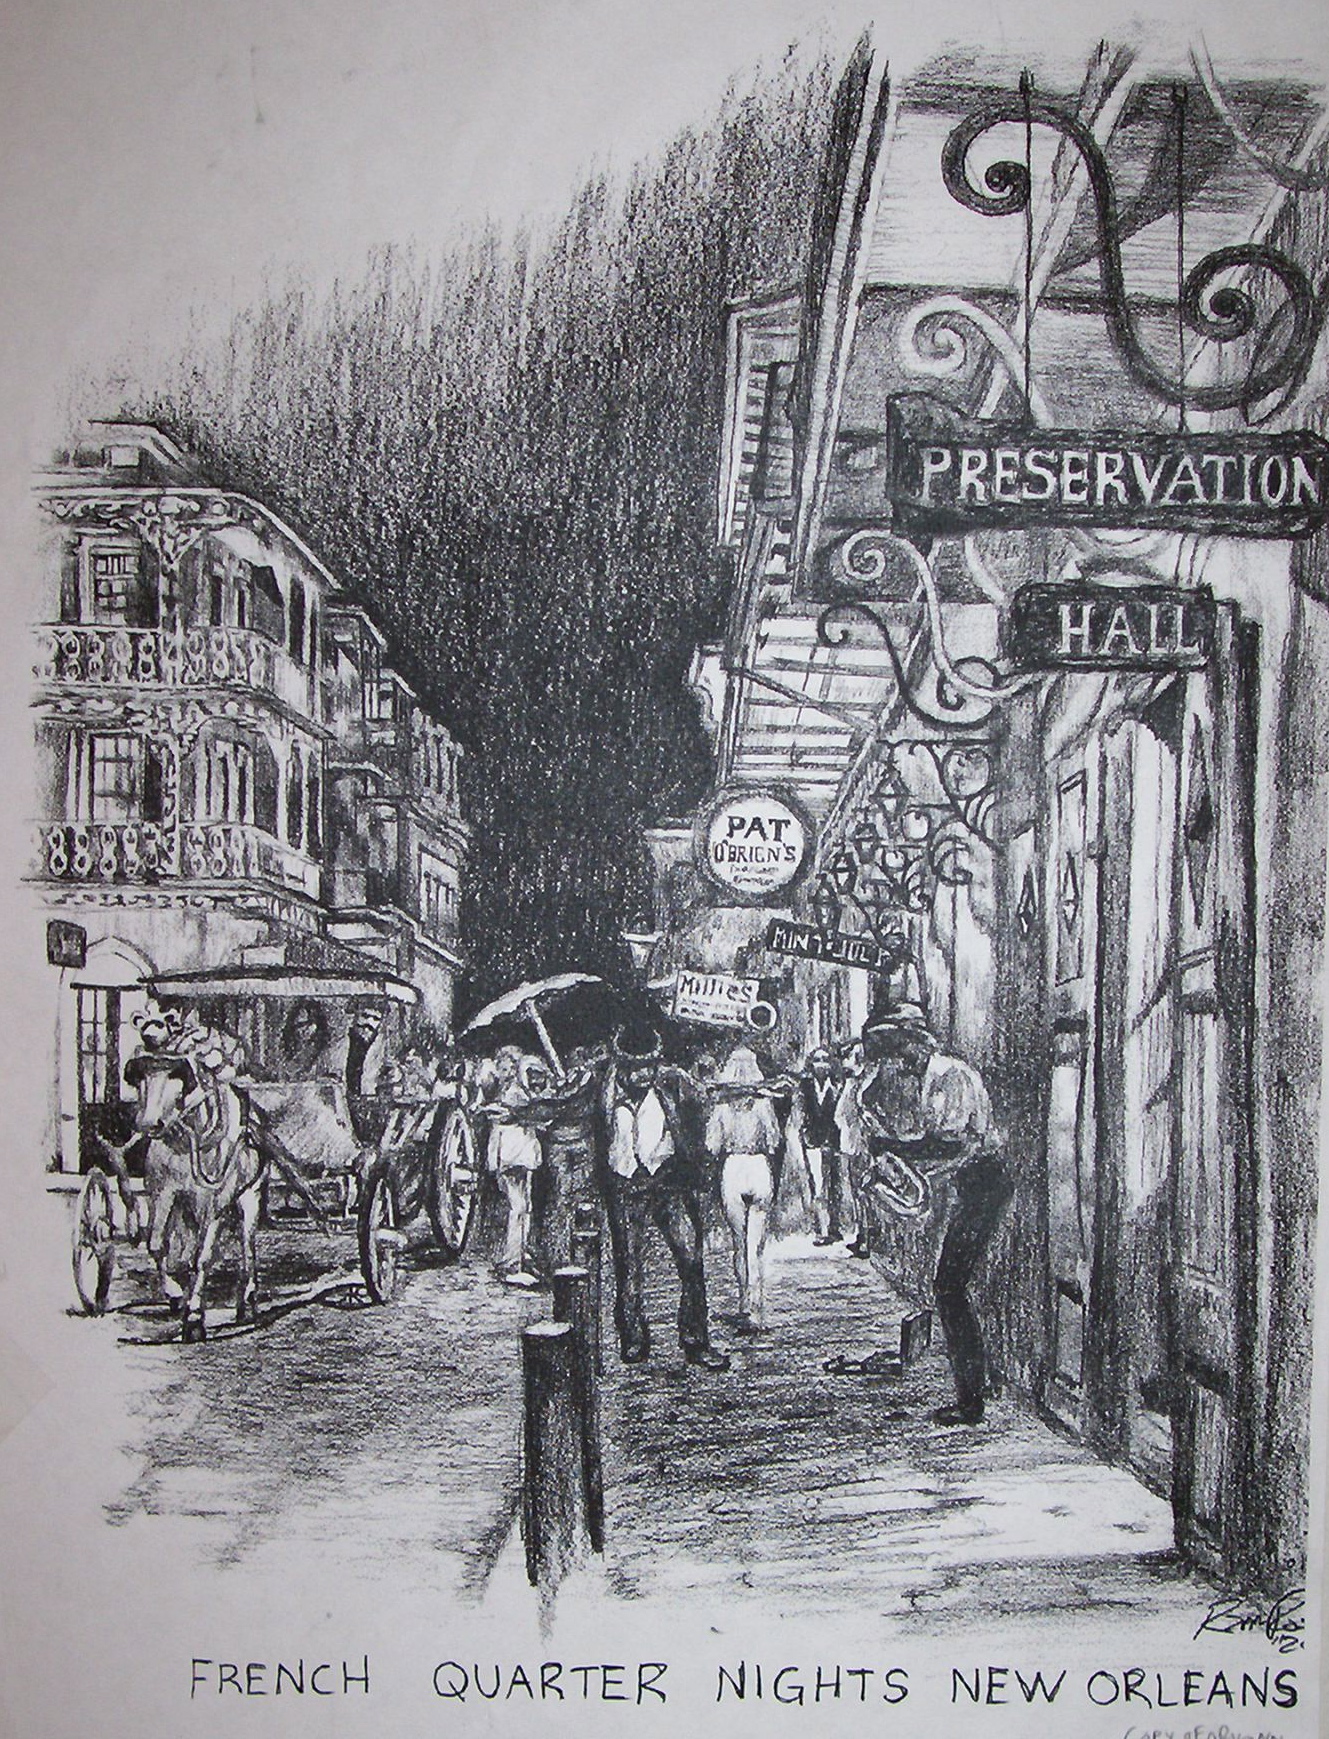
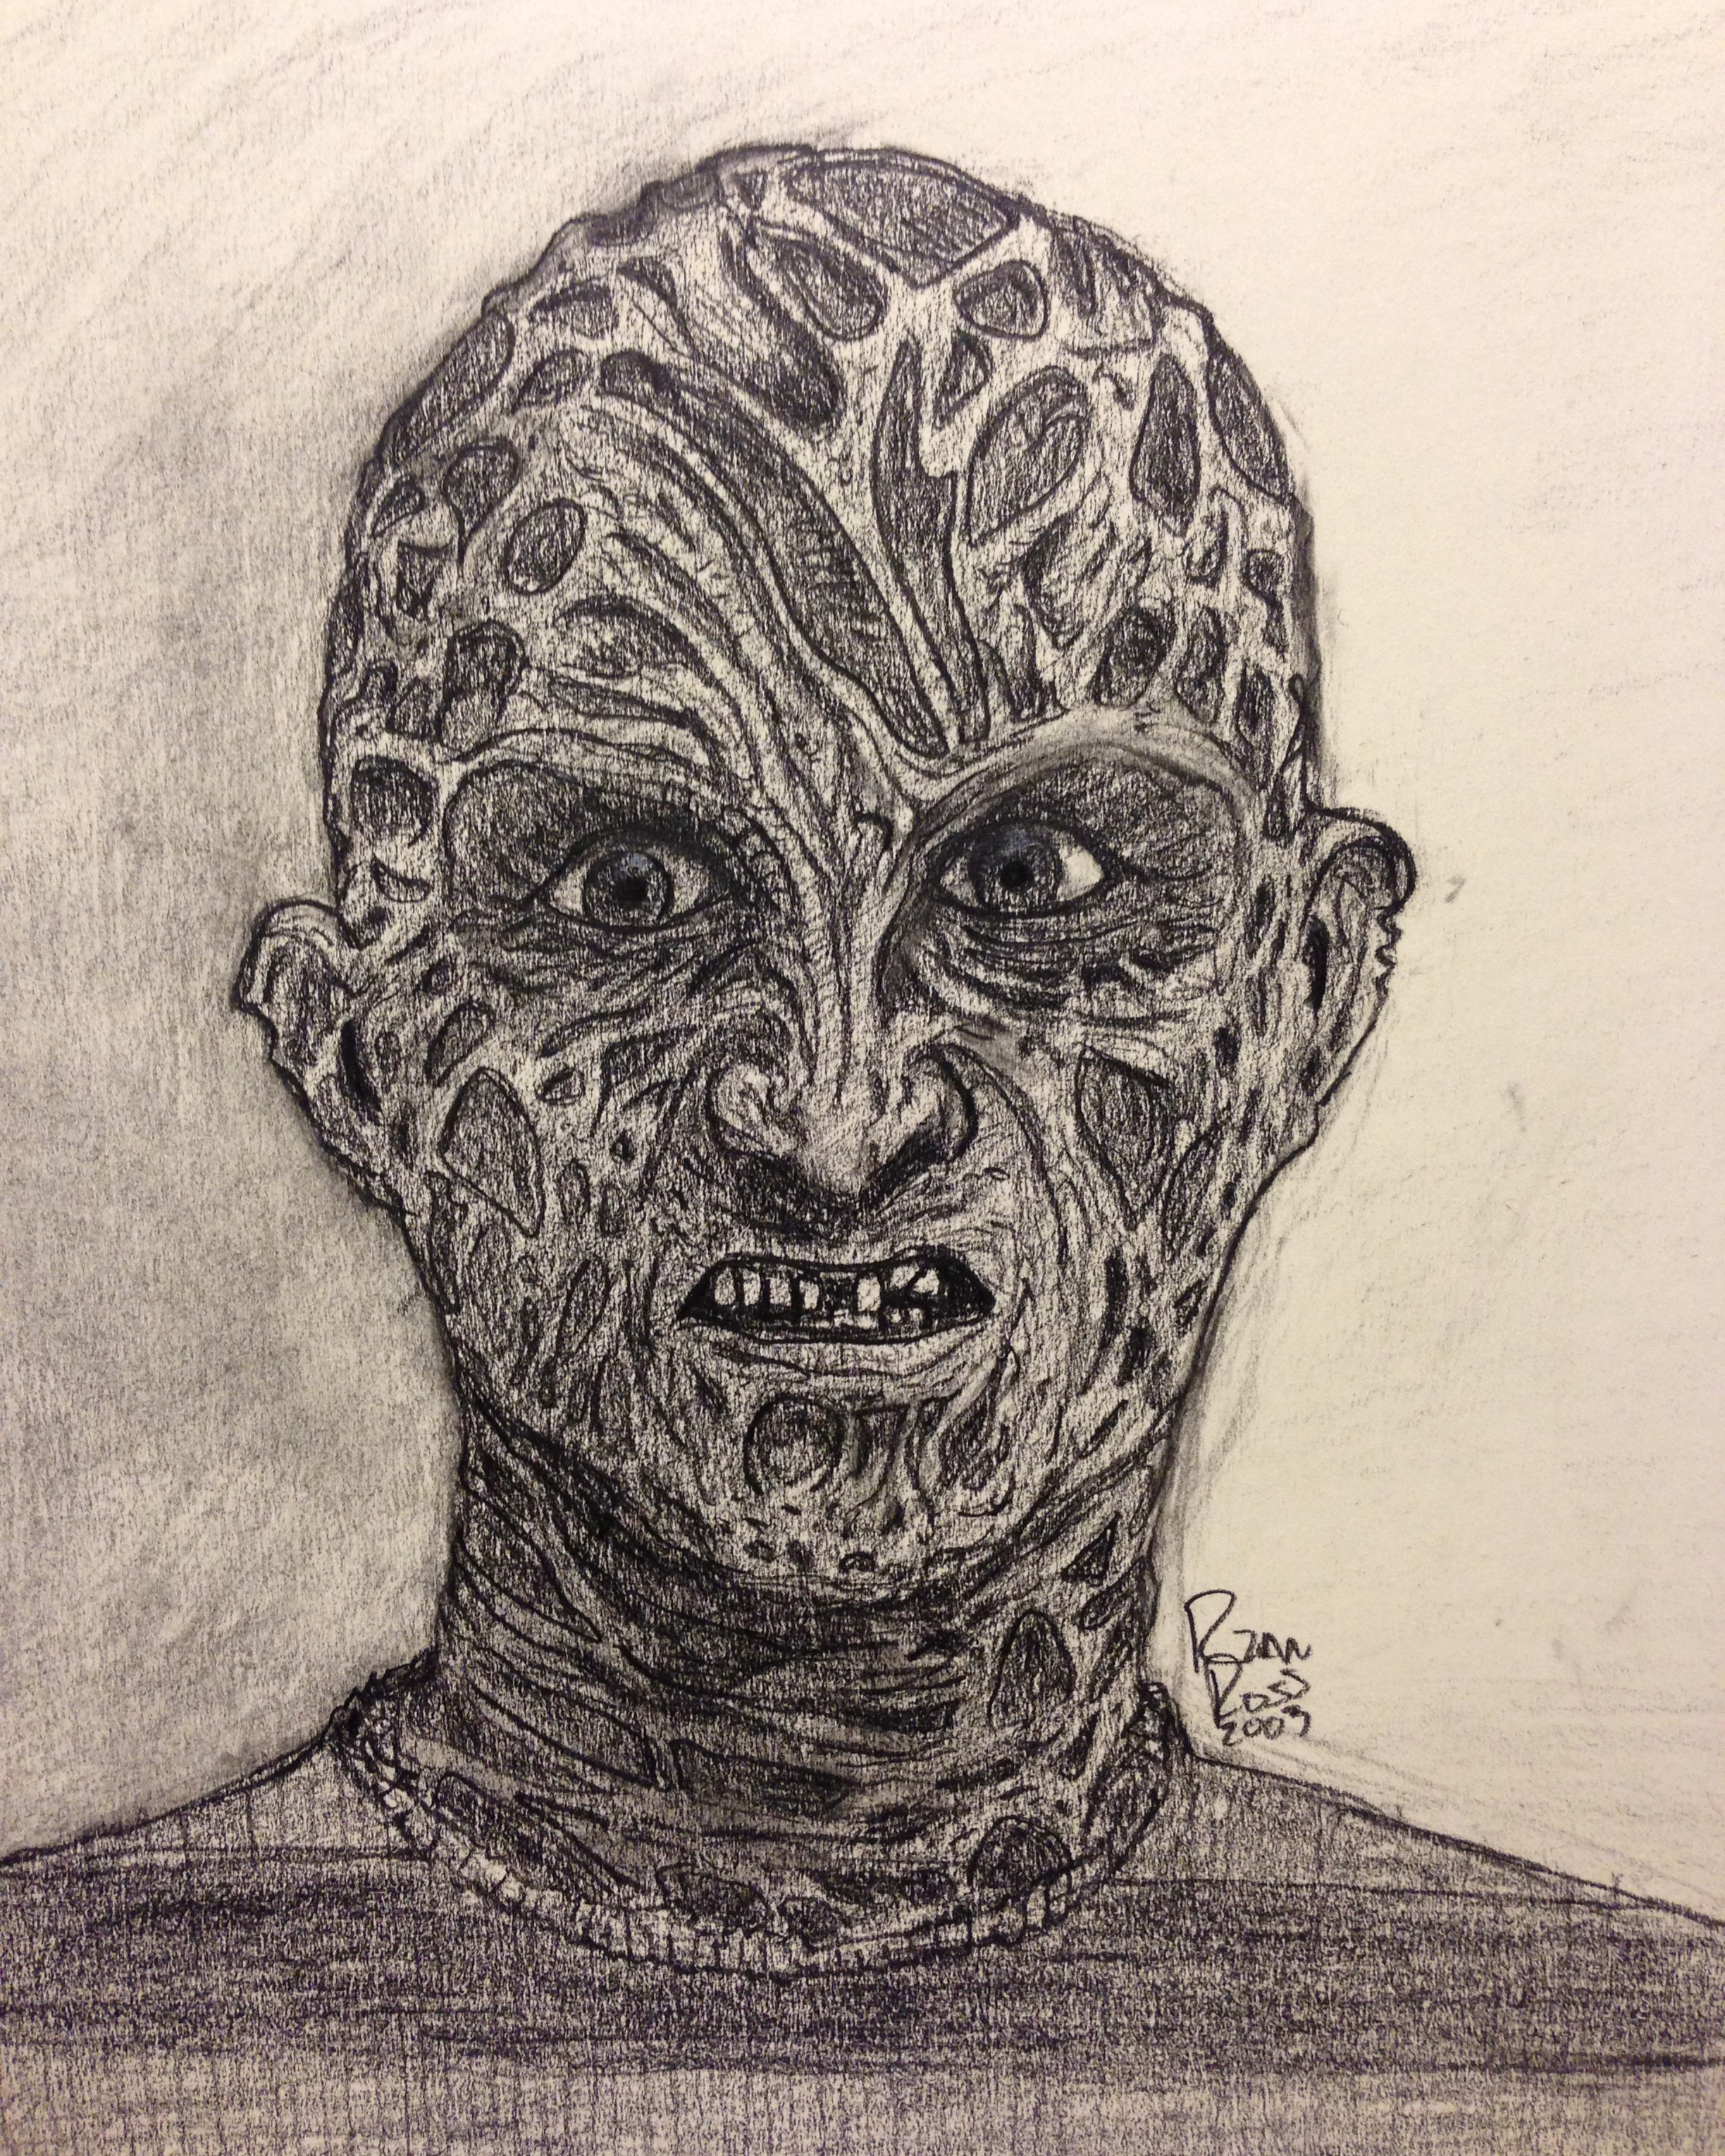
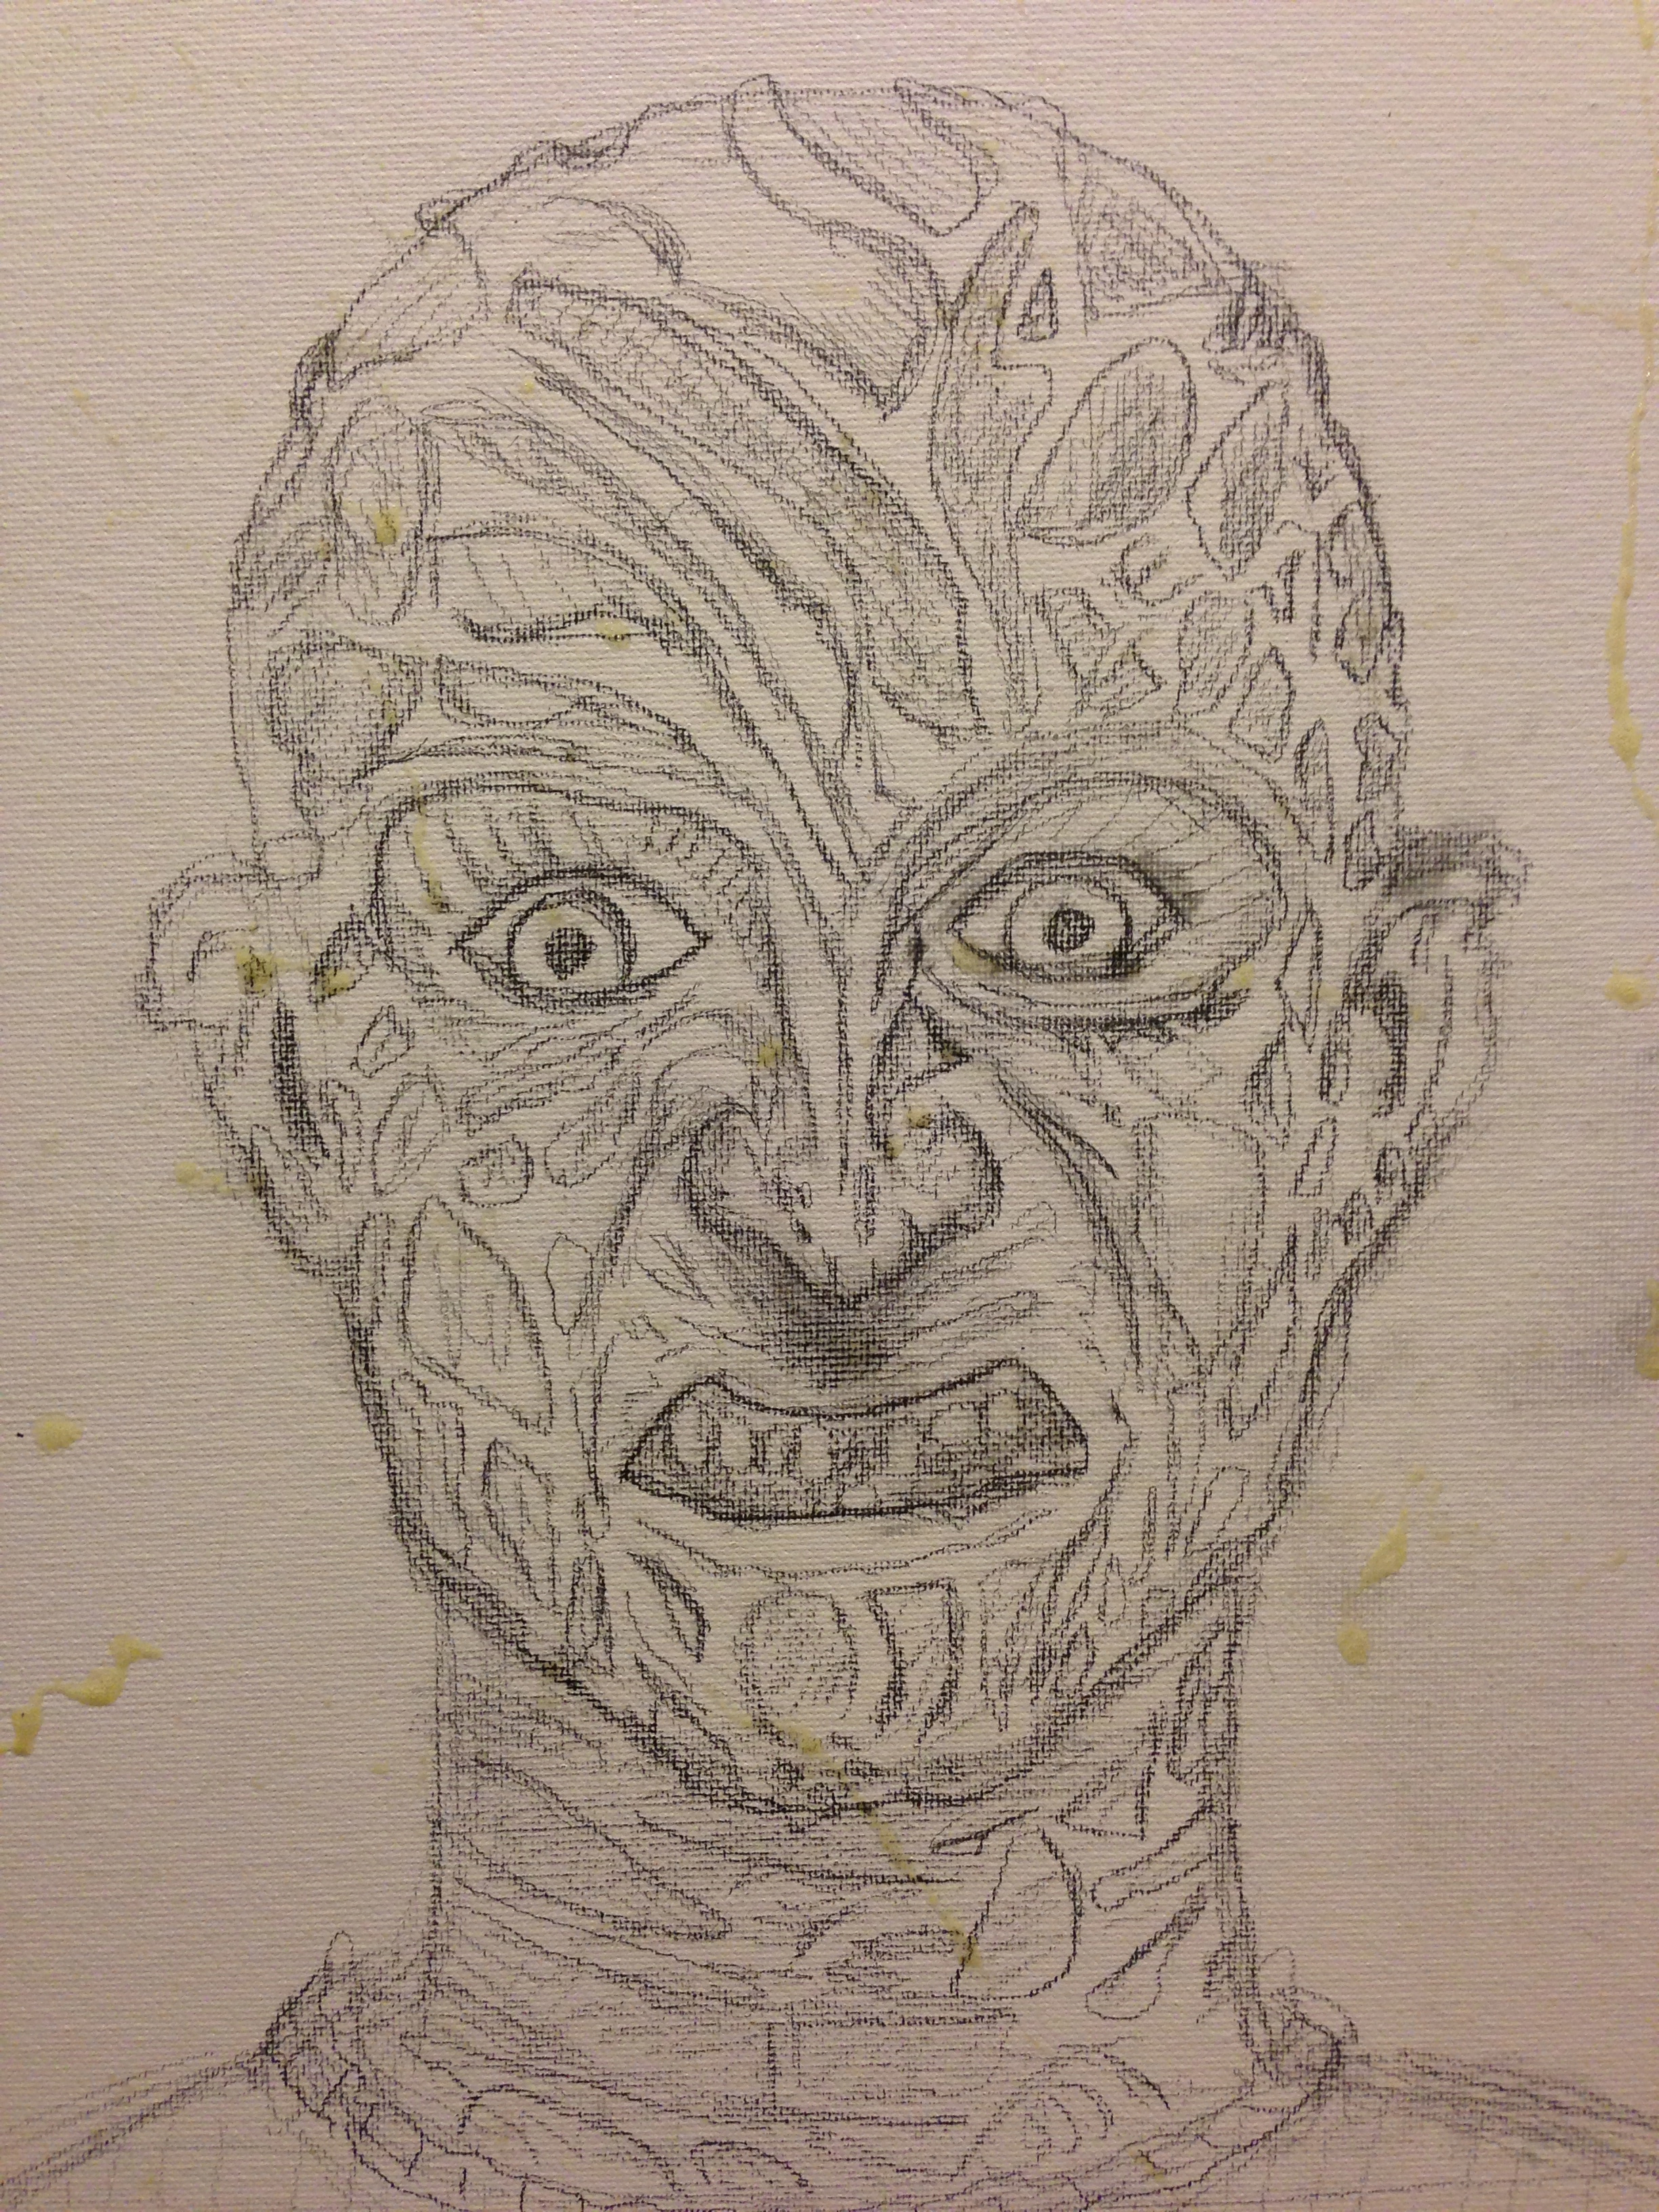
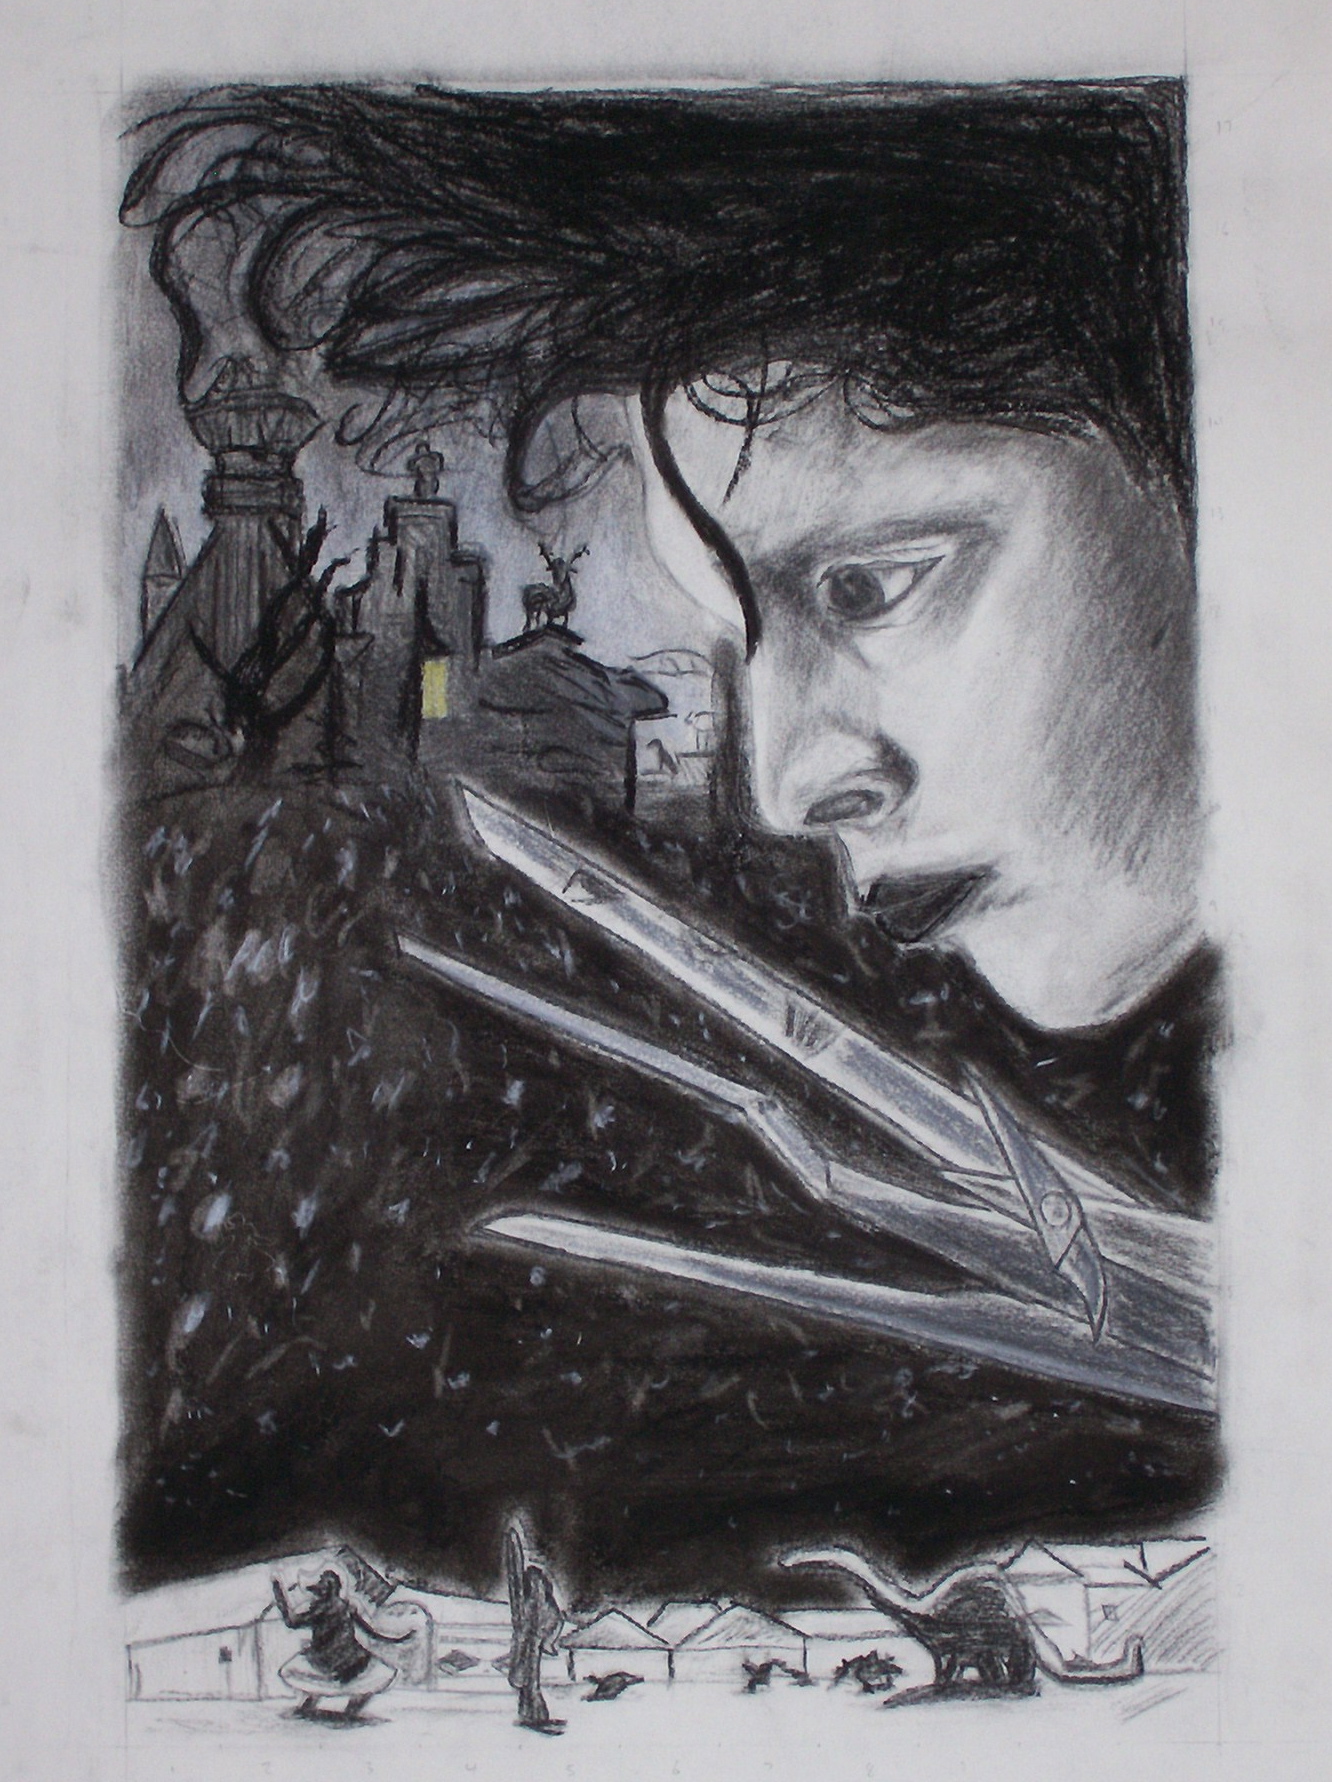
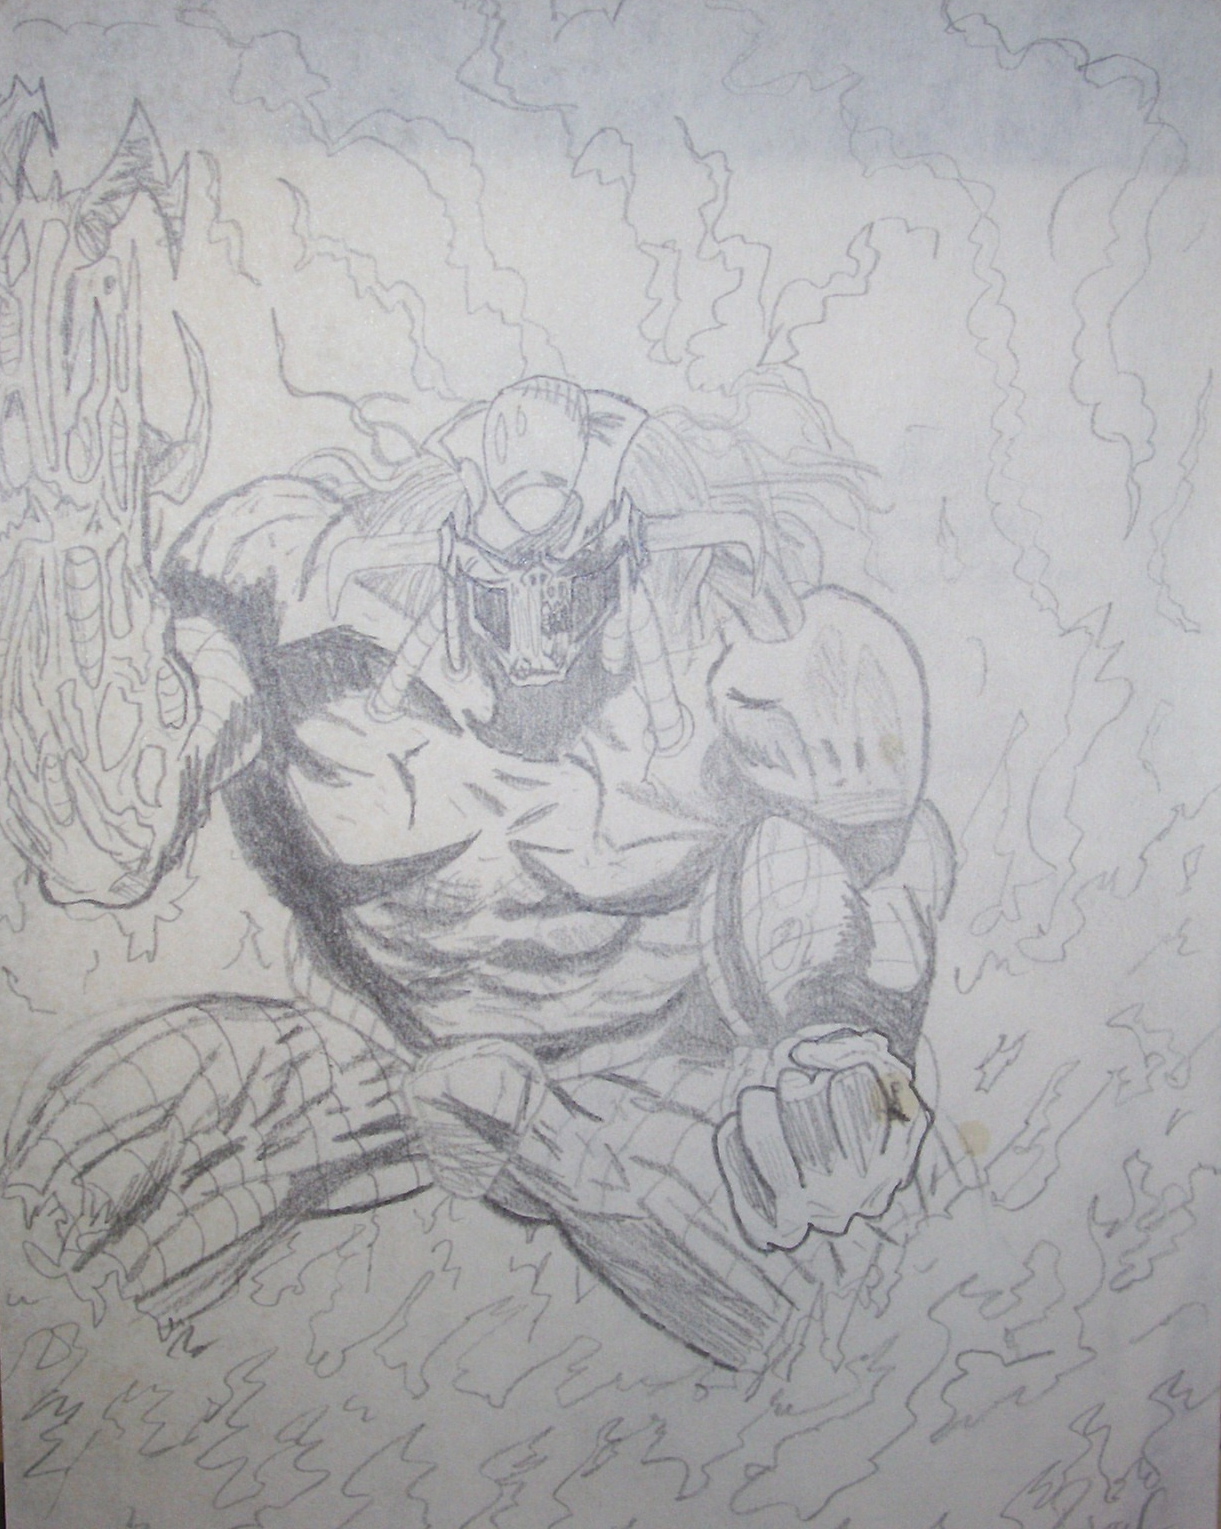
More Graded Graphite. The first was a commission for a good friend and a copy of an original work that I drew to 11″x14″ from a post card. The next two are of one of my favorite horror film icons Freddy Krueger. The first is an old sketch that I did for fun on paper and the second is a base line sketch for a multi media project on canvas board that has yet to be completed. I still think it’s cool.
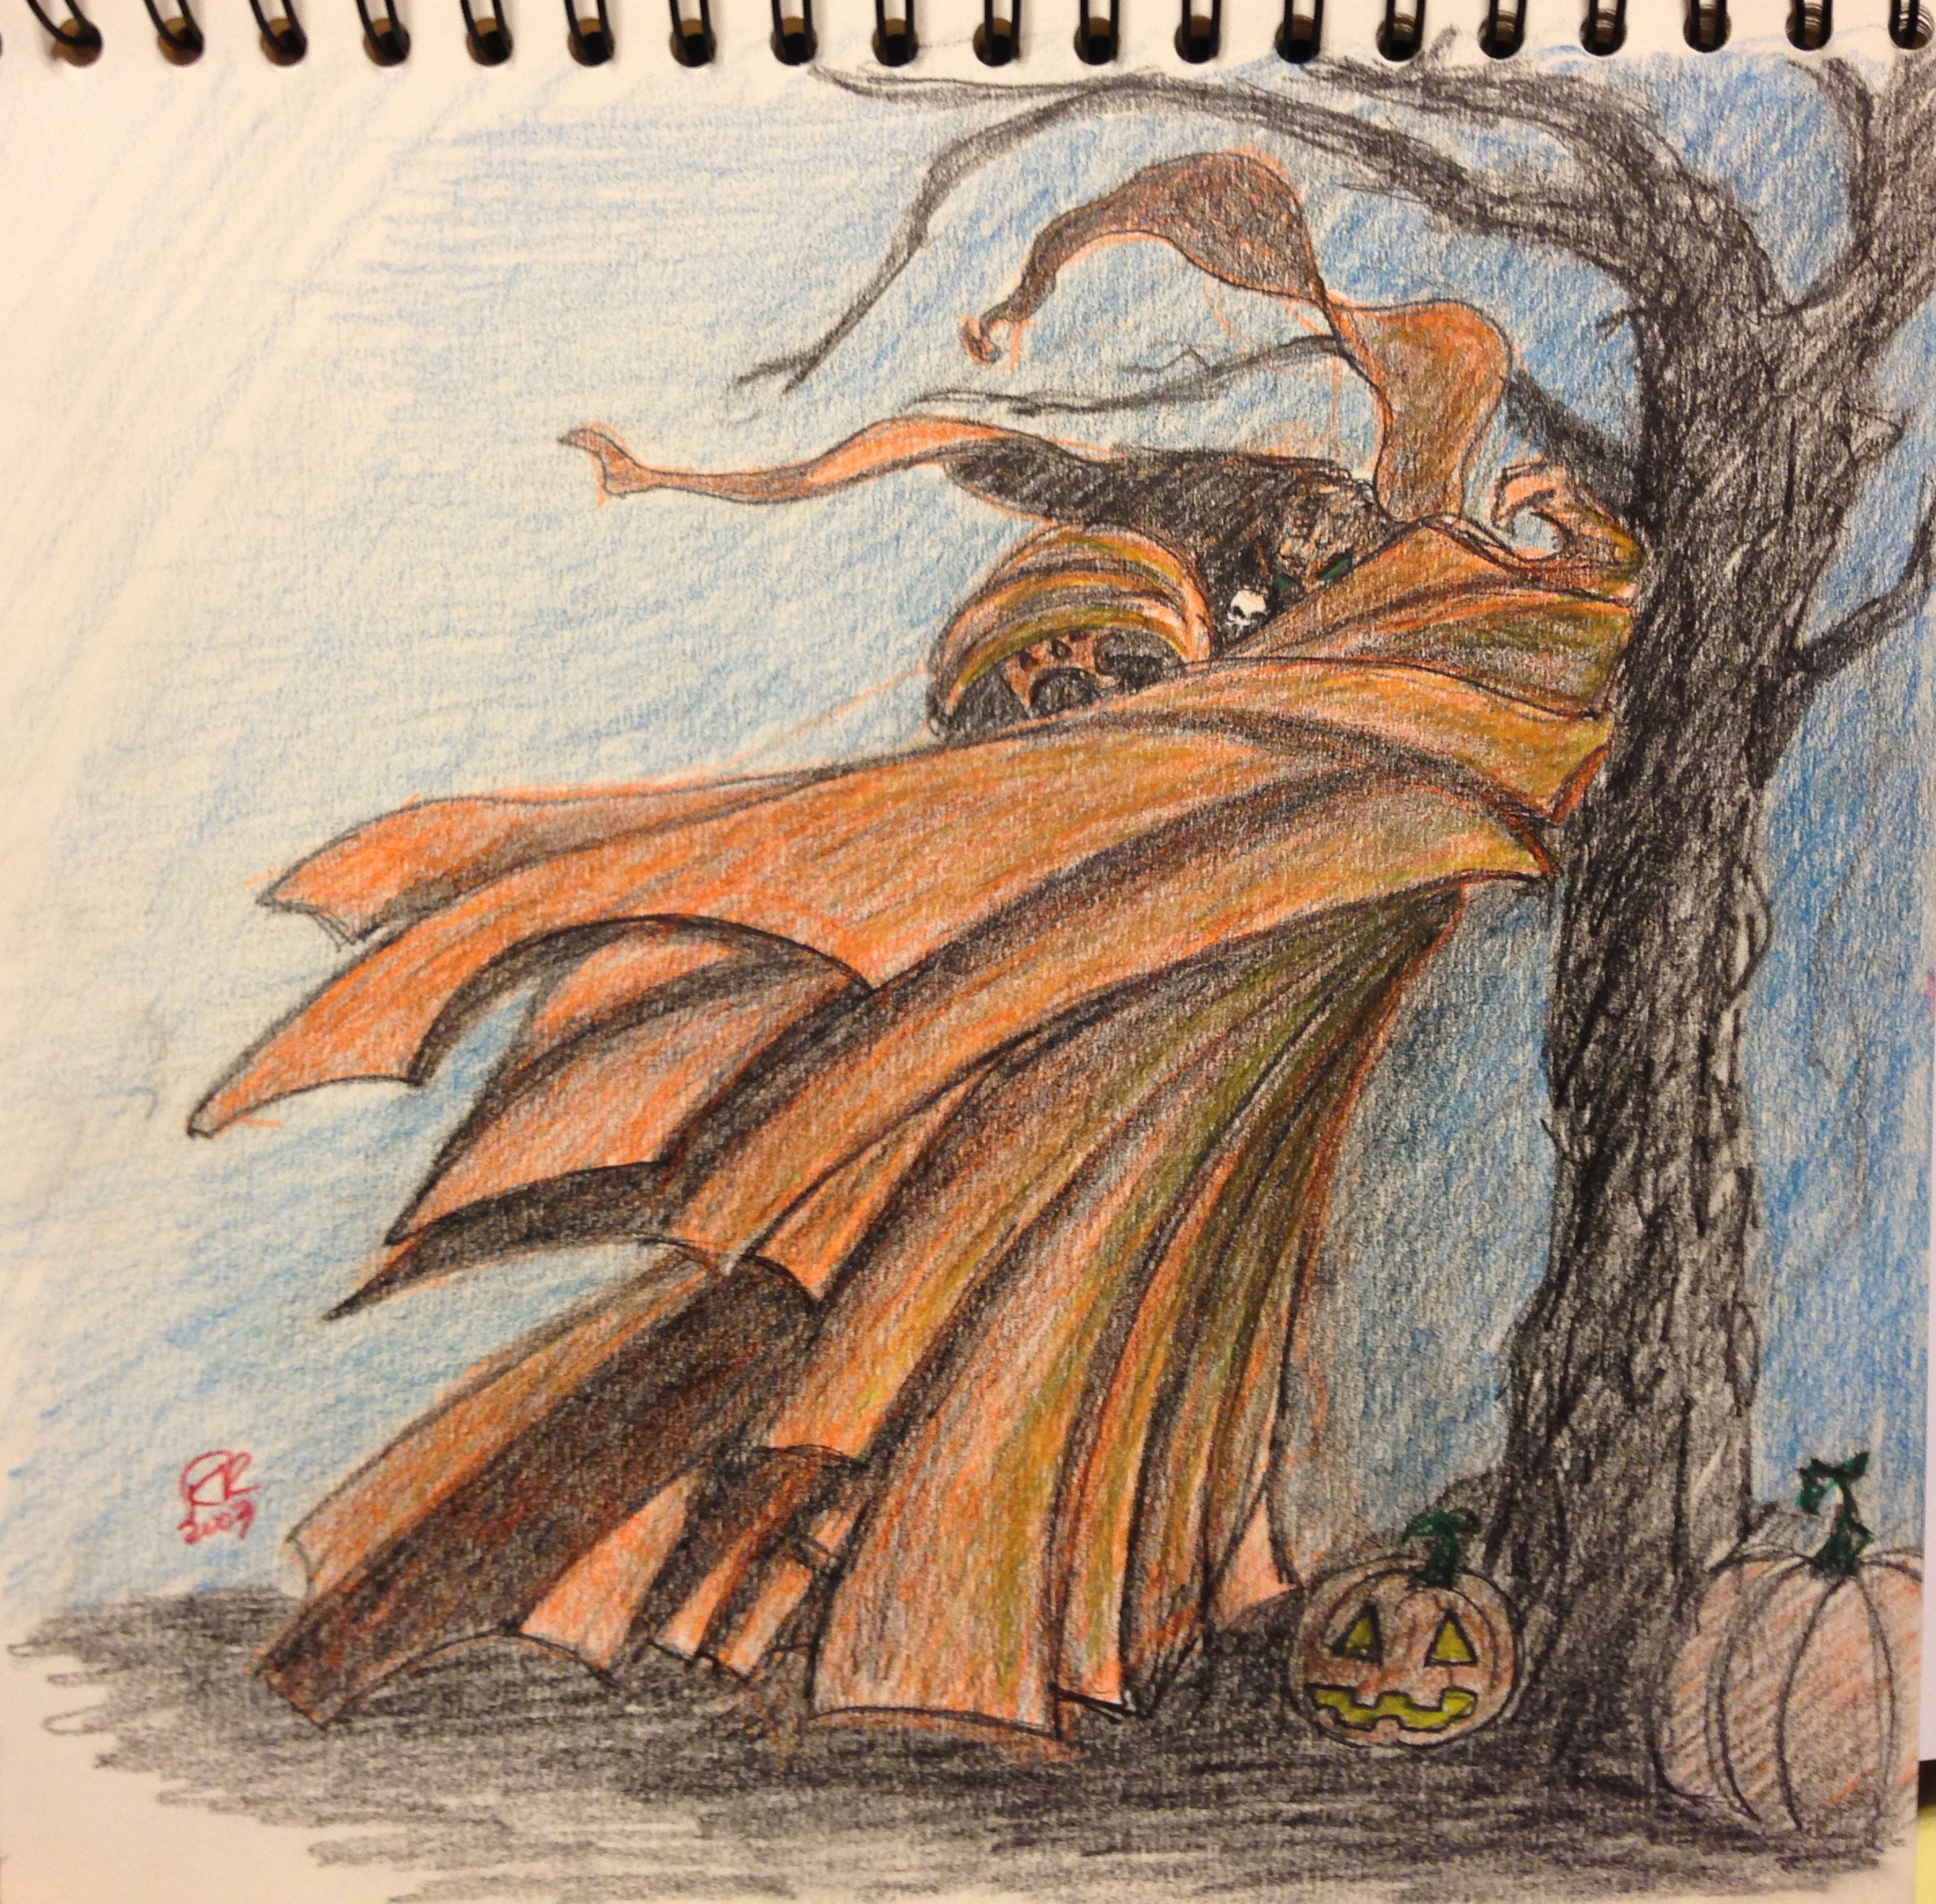
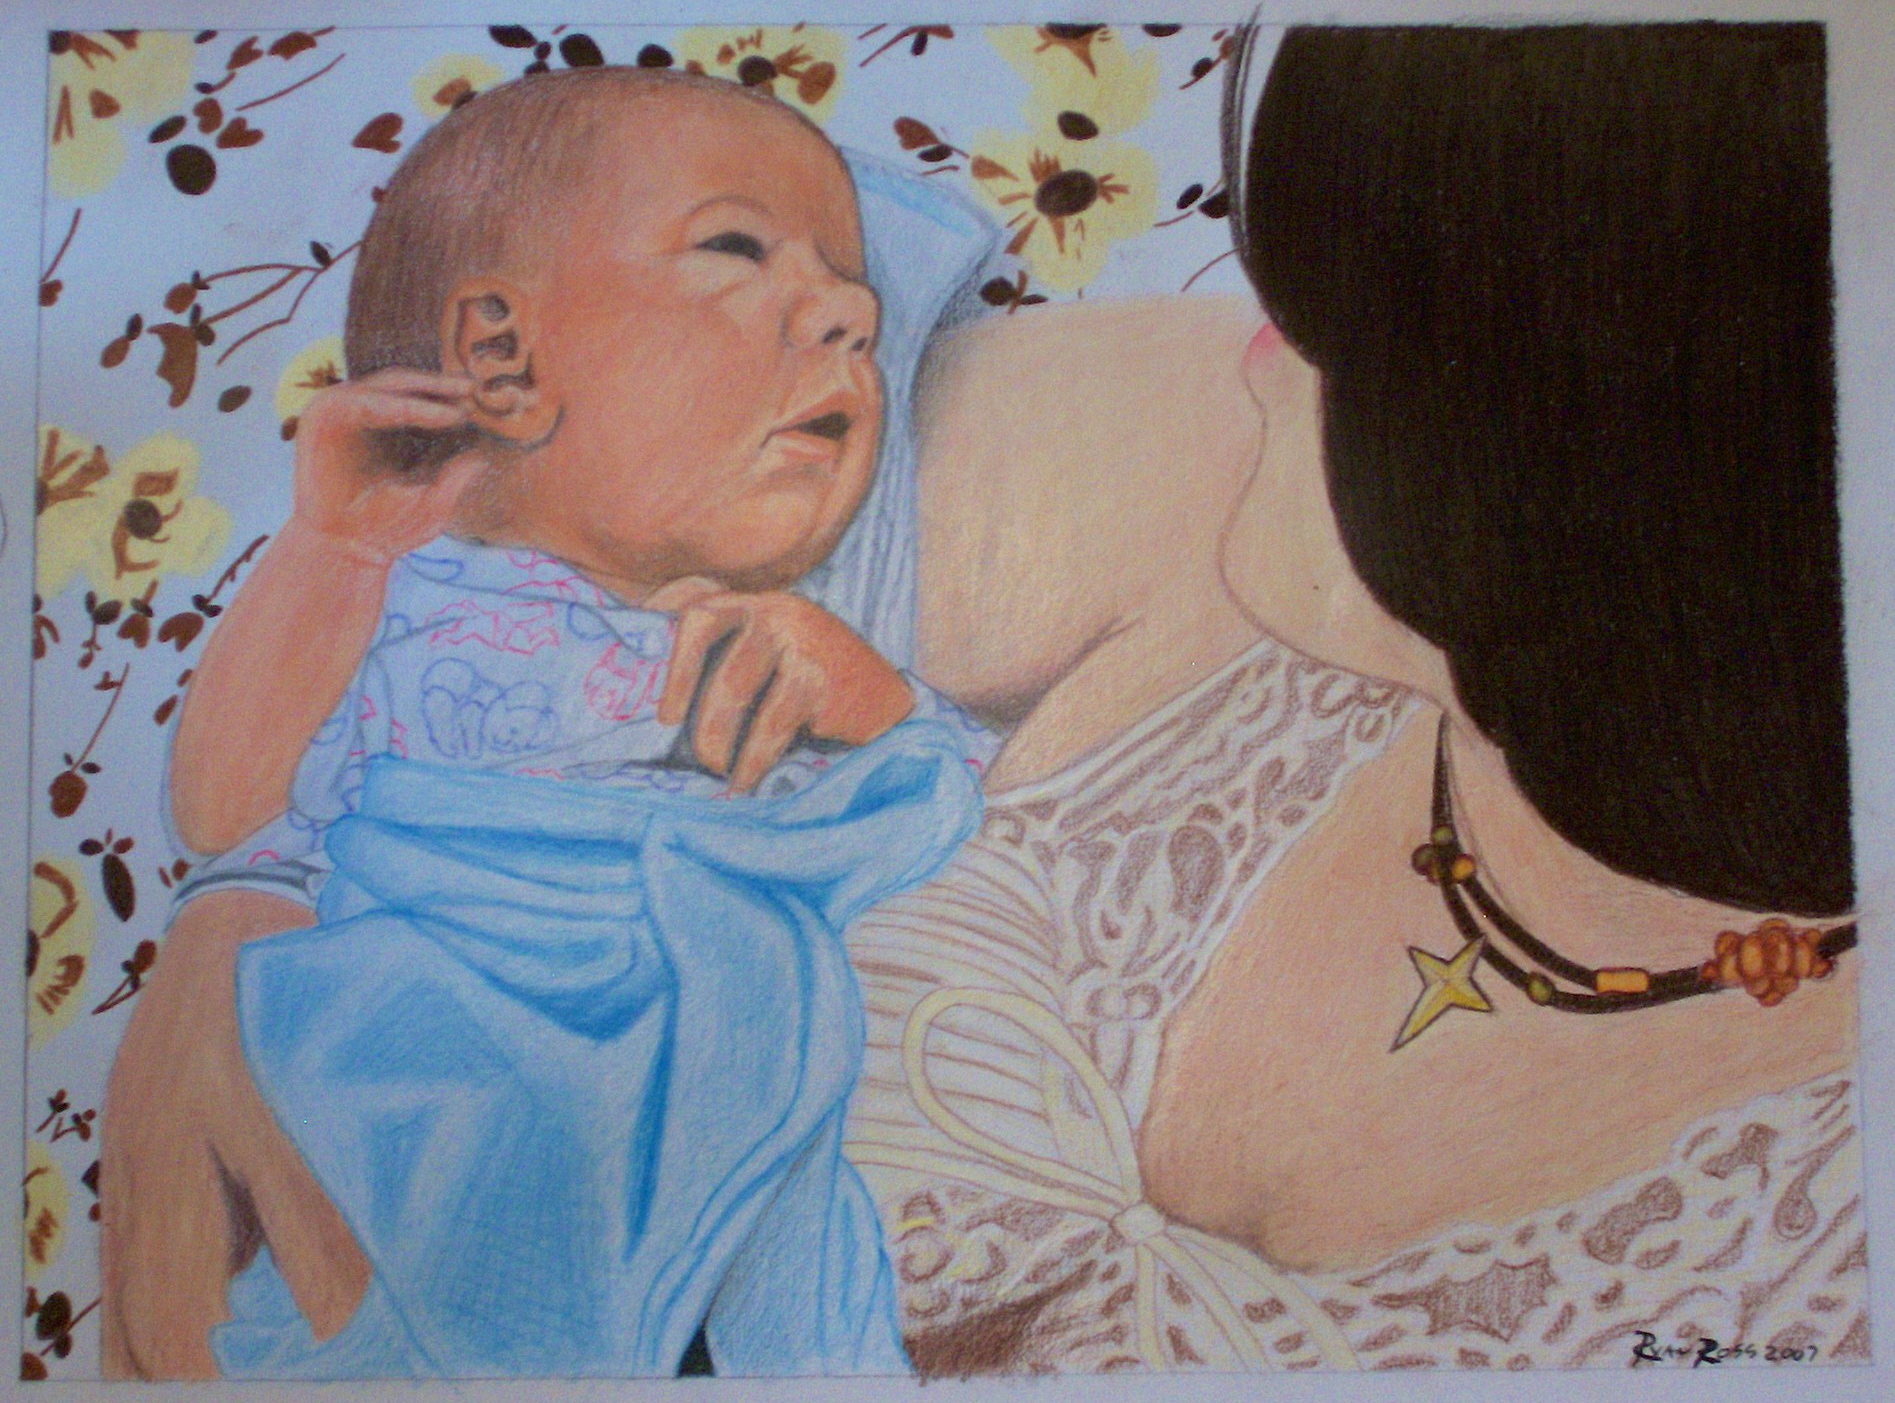
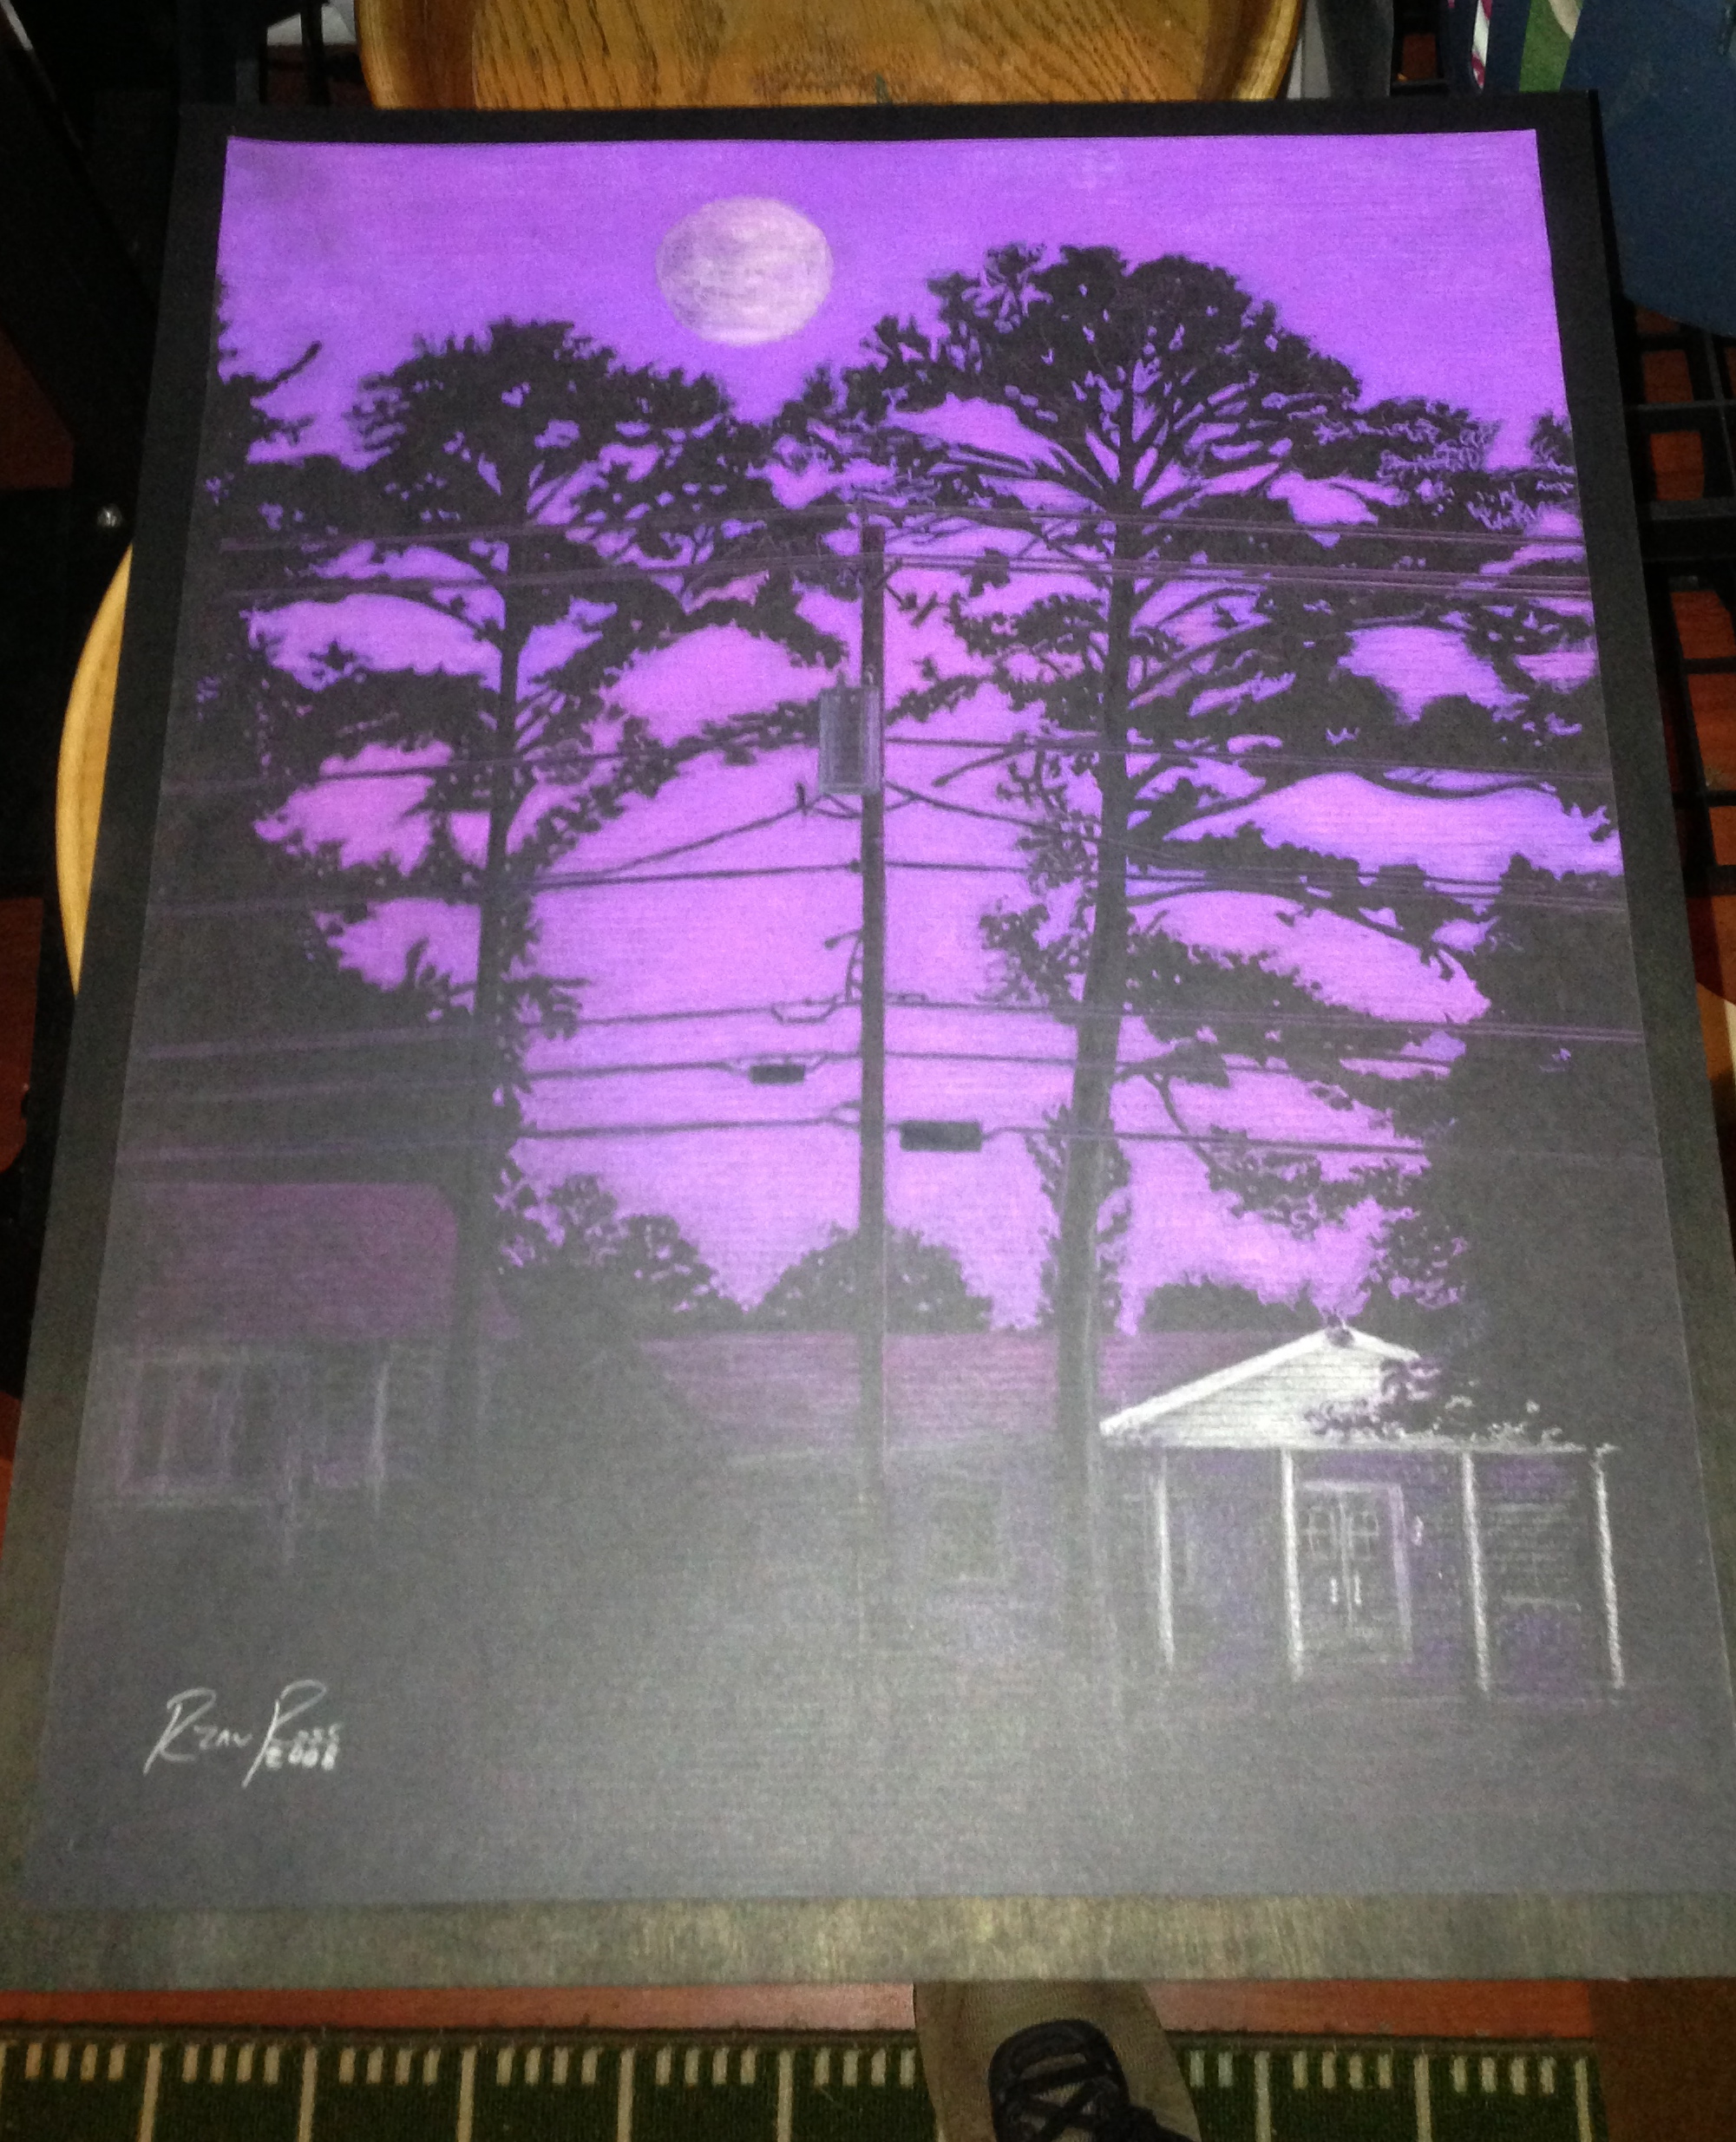
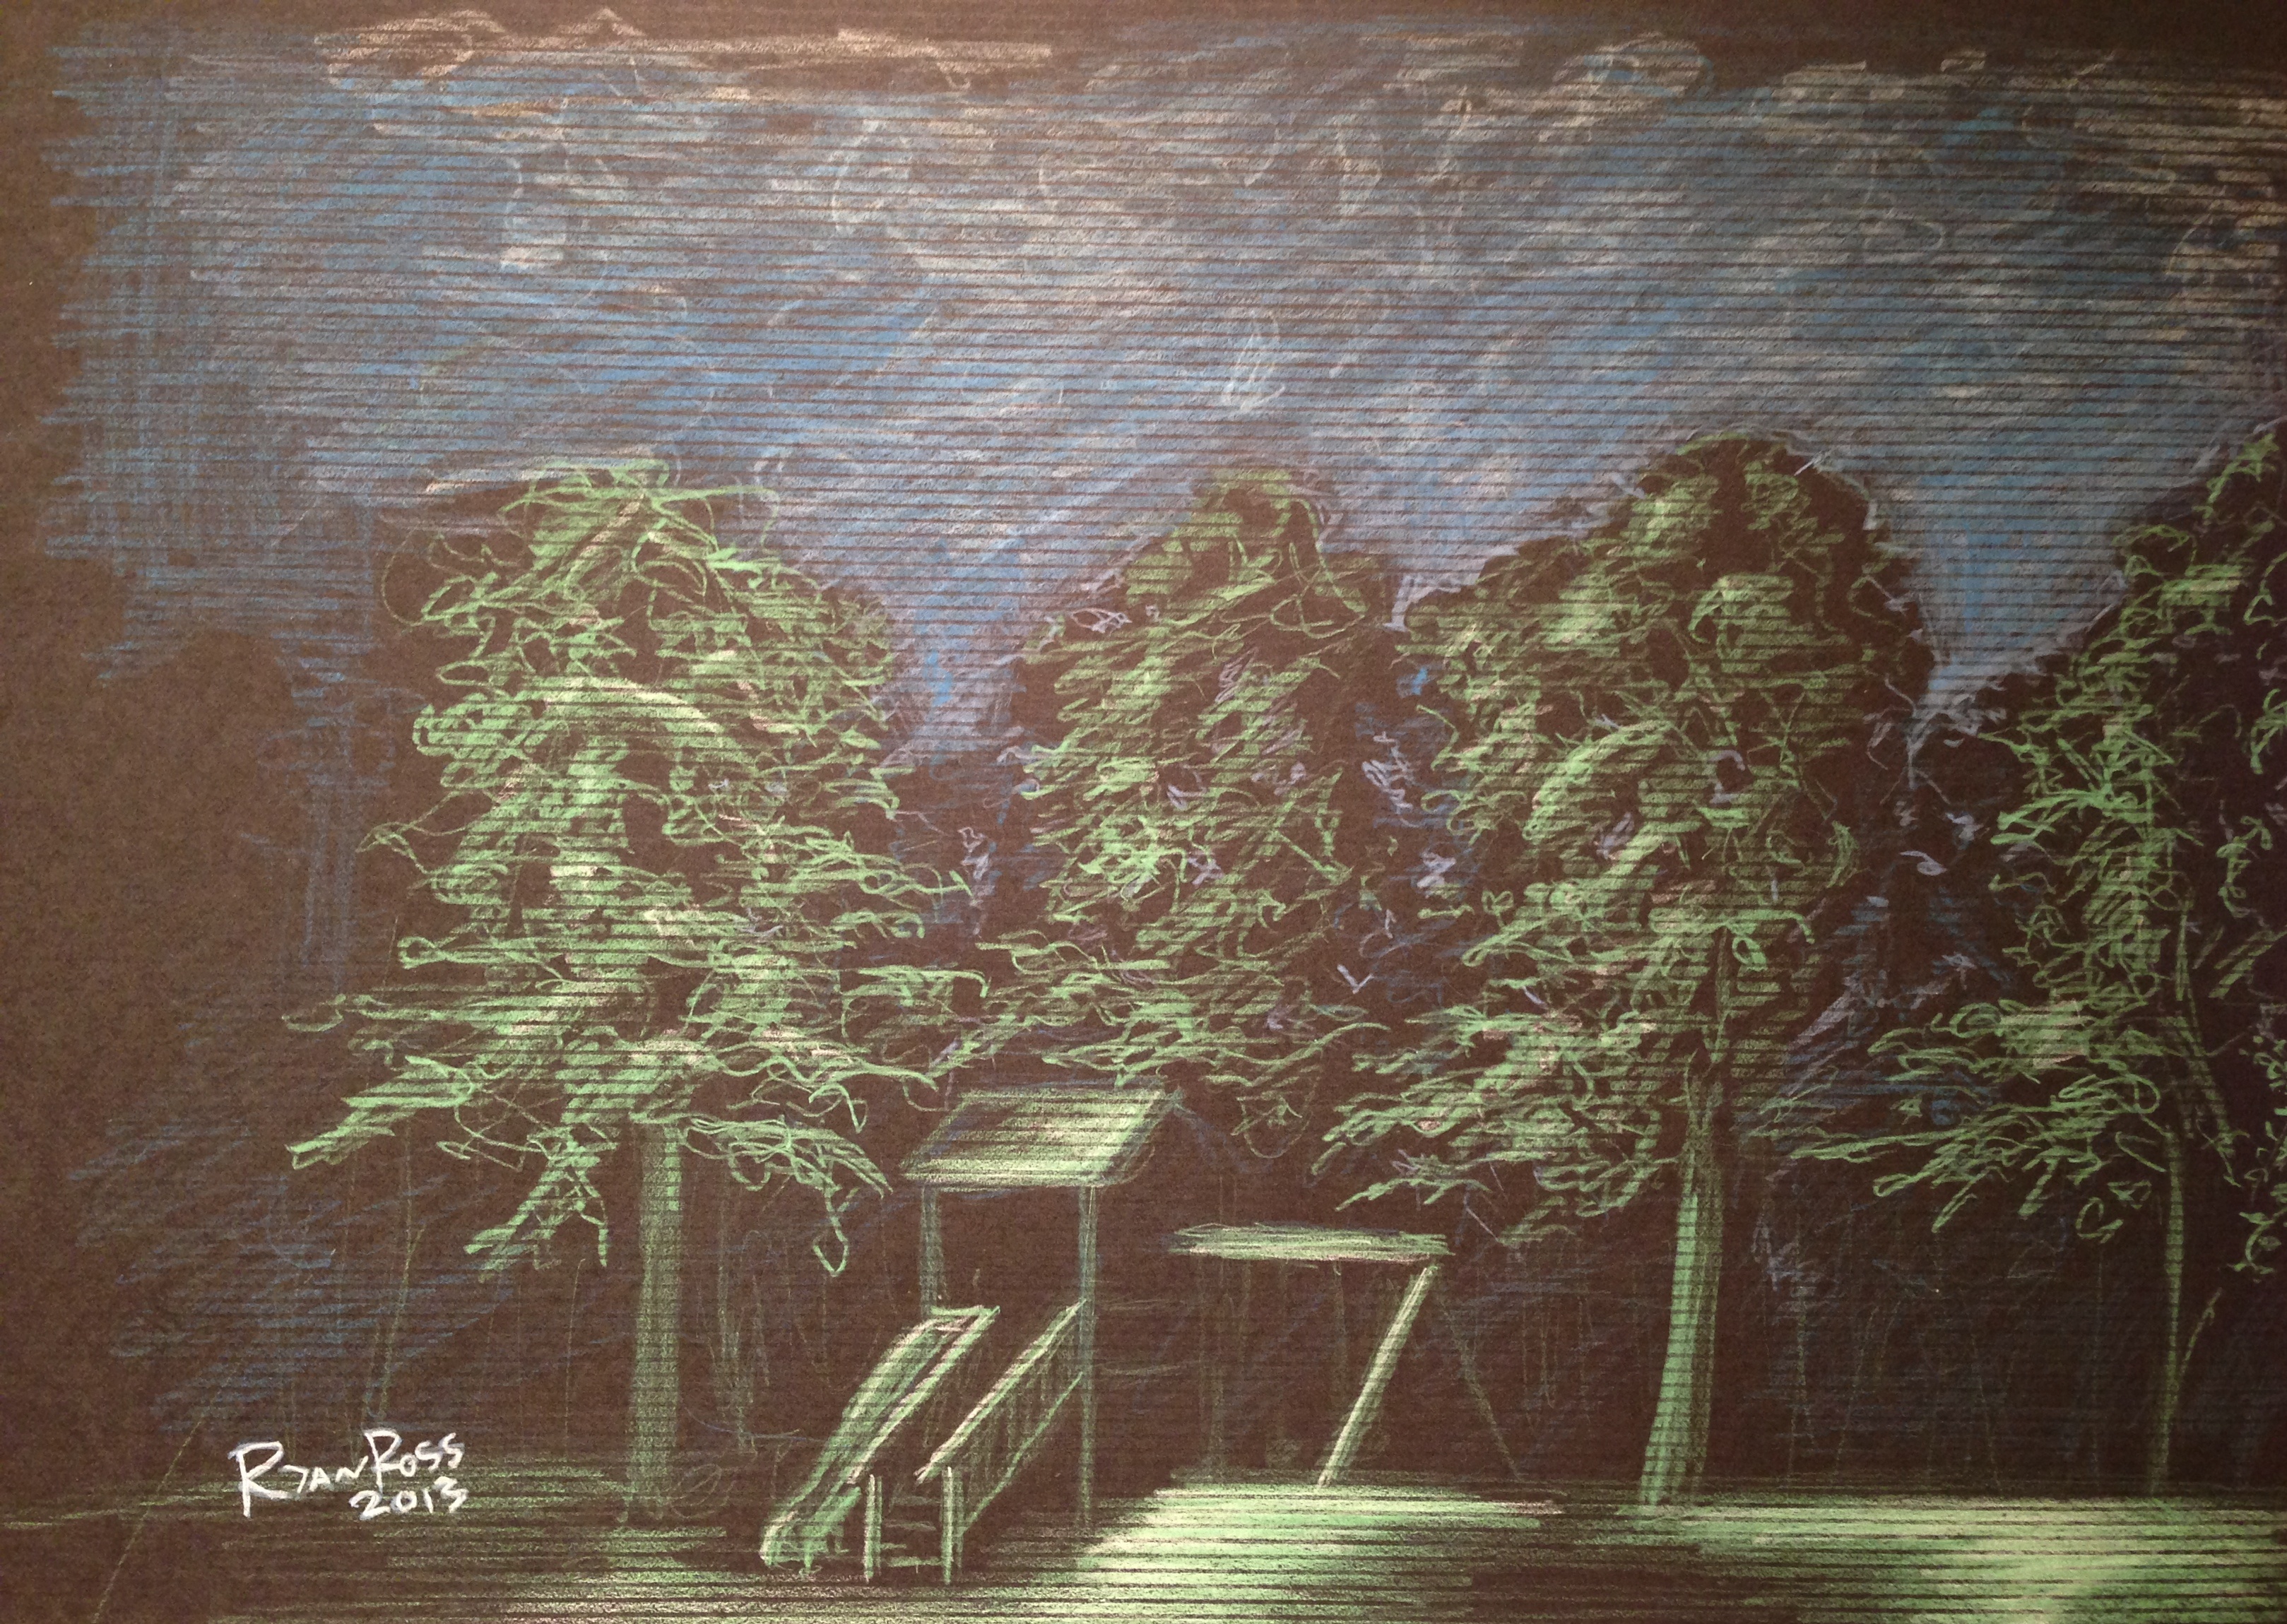
These are all color pencil drawings. First two are on regular drawing paper and the last two are on black paper. First we have s Halloween Spawn that was sketched from an action figure from McFarlane Toys. The second was a gift for my Mother for Mother’s day, this is the picture from when we first met eye to eye. The third and fourth are drawings done from scenery at my previous and current homes. (I hope to get better pics of the third drawing up very soon)

These first two of the last three are done with multiple types of pencils. The last is another Graded Graphite.
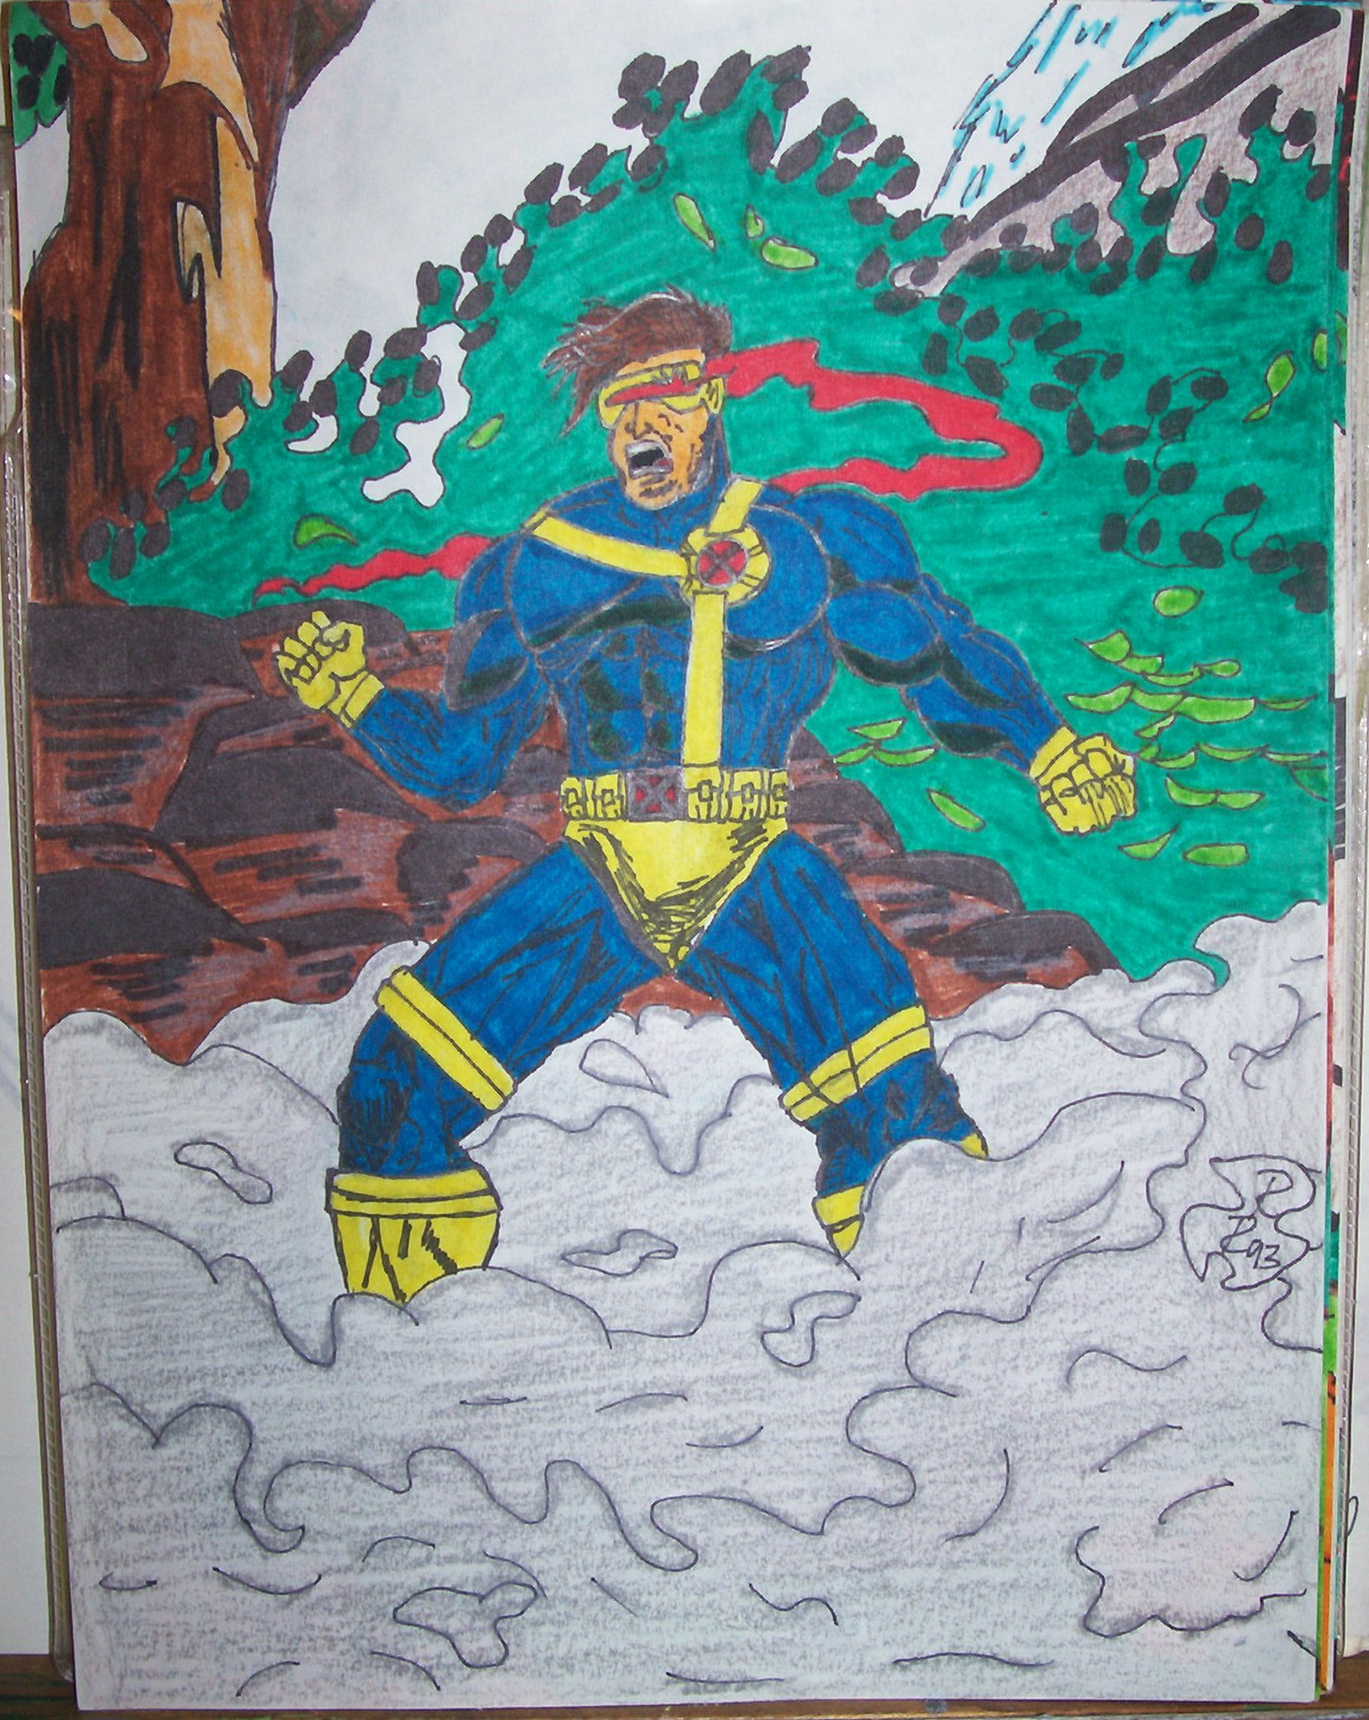
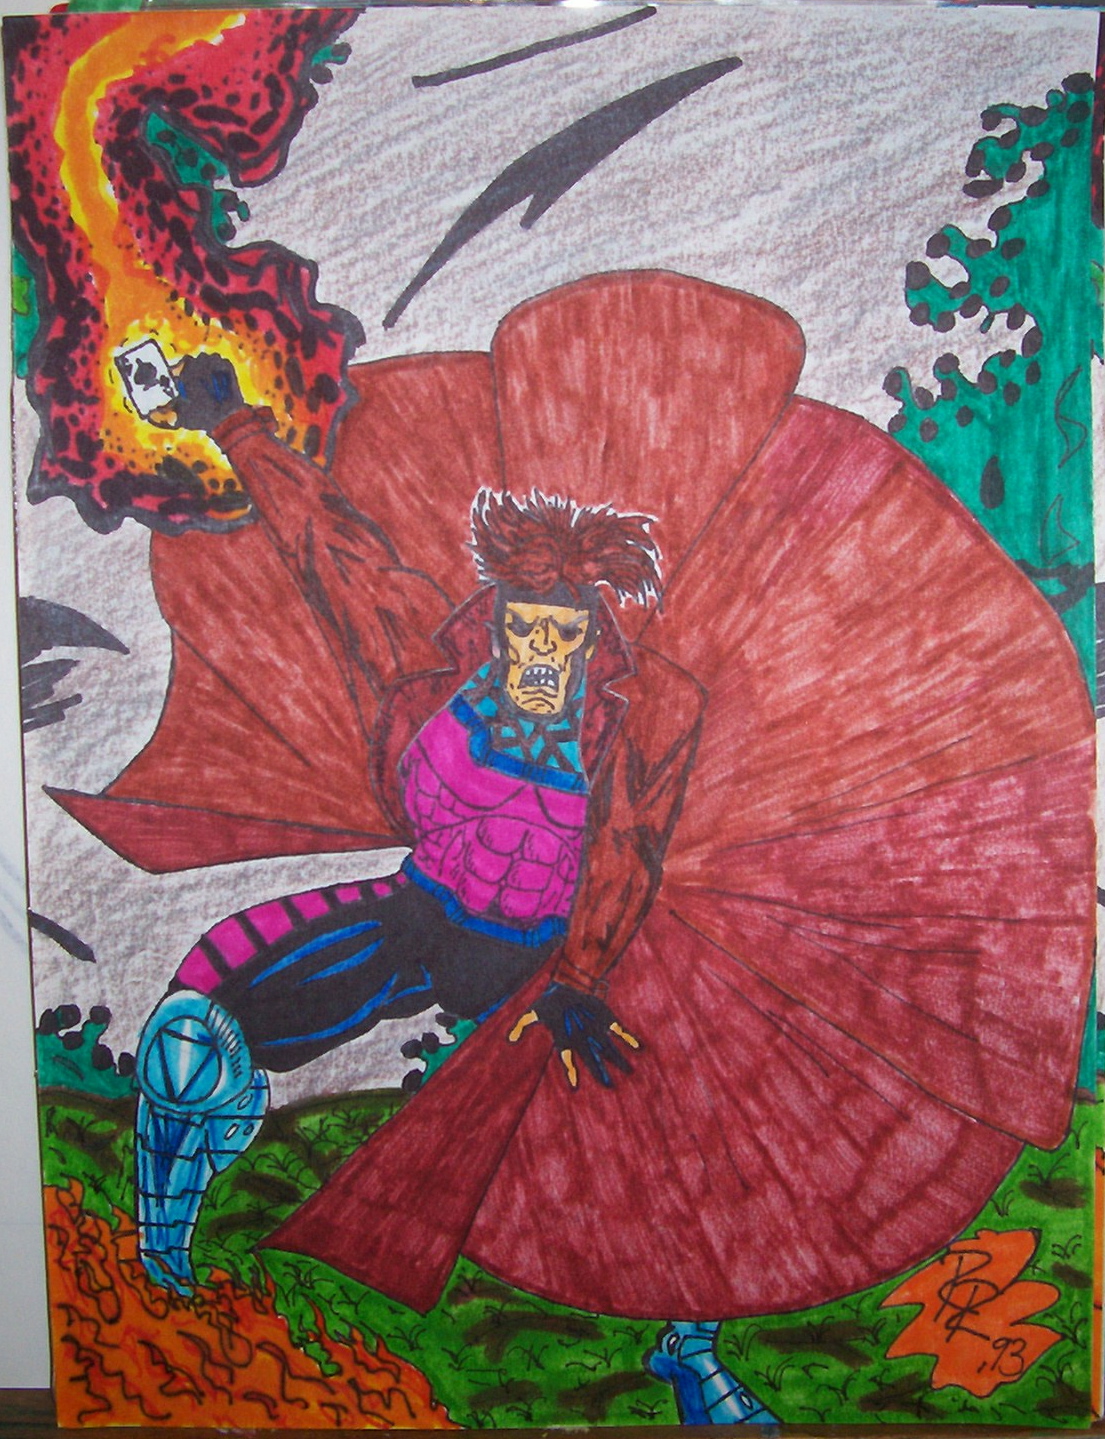
This was supposed to be a connectable set of six Xmen characters. No idea where the other two went off to. 1993 pen, marker, colored pencil.
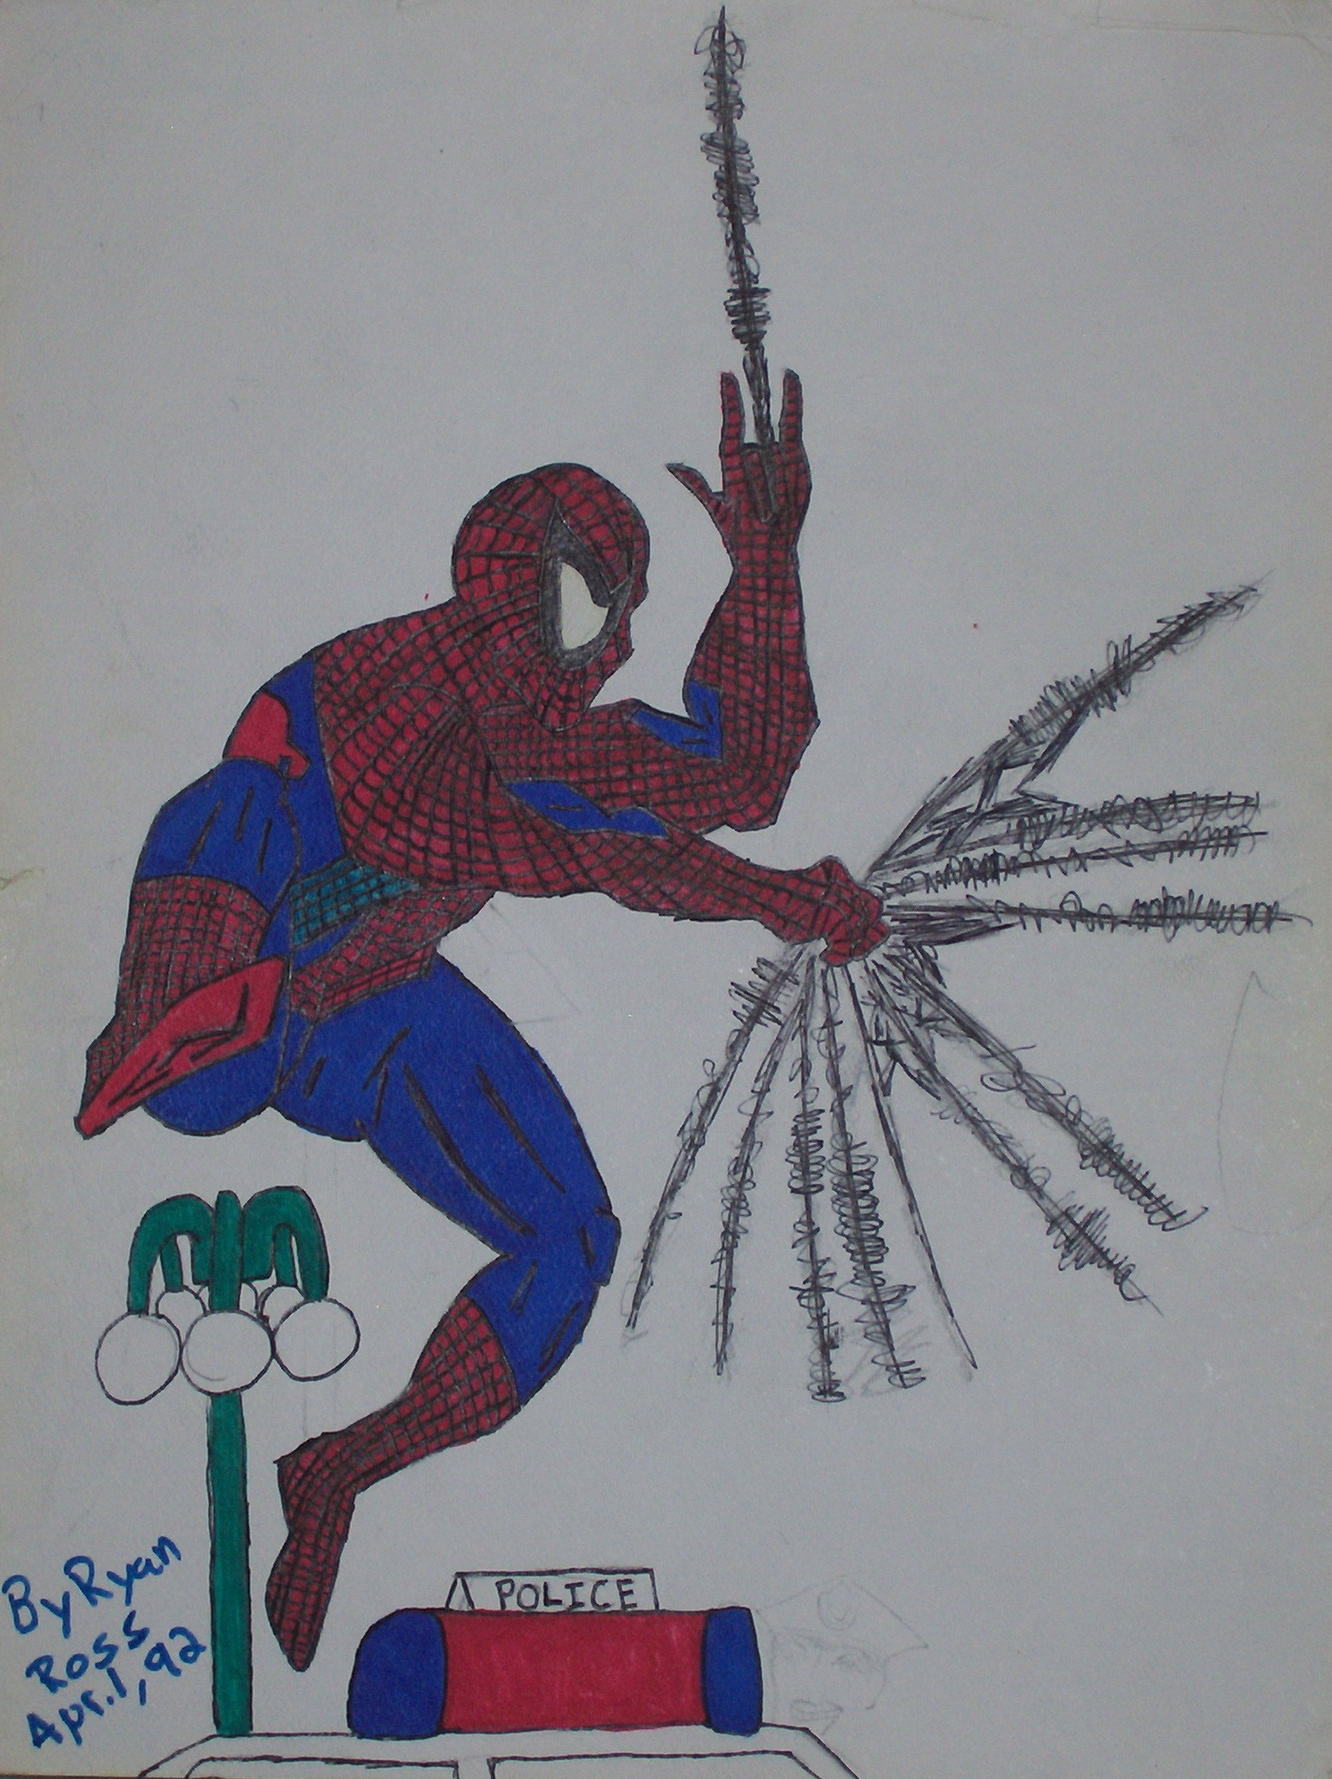


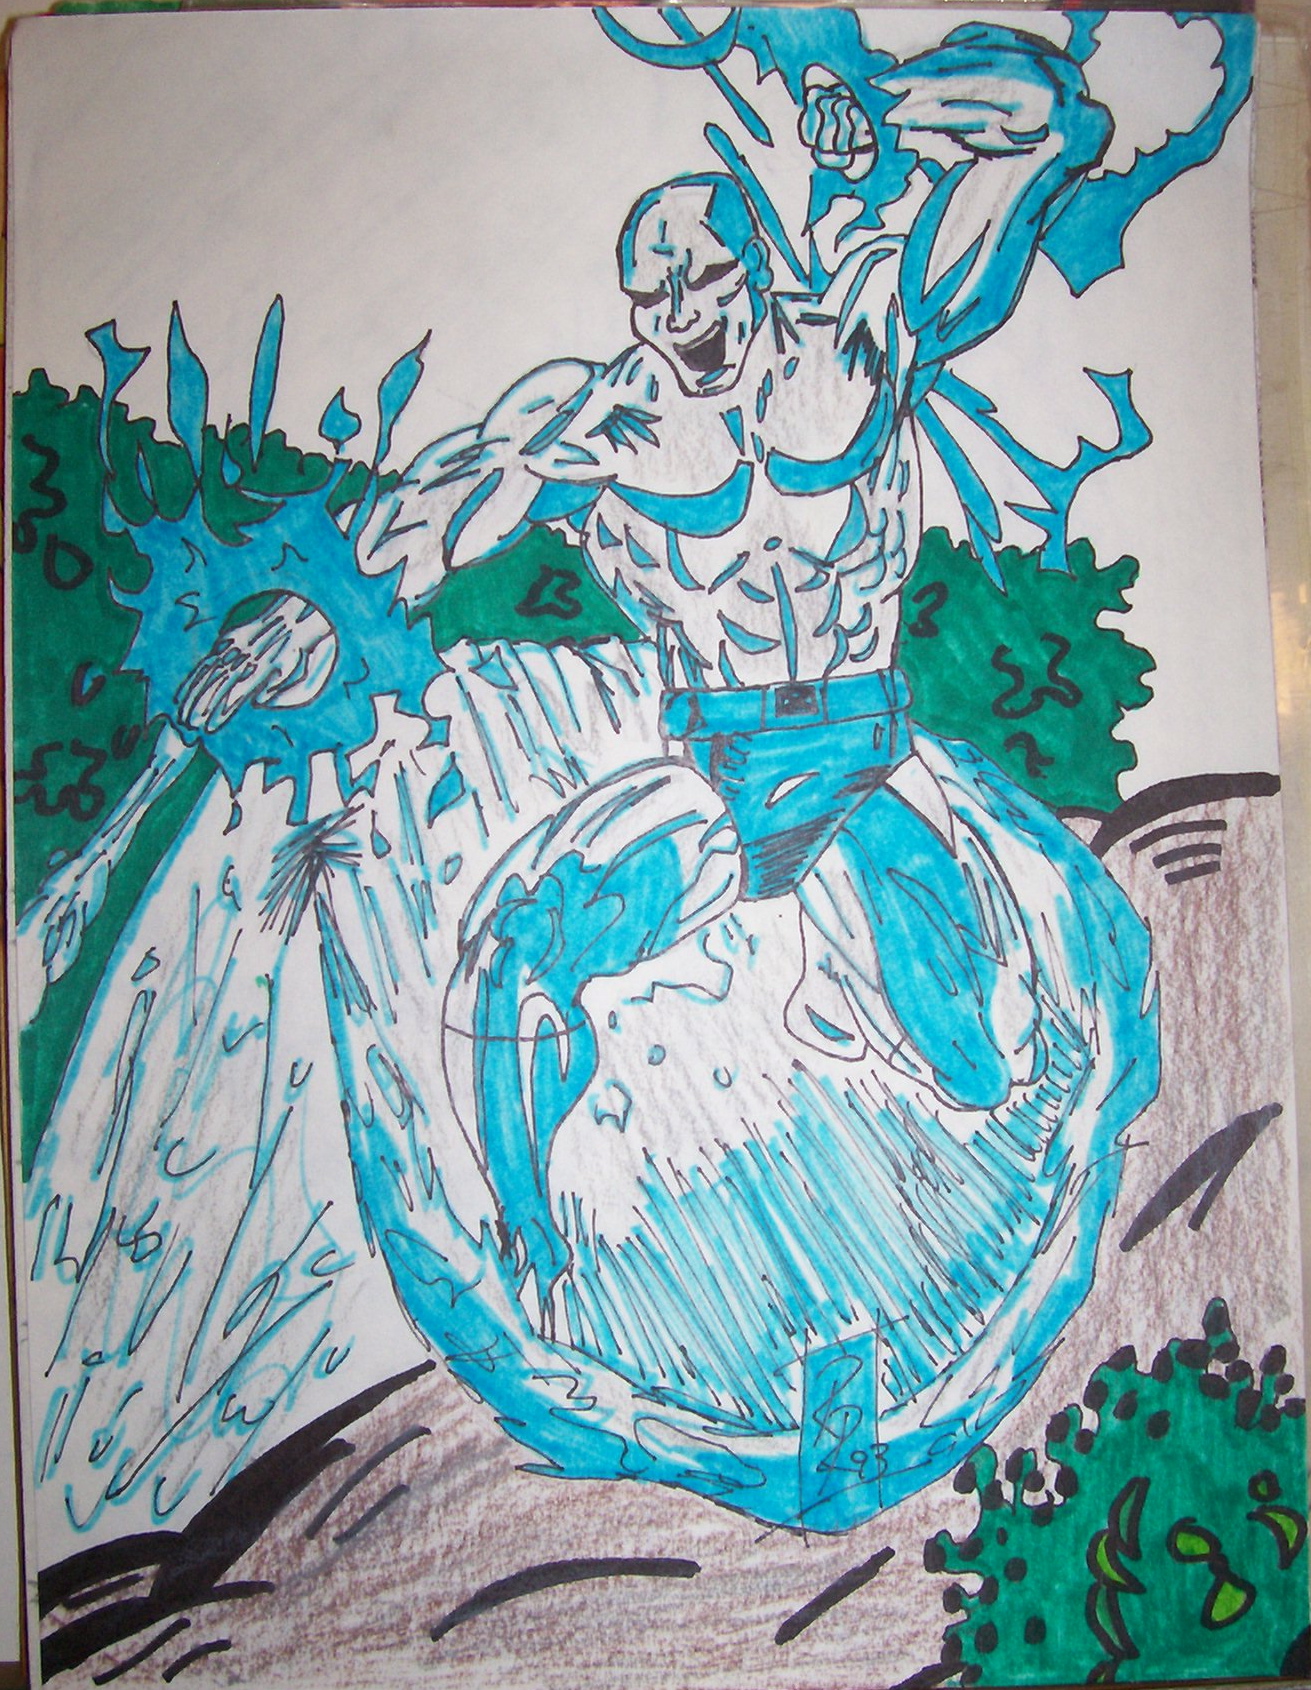
Here we have a few Spider-Man inspired pieces. All pen and markers. Early 90’s
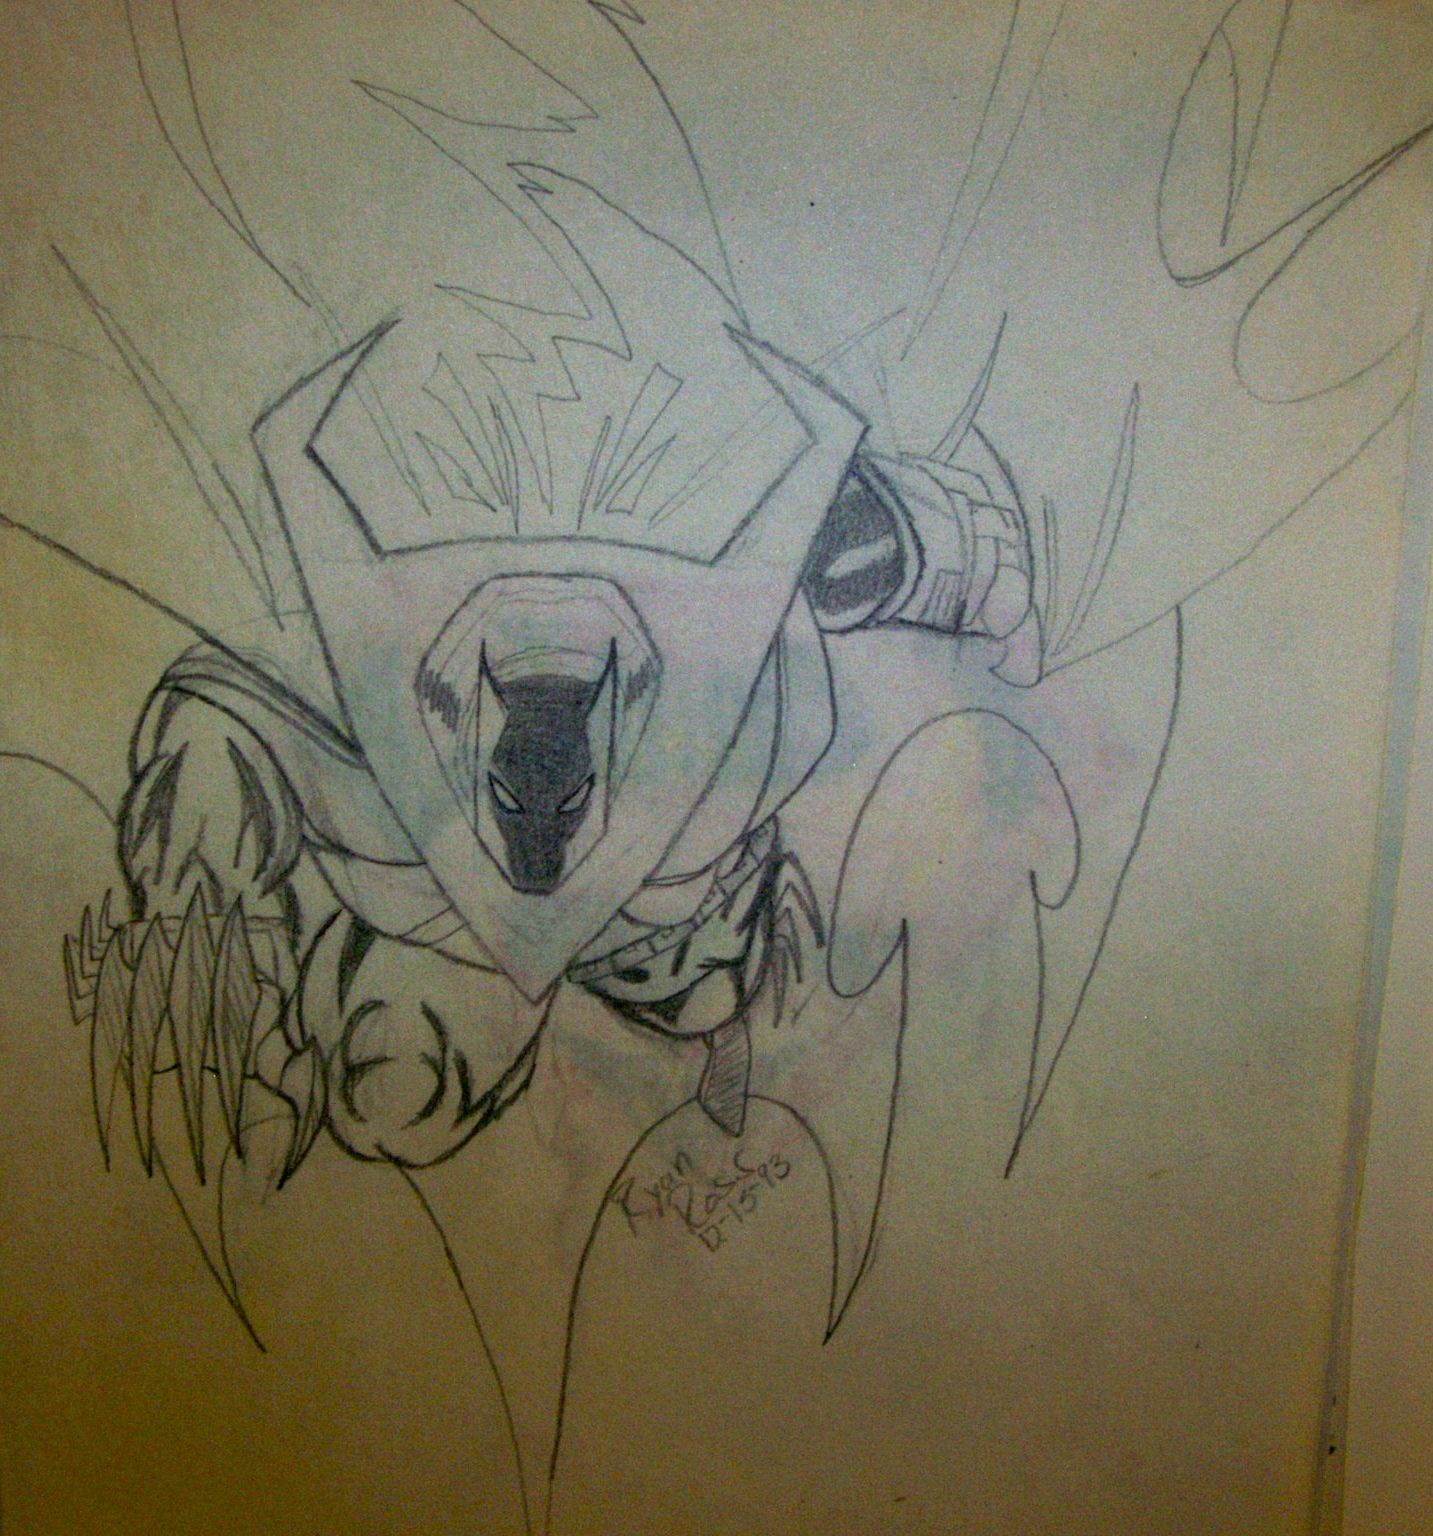
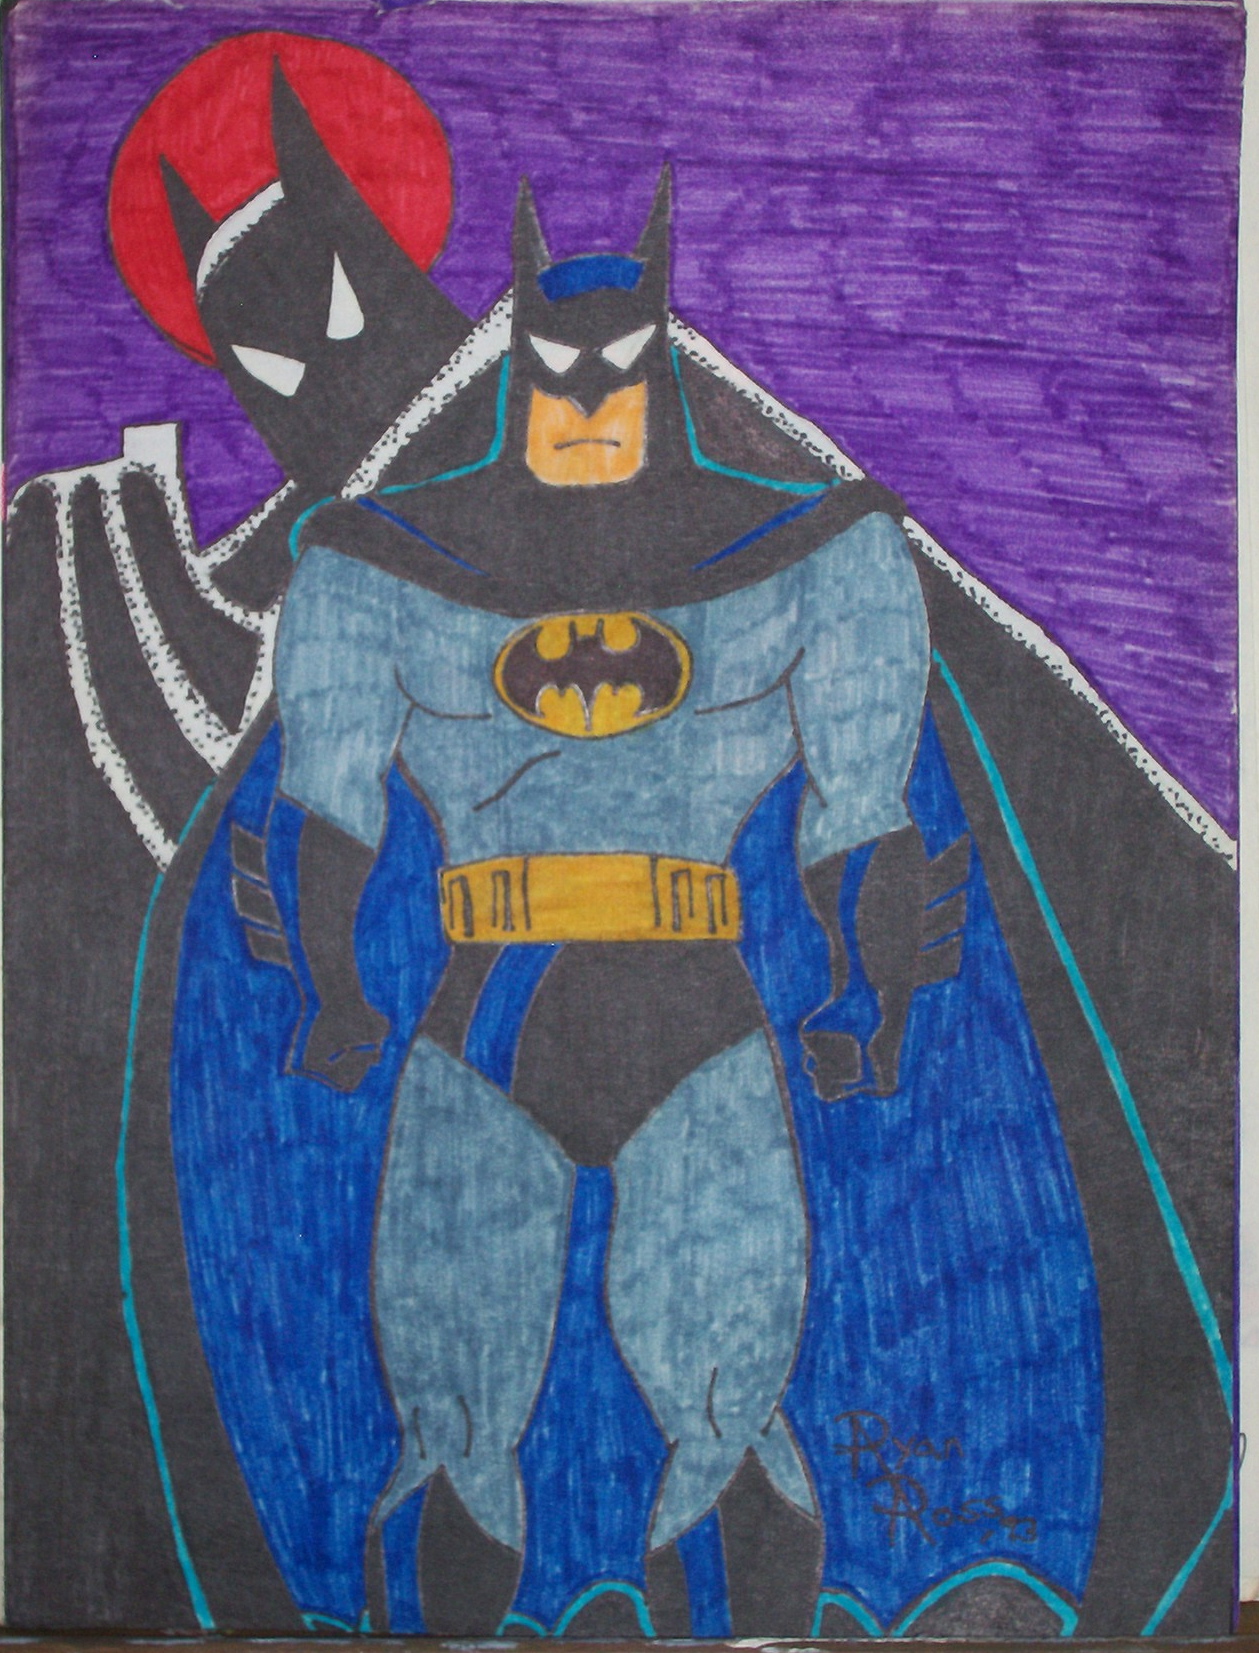
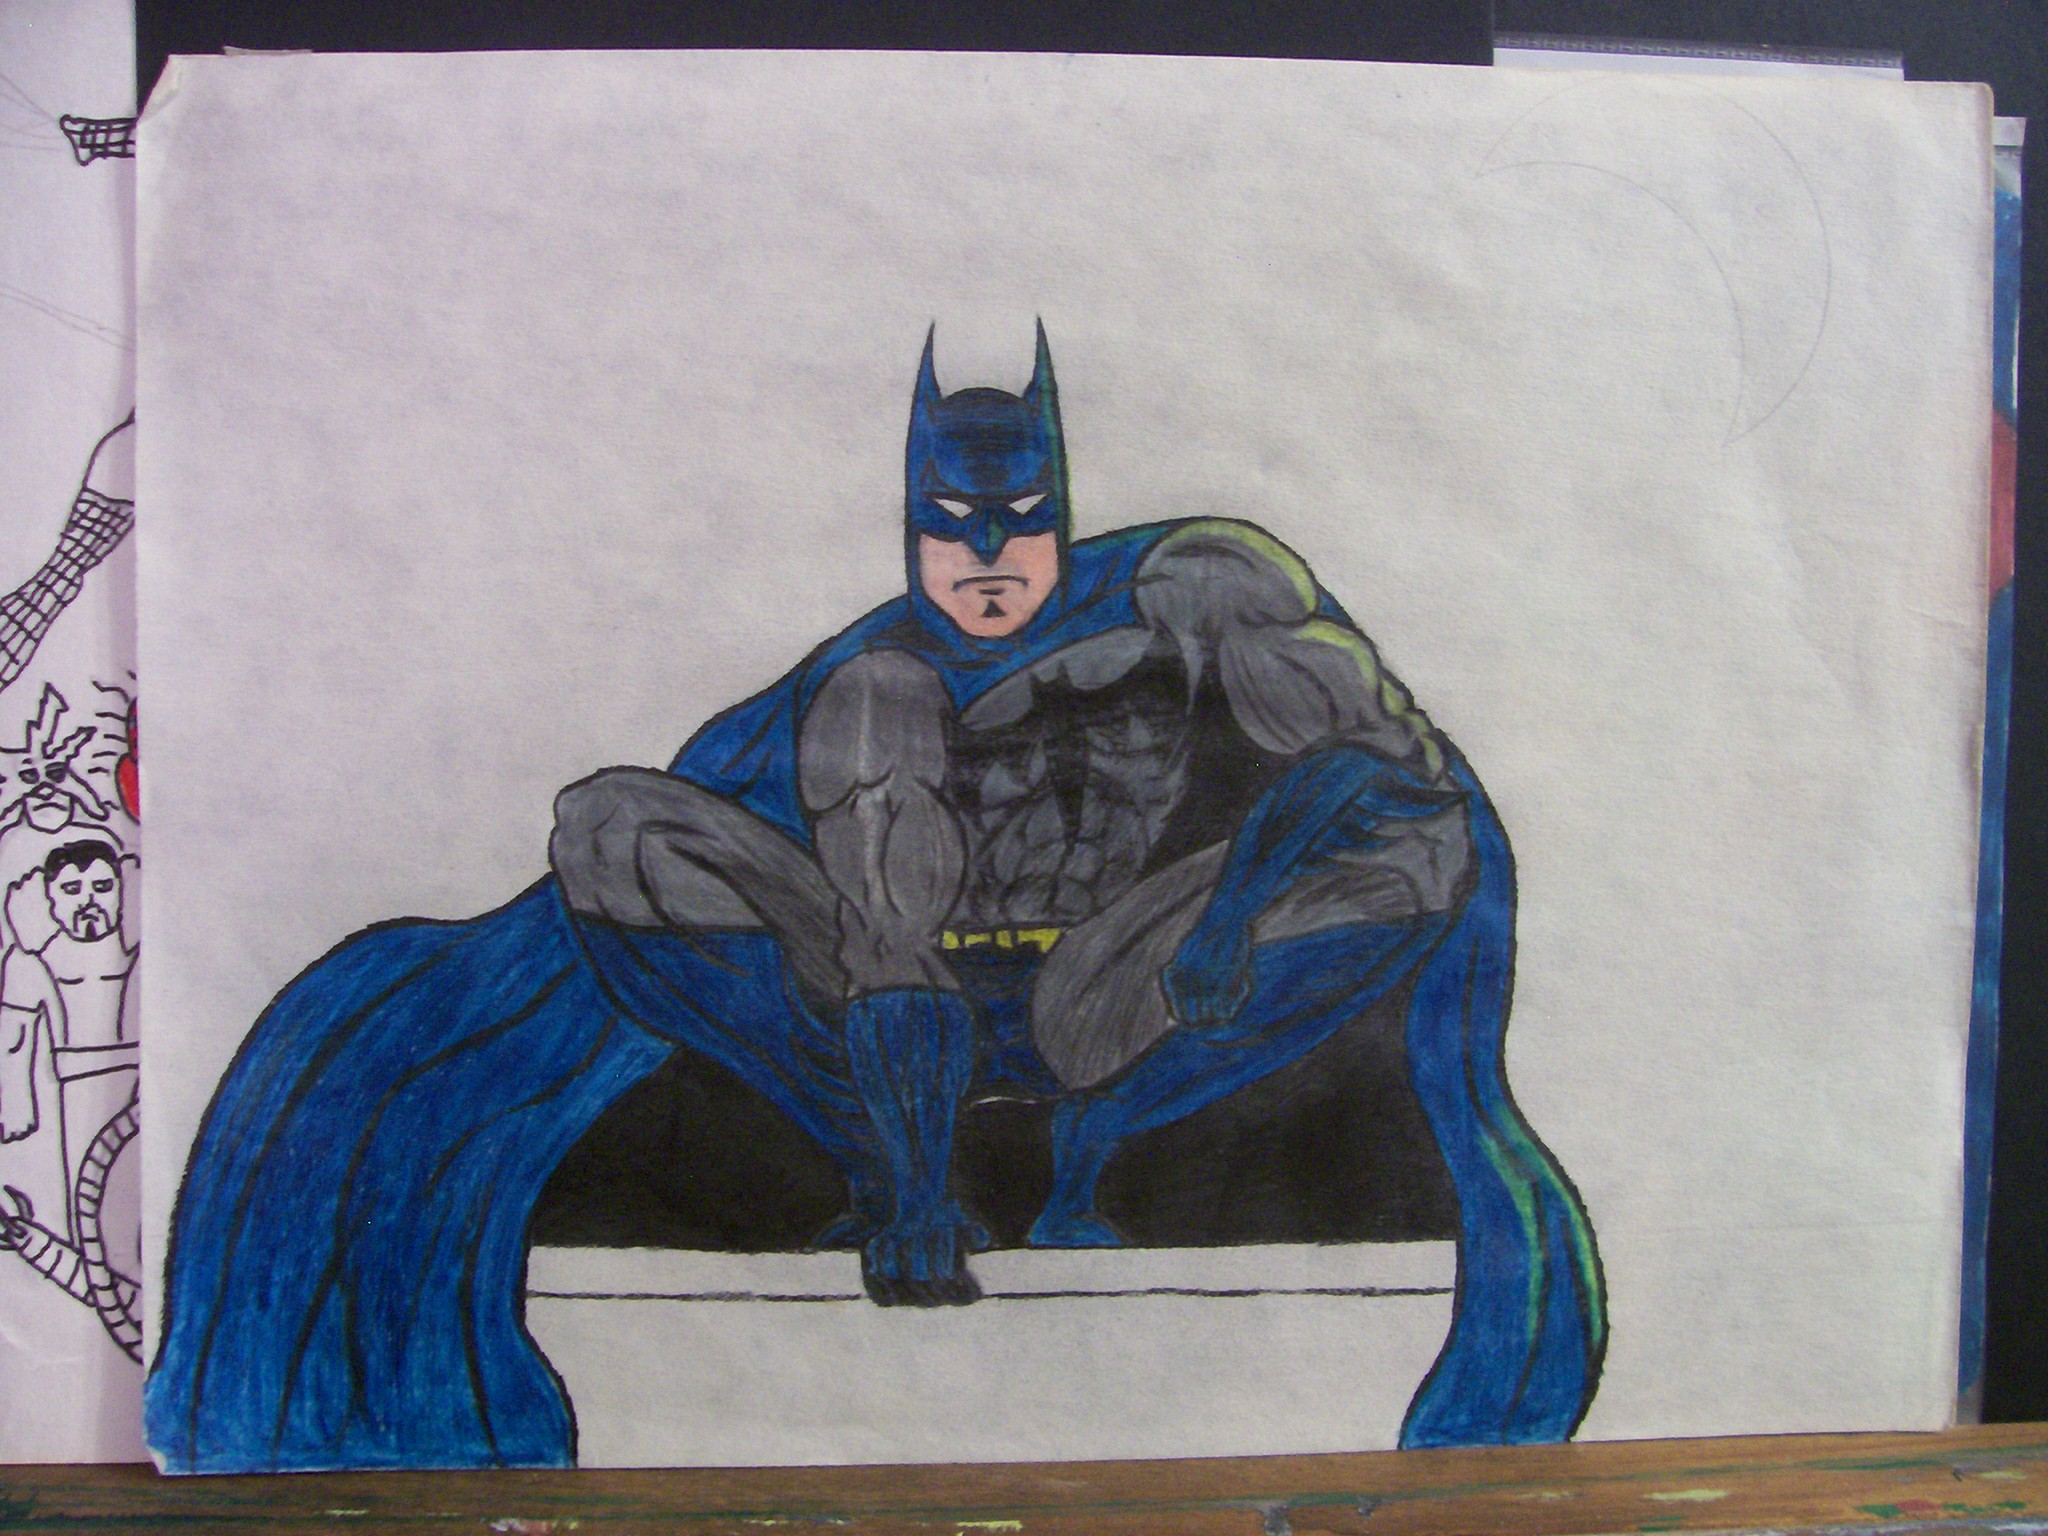
A few Batman inspired pieces. Pencil, pen and marker, colored pencils. Early 90’s.

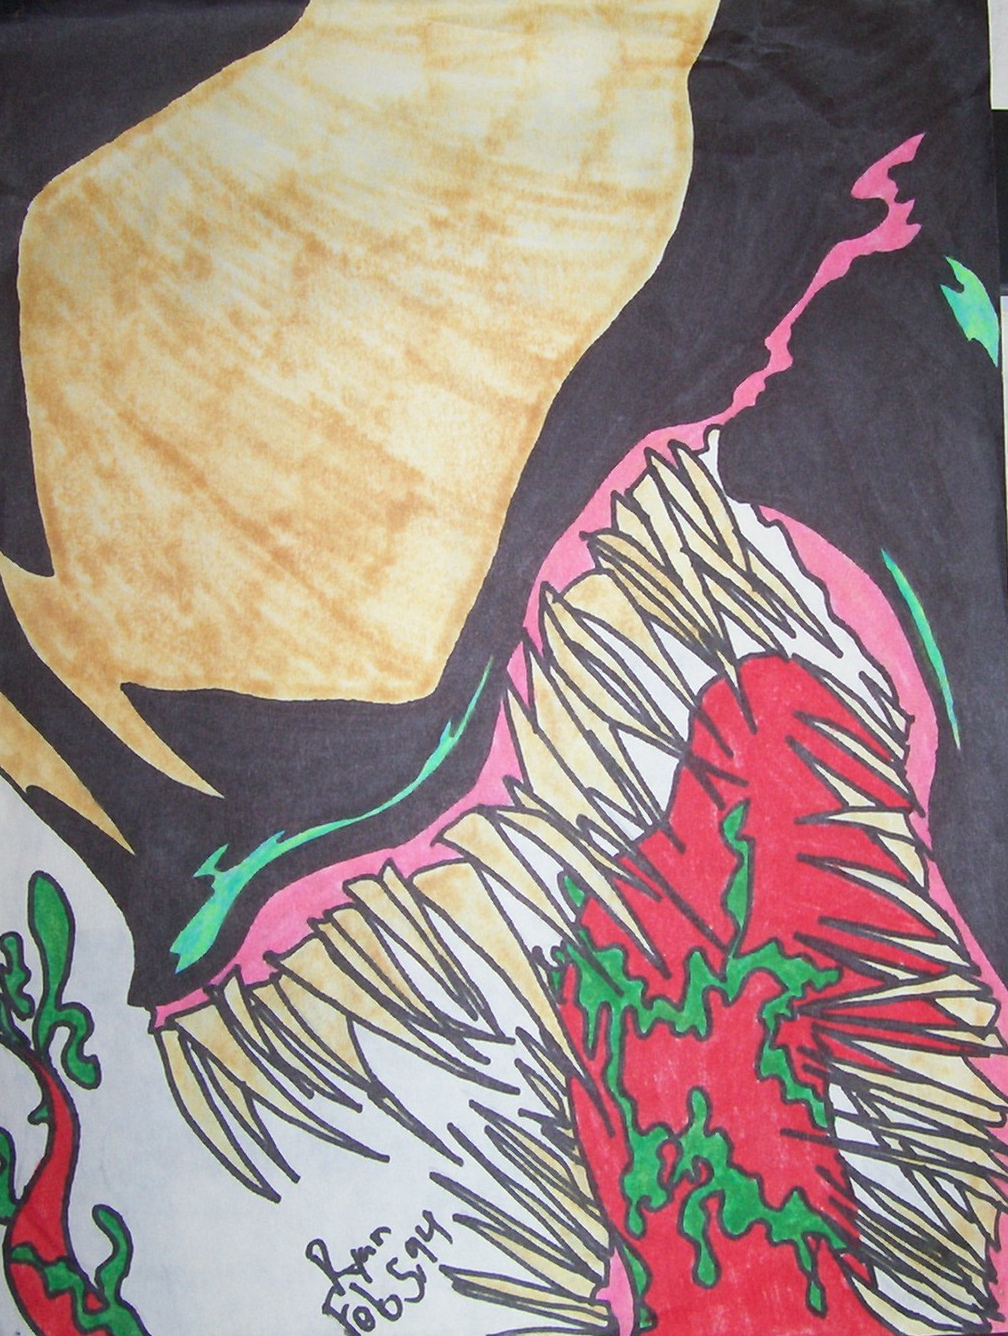
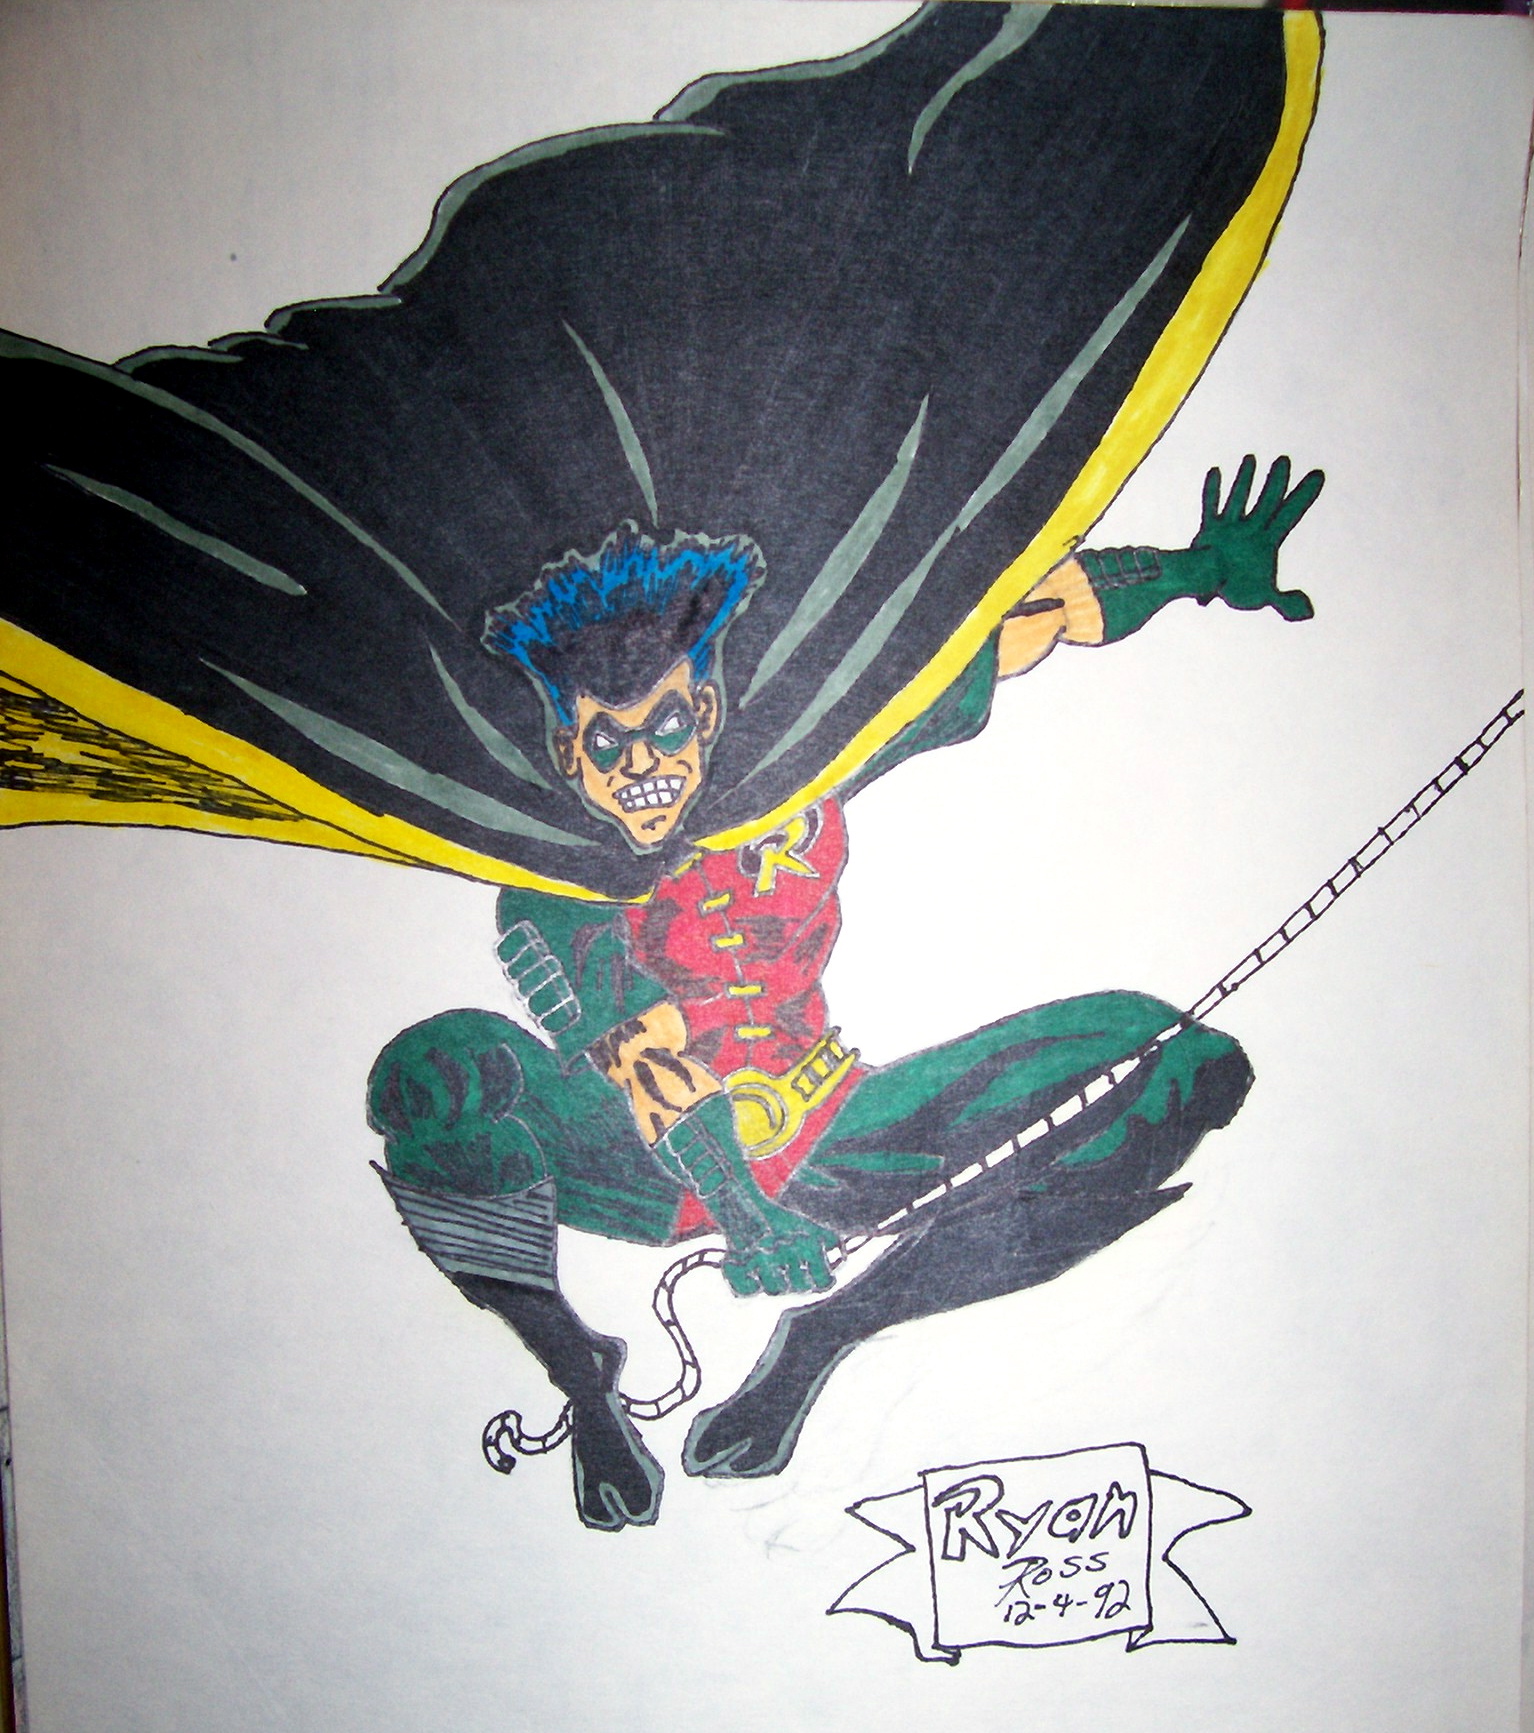
A few other comics related works. Pen and marker, pencil. Early 90’s.
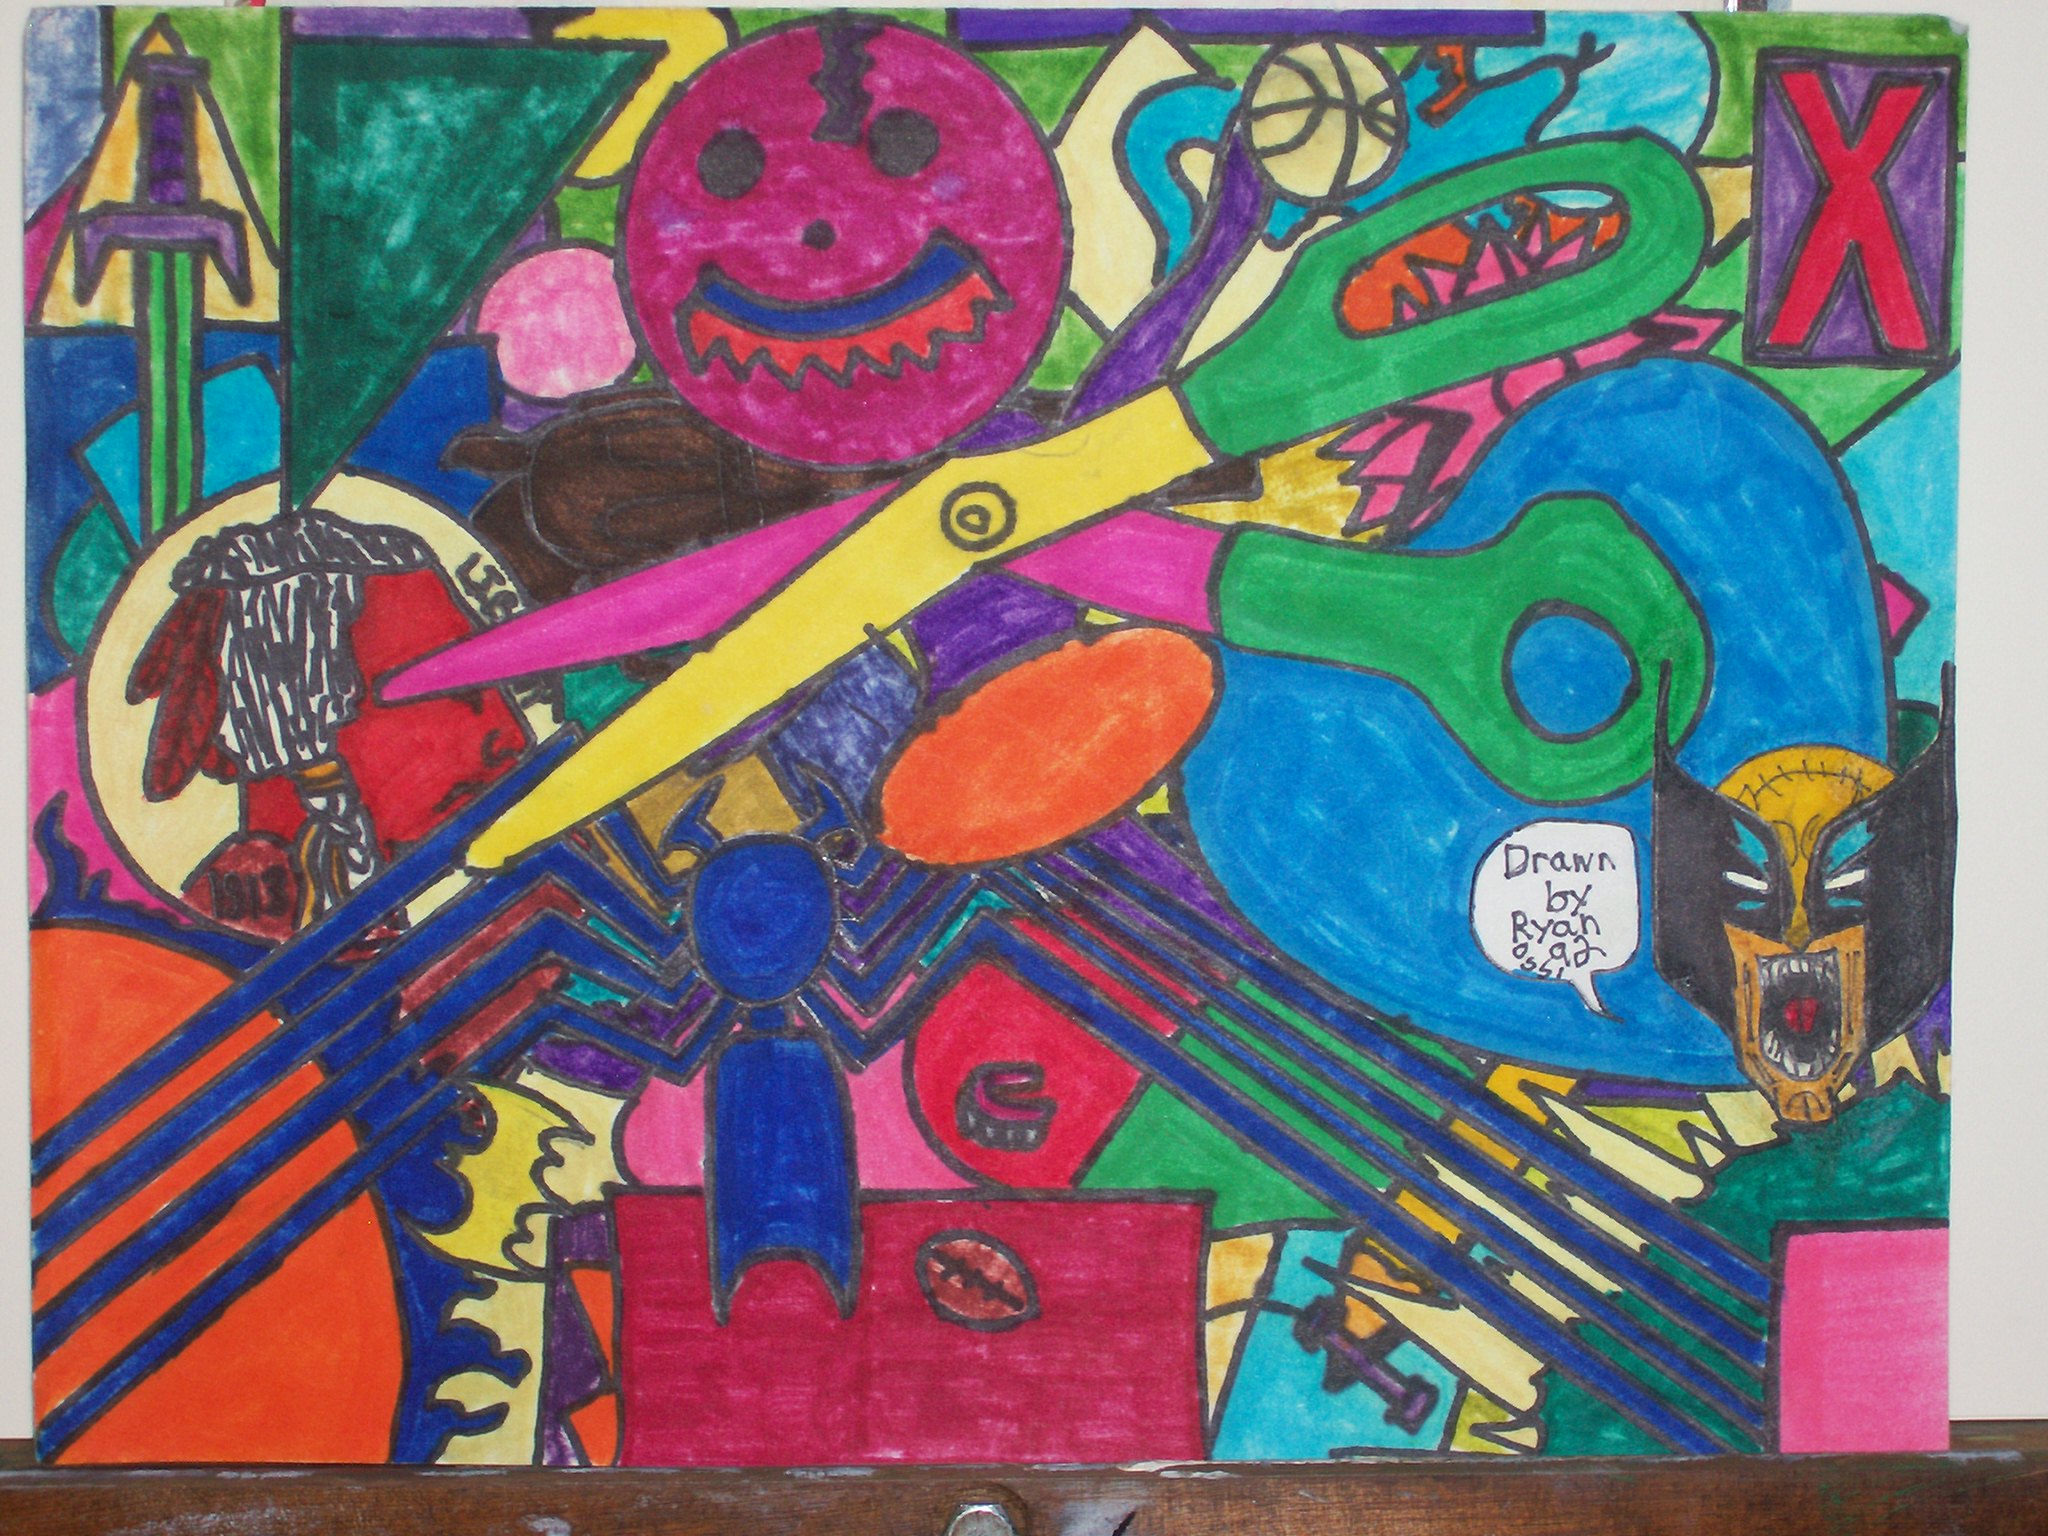
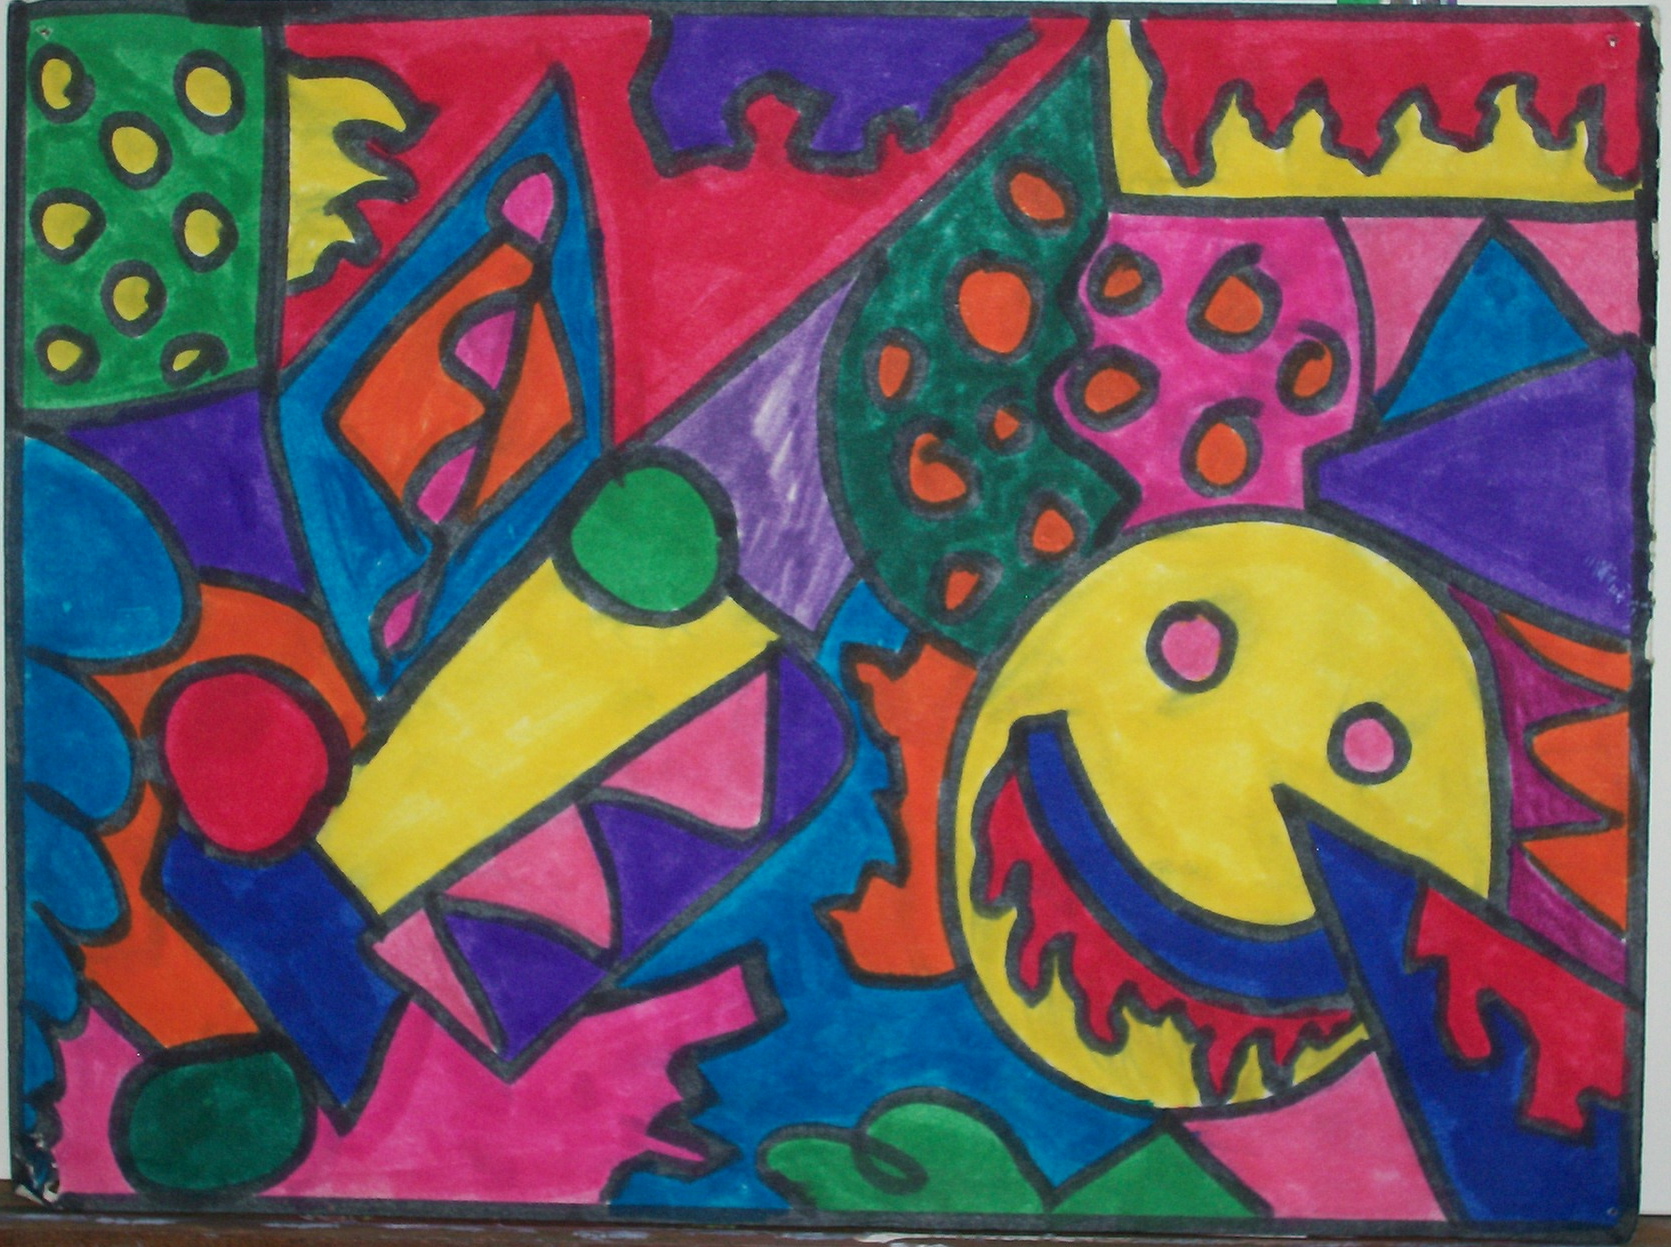
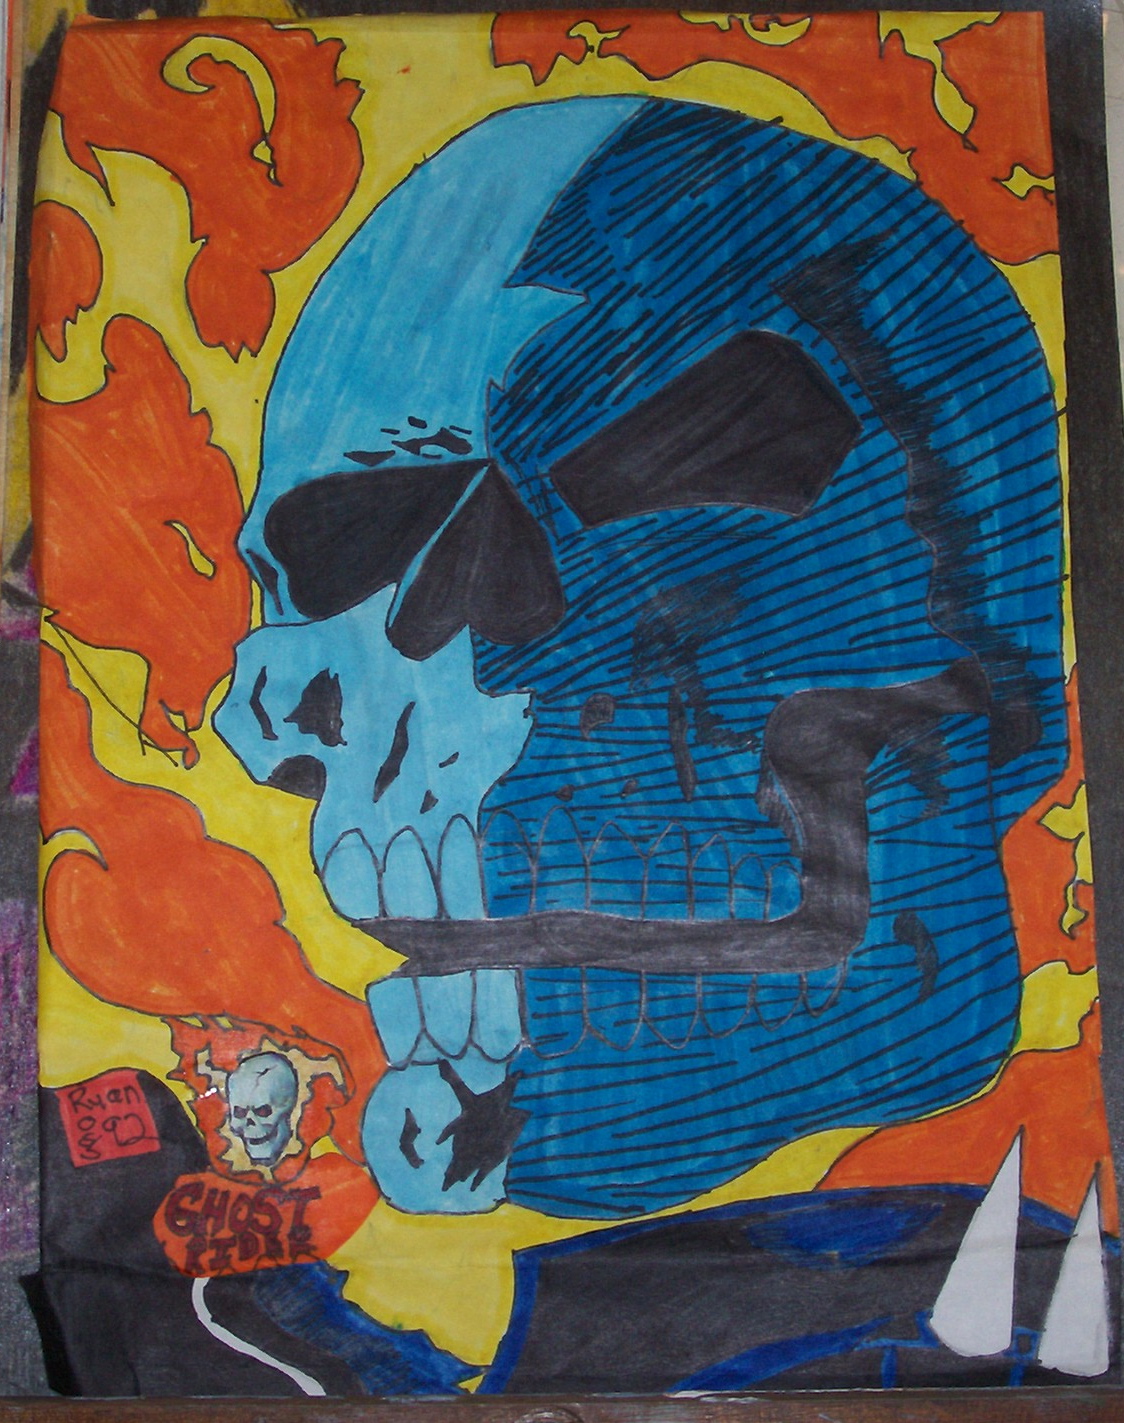
Some pen and marker collage art.